Published by Best Fitness Routine. Editorial standards · Report a correction. Educational guidance; no individual clinical review is claimed unless a qualified reviewer is named.
Begin with access and comfort rather than a calorie target
Stationary bike workouts for overweight beginners should start with a machine and position the person can use comfortably. Body size alone does not determine fitness, flexibility or exercise experience. Some larger adults already train regularly; others are returning after a long break. This guide addresses the practical starting questions without assuming either extreme. The first goal is a repeatable, manageable ride, not producing the largest calorie estimate or proving how much discomfort you can tolerate.
An exercise bike may offer a seated cardio option when outdoor cycling or impact-heavy activity is inconvenient, but it is not automatically suitable for every individual. Access, the equipment's rated capacity, knee and hip comfort, and personal health needs all matter. A short familiar routine can provide useful information about your starting capacity. If symptoms or a condition affect activity, individual guidance should shape the plan. General workout advice is not a substitute for assessment of new or persistent problems.
Check the stated capacity and entry route
Before using a home or gym bike, check its manufacturer-stated maximum user weight and assembly instructions. Do not guess from the apparent thickness of the frame. Confirm the saddle, pedals and adjustments are intact and the machine remains stable during mounting. Allow enough room to approach and leave it without an awkward step around furniture. A crowded corner may make a technically suitable bike difficult to use reliably, especially when tired after a session.
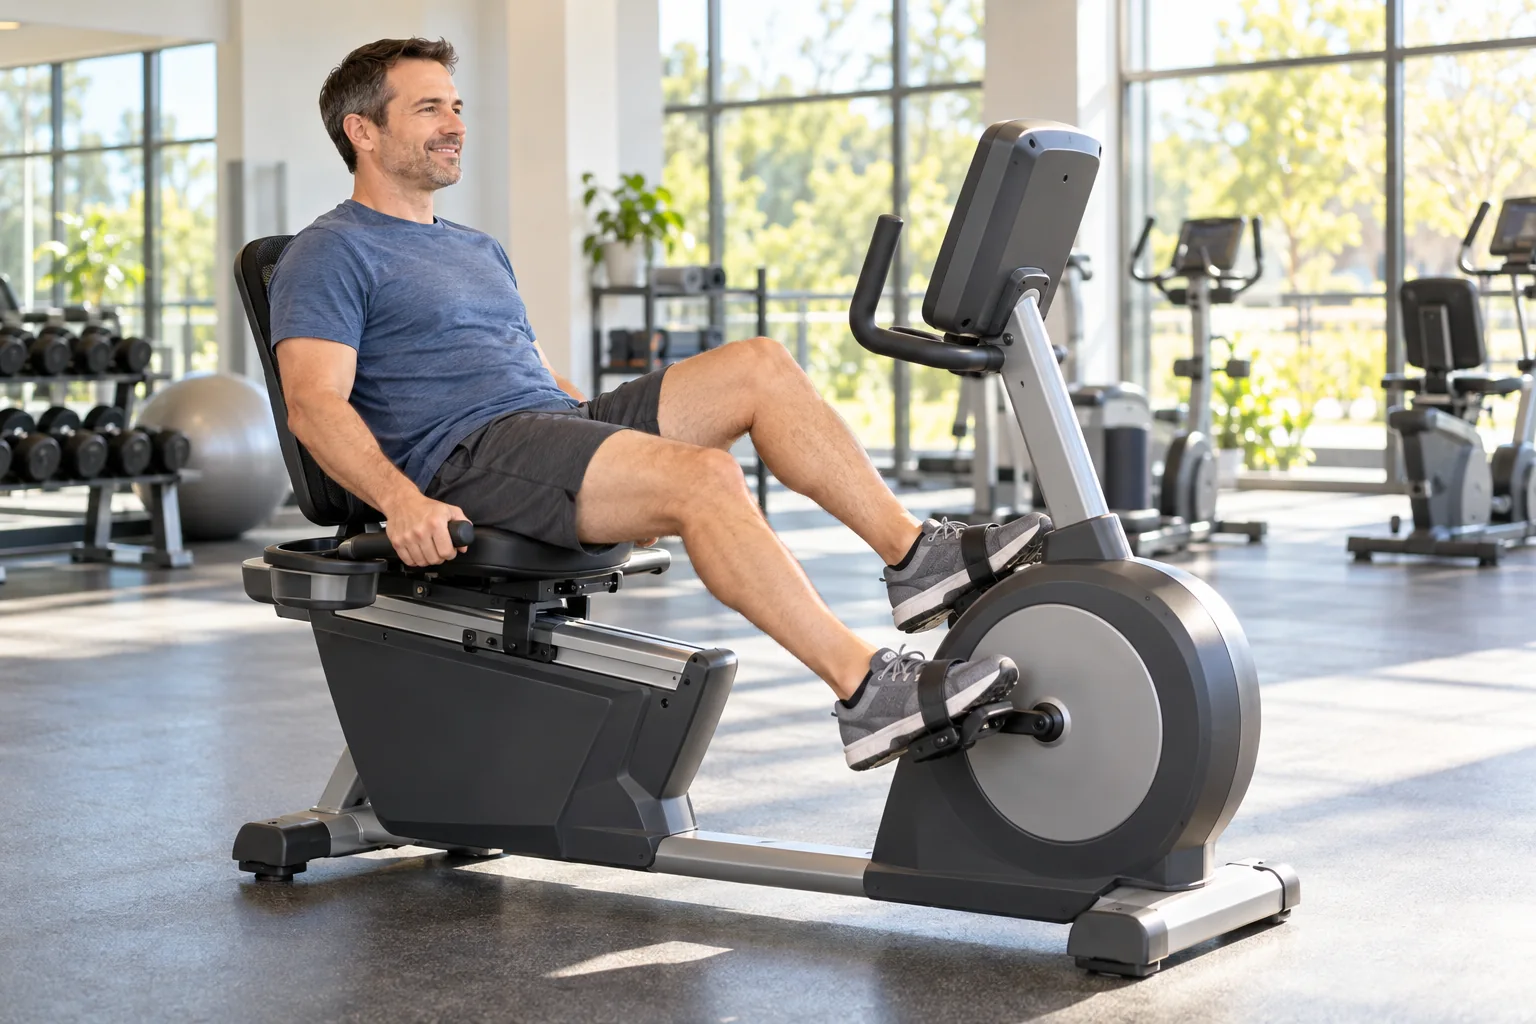
When comparing a recumbent exercise bike (paid link), look at step-through access, seat width, usable adjustment range and the stated capacity. Back support may suit some riders, while others prefer an upright design. Try easy pedaling when possible instead of assuming the most expensive model is the best fit. Buying equipment with a suitable rating is a practical selection decision, not a promise of comfort or injury prevention. Ask staff or the supplier to explain access and controls before committing.
Choose a position that leaves room for comfortable movement
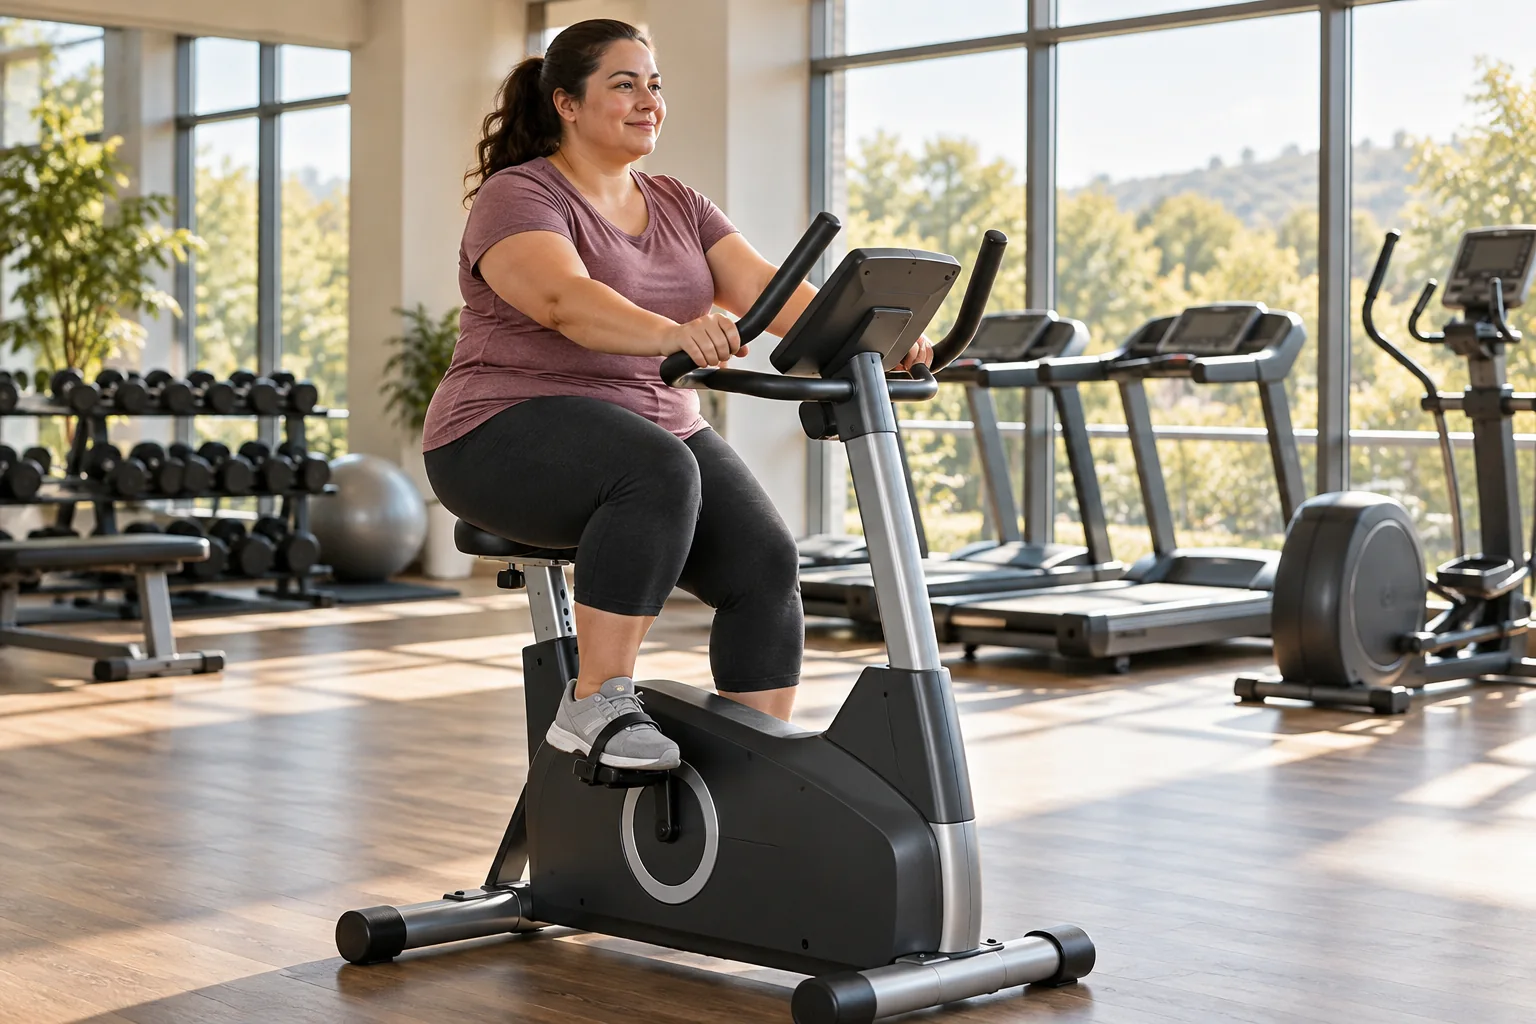
On a recumbent bike, sit supported and check whether the legs can complete the pedal circle without the pelvis sliding forward or the knees feeling cramped. On an upright model, review saddle height and handlebar reach. Clothing, thigh contact and abdominal comfort may affect the position, so use a setting that fits the actual person rather than copying a picture. Stop the bike and dismount before changing adjustments, then confirm every locking component is secure.
Keep hands light where possible and avoid leaning heavily onto the console. A more upright handlebar position may be useful if the machine permits it. A very low racing posture is unnecessary for introductory cardio. Persistent pain or numbness is a reason to reduce demand and review the problem, not simply purchase more padding. Our bike setup guide explains the adjustment process and why a comfortable trial needs more than one saddle-height number.
Use a ten-minute starting example when appropriate
A simple first session can use three easy minutes, four comfortable minutes and three gradually easier minutes, all seated. This ten-minute example is a starting option, not a minimum a person must meet. Someone with very limited current activity might use shorter bouts with appropriate guidance; an already active reader may choose a longer familiar session. Preserve a gradual beginning and ending rather than spending the entire available time at the hardest effort.
Set the bike clock or a workout timer (paid link) before starting so you can follow the three phases without repeated reaching. During the first minutes, focus on smooth pedals and ordinary breathing. In the middle block, choose an effort that still allows conversation. If the setup feels uncomfortable, finish safely and solve that issue first. A short session that establishes a usable position is a useful result even when it does not follow the original timing exactly.
Build an effort scale you can actually use
Describe effort in ordinary terms: easy enough to chat freely, somewhat more noticeable but conversational, or too hard for the purpose of this session. You do not need a maximum test or a universal heart-rate target to begin. Bike resistance scales vary, and a level that feels light on one model may be demanding on another. Choose the setting according to your current response and keep the pedal stroke controlled throughout.
Avoid using body weight to justify starting with high resistance. A heavy grinding stroke may load the legs substantially without creating the manageable aerobic rhythm you wanted. Likewise, fast uncontrolled spinning is not necessary. Reduce the demand if the torso rocks, the hands grip fiercely or the knees hurt. The cadence and resistance guide explains how to change one variable at a time, giving you a clearer comparison than trying to copy a class display.
Keep temperature and hydration comfortable
Indoor rooms can warm quickly, and some riders find heat more limiting than the initial workload. Position a room fan (paid link) outside the bike's operating clearance, with cables clear of the entry path. Choose clothing that permits movement without loose fabric near moving parts. Sweating heavily is not a required target and does not establish calorie expenditure. Reduce time or effort in an uncomfortably warm room rather than assuming a cooling accessory makes every workload appropriate.
Keep a water bottle (paid link) in a safe reachable holder, drinking according to ordinary needs and any personal fluid instructions. A short beginner ride does not automatically require a sports drink. If reaching the drink changes balance or posture, stop safely first. Practical arrangements matter: a water bottle on the floor between the pedals is less useful than a smaller drink in the intended holder. Good preparation makes it easier to focus on movement and assess how the session feels.
Fit the routine into ordinary life
Choose a time when getting changed, accessing the bike and finishing calmly is realistic. A home session before dinner may work for one household, while a community gym visit during a lunch break suits another. Account for setup and travel rather than allocating exactly ten minutes to the entire experience. A plan that requires rushing onto an unfamiliar machine every day creates unnecessary barriers. Begin with a frequency your schedule and recovery can support.
Two manageable rides on separated days can be an initial organizational example, with ordinary comfortable movement elsewhere. It is not a universal prescription. If several short sessions suit you better, record them honestly rather than counting a planned session you did not complete. Seek an accessible facility or instructor when equipment entry remains difficult. The purpose is to make activity repeatable, not force one machine to solve every barrier a person encounters at home or in a gym.
Track changes beyond the scale
Use a training journal (paid link) to record actual riding time, machine settings, comfort and the next-day response. Notice whether mounting feels easier, breathing stays more settled at the same effort or you complete the planned session more consistently. These observations provide useful feedback even if body weight does not change quickly. A bike's calorie display is an estimate and should not be treated as an exact budget to eat back or a measure of personal worth.
Weight management involves more than one workout. Food intake, sleep, medications, health conditions and practical circumstances can affect the longer-term pattern. This guide does not promise a particular amount of weight loss from a specified ride. If weight management is your goal, use a sustainable broader plan rather than doubling intensity whenever the scale stalls. The value of learning a comfortable cycling routine includes confidence and fitness practice, not only an immediate change in body size.
Add time gradually and include complementary activity
After several comfortable repetitions, extend the middle block by a minute or two while keeping the easy transitions. Hold resistance and frequency familiar when testing the longer duration. Alternatively, keep the same short ride and improve consistency before adding time. There is no obligation to progress every week. If normal daily activity becomes harder after sessions, reduce the workload and review recovery instead of assuming more exercise must produce a better result.
Suitable strength activity can complement cycling, and balance work may be relevant according to age and needs. The cycling and strength schedule explains how to avoid stacking every demanding session together. For a longer riding structure, the four-week beginner plan offers adjustable stages. Neither assumes that all larger adults need the same progression; current capacity and a comfortable response remain the basis for choosing what comes next.
Respond to discomfort without treating it as failure
Stop and seek appropriate help for chest pain, faintness or severe unexpected breathlessness. Persistent joint pain, numbness, new weakness or swelling also deserves attention. Ordinary muscle tiredness and a saddle that needs adjustment are different issues, but an online article cannot always distinguish their causes. Describe what happened, when it appeared and whether it persisted after stopping. That information can help a qualified professional make a more useful assessment.
If the bike cannot offer a comfortable fit or safe entry, choose another suitable activity or machine with guidance as needed. This is an equipment match decision, not a failure to exercise correctly. Avoid buying unapproved seat extensions, exceeding capacity limits or trying to overcome persistent symptoms through determination. A practical starting routine respects the person, the equipment and the current circumstances. Success is a workable activity pattern you can understand, repeat and adjust without turning each session into a test.
Practical Options at a Glance
| Situation | Practical option | What to consider |
|---|---|---|
| Equipment selection | Check stated capacity and access | Do not guess from appearance |
| Ten-minute example | Three easy, four comfortable, three easier | Shorten to suit capacity |
| Next stage | Add a little time or improve consistency | Change one feature only |
Frequently Asked Questions
No. Rated capacity, access, fit, current health and symptoms need consideration. A supported design may suit one rider while another prefers a different activity. Try a short easy session and obtain appropriate advice when needed. Body size alone does not determine experience or the correct workload.
The exact amount varies with the person and actual workload, and console figures are estimates. This guide does not promise a calorie total or a weight-loss result. Track comfort, consistency and fitness practice rather than treating a displayed number as an exact allowance to eat back.
Use a shorter manageable version and keep a gradual beginning and ending where appropriate. The ten-minute example is not a minimum test. Review fit, effort and symptoms rather than forcing completion. Individual guidance may be useful when even brief activity is difficult or produces concerning responses.
Safety and Personal Needs
Stop activity and seek appropriate help for chest pain, faintness or severe unexpected breathlessness. Persistent pain, numbness, new weakness, unexplained swelling or recurrent instability needs assessment before progression. Follow individual guidance for medical conditions, pregnancy, recent surgery or injury. The examples are adjustable general education, not clinical rehabilitation, medical clearance or guarantees against injury. Use the actual equipment manufacturer instructions; capacities, adjustments, pedals and stopping procedures differ.
This is general educational information. Individual needs vary with health, medications, fitness and training experience.
Sources and Further Reading
- CDC: Adult Physical Activity Guidance
- CDC: Measuring Physical Activity Intensity
- Schwinn: Product Manuals and Intended Equipment Use