Published by Best Fitness Routine. Editorial standards · Report a correction. Educational guidance; no individual clinical review is claimed unless a qualified reviewer is named.
Treat seat height as part of the whole setup
Stationary bike seat height is one part of a comfortable riding position. Saddle distance, handlebar reach, pedal design and body proportions also influence how the bike feels. A beginner should aim to turn the pedals without rocking the hips, locking the knees or reaching excessively through the toes. This guide offers a practical observation process, not a universal fitting formula or a way to diagnose pain. Persistent discomfort deserves individual assessment rather than endless adjustments based on a photograph.
Start with the actual bike instructions because adjustment mechanisms vary. An upright bike may have a numbered vertical seat post, an indoor cycling bike may add a fore-aft slider, and a recumbent bike commonly changes the distance between the seat and pedals. A number that works on one model cannot be carried directly to another. Record the machine as well as the setting so your notes remain meaningful, especially when using different bikes in a shared gym.
Stop the machine before making changes
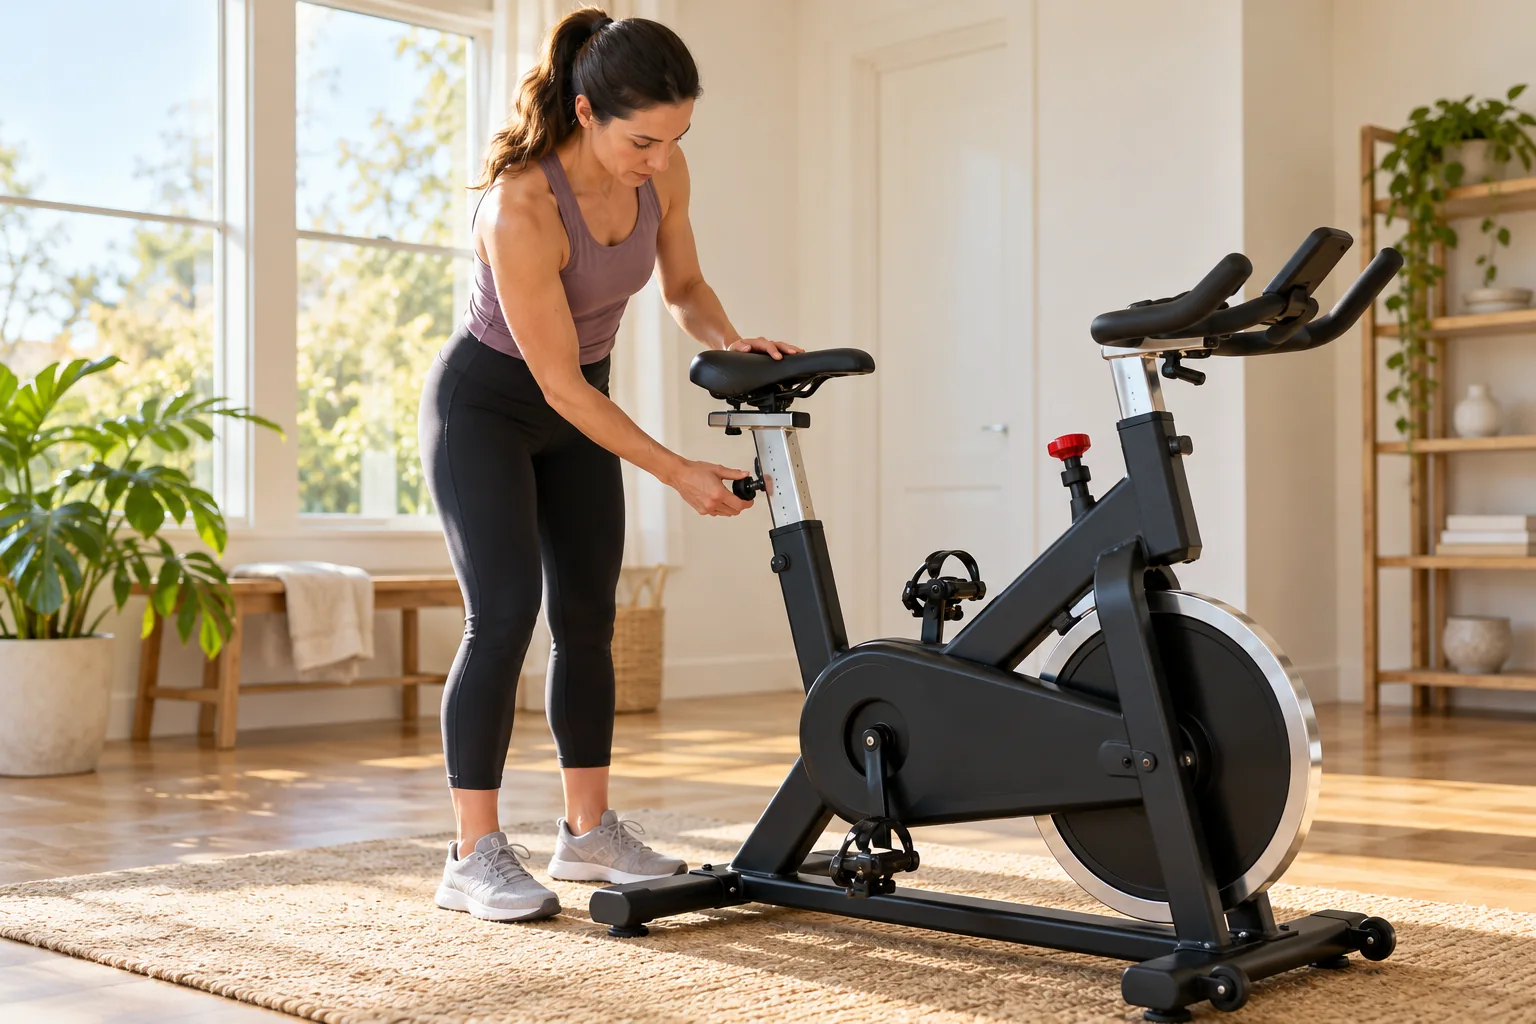
Bring the pedals to a complete stop using the intended procedure, then dismount before adjusting the saddle or handlebars. Check how the locking pin, lever or knob works. Never extend a post beyond the manufacturer's limit marks, leave a pin partially engaged or compensate for a damaged clamp by balancing carefully. If a component moves after locking, get help before using the machine. Setup should not rely on a rider's grip keeping a loose saddle in place.
When choosing an indoor cycling bike (paid link), examine whether the adjustments are accessible and whether the available range suits the intended riders. Stable construction, appropriate operating clearance and a suitable user-weight limit come before a touchscreen. If a salesperson cannot explain the locking system or stopping mechanism, obtain the manual before deciding. A household shared by different-sized adults needs a range of usable positions, not one apparently comfortable factory setting that cannot be reproduced safely after someone else rides.
Establish a starting saddle position
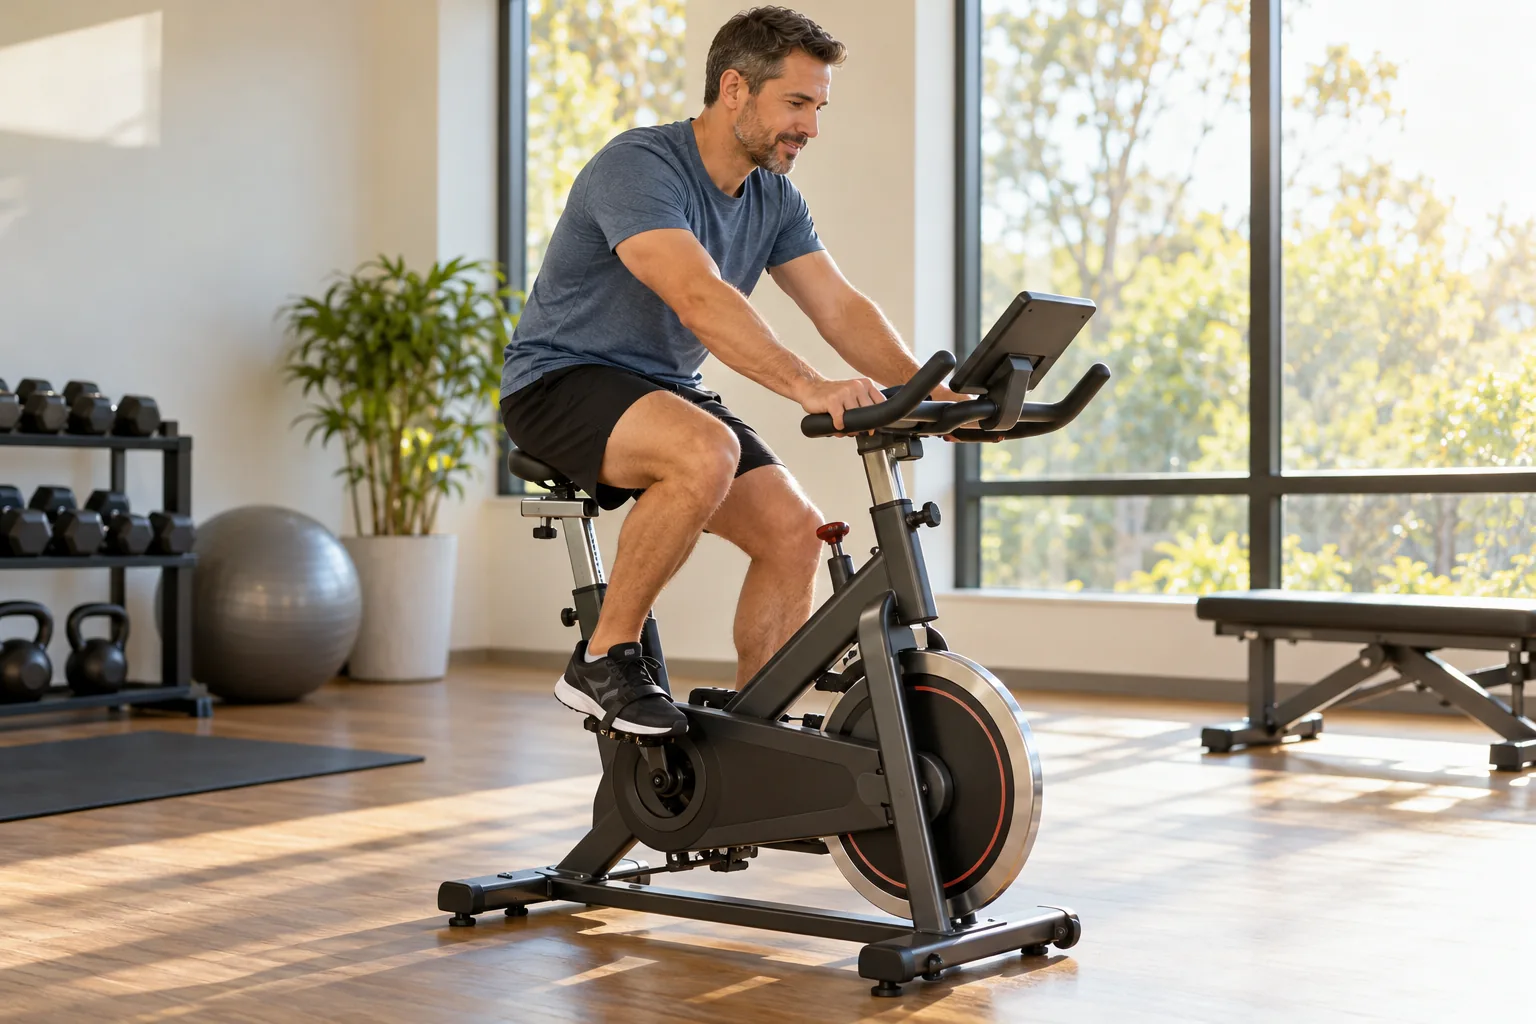
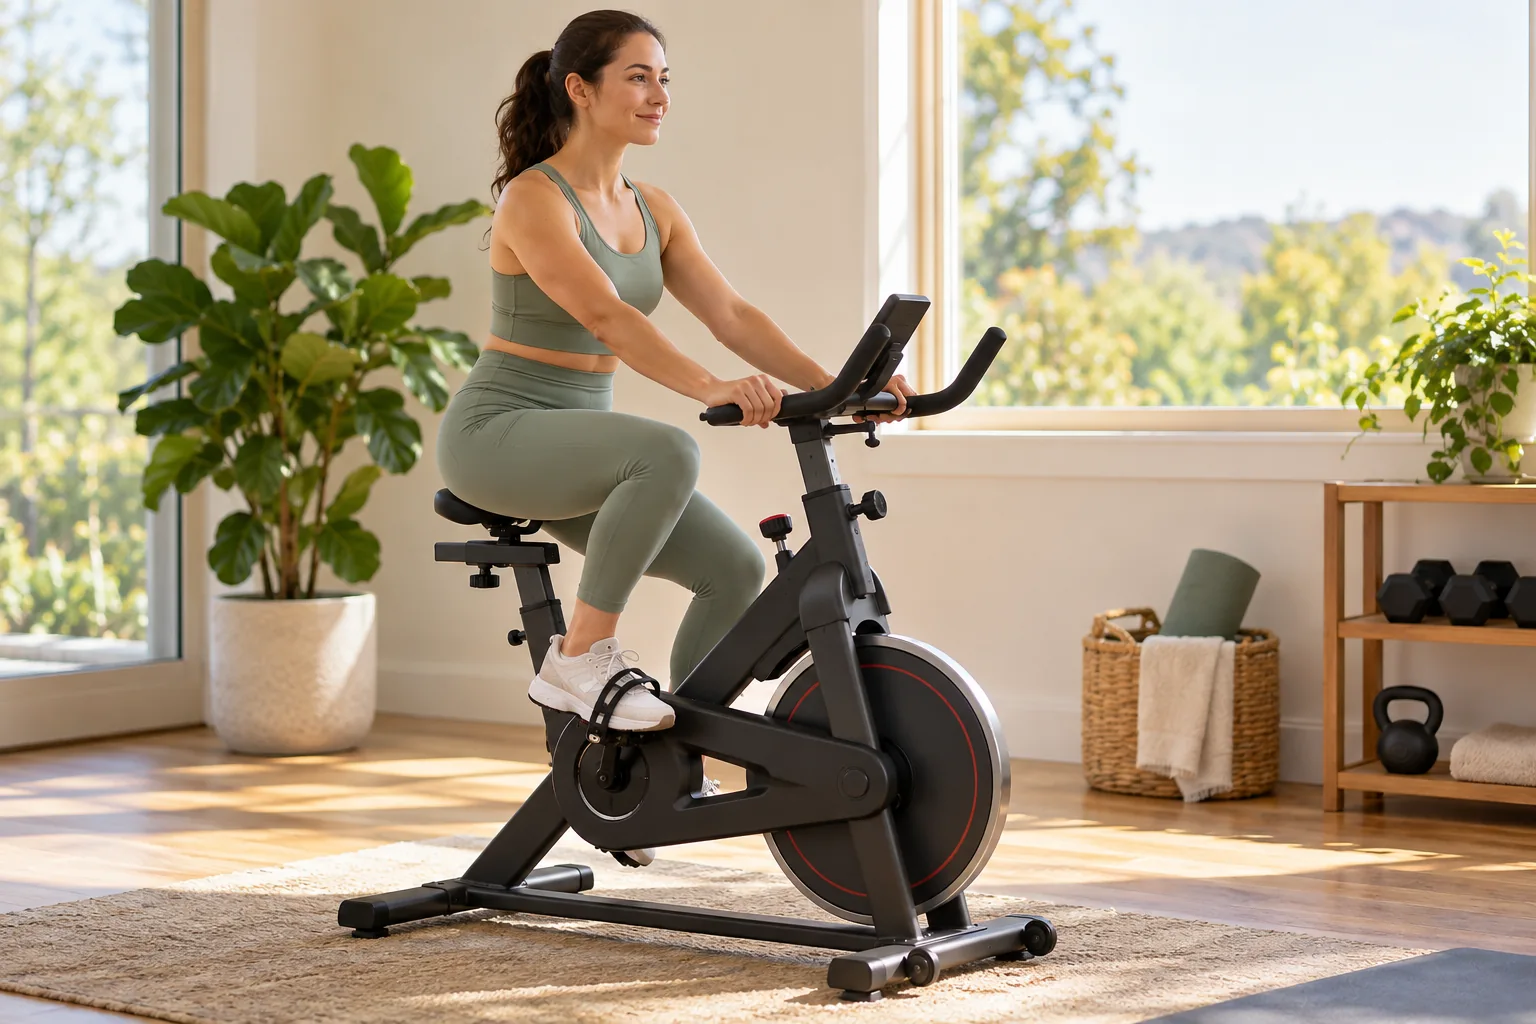
For an upright or indoor cycling bike, begin with a saddle setting that appears to allow a softly bent knee near the lowest pedal position. Mount carefully, place your feet as intended and turn the pedals slowly. Observe whether you can remain settled on the saddle through the full circle. If you have to tip one hip downward or point the foot dramatically to reach, stop and consider a lower starting position rather than increasing effort.
Avoid treating a single body landmark or knee-angle number as an exact prescription. Footwear, crank length, saddle shape and flexibility affect the position. The practical question is whether the leg can move comfortably without a locked knee, excessive compression or obvious compensation. If you cannot judge the difference, ask a qualified instructor to help while the bike is stationary and during a short easy check. A brief assisted observation is more useful than repeatedly testing extreme settings alone.
Review the saddle's forward and backward position
Some bikes allow the saddle to slide horizontally as well as vertically. Begin within the maker's recommended adjustment range and look for a comfortable distance to the pedals and handlebars. Moving the saddle to solve a handlebar reach problem can also change how the legs meet the pedals, so treat the adjustments as connected. Make one small change while stopped, lock it, then check easy pedaling again before changing another component.
An optional phone tripod (paid link) can support a short side-view recording when filming is allowed and privacy is respected. Position it outside the bike's operating area before riding; never balance a phone on moving equipment. A video may reveal obvious hip rocking or an awkward reach, but it is not a remote diagnosis or a substitute for a professional fit. Use it to describe a problem clearly, and avoid forcing your body into the appearance of another rider's posture.
Set handlebars for relaxed control
Choose a handlebar position that allows your shoulders to stay relaxed and your elbows to remain comfortably soft. A beginner does not need a low racing posture. If your neck strains to see ahead or your hands bear most of your weight, stop and review reach and height. Check which handlebar sections the manufacturer intends for seated riding. Screens and device holders should be positioned so they do not require an awkward prolonged neck angle.
Use the handlebar adjustments only within their permitted range, securing them before each check. Do not attach unapproved extenders or accessories to solve a basic fit problem. If the machine cannot provide a comfortable reach despite reasonable adjustments, a different bike design may be more appropriate. Our exercise-bike comparison guide explains why an upright, recumbent and indoor cycling bike can create different access and posture demands even when all provide aerobic exercise.
Check foot placement and pedal security
Wear secure shoes that suit the bike's pedal system. With flat pedals or toe cages, position the foot comfortably over the pedal and secure any straps according to the instructions. With clip-in pedals, use compatible equipment and learn release procedures before a workout. Never assume every cycling shoe uses the same attachment. Check that straps do not trail into the mechanism and that feet remain stable without an excessively tight restraint causing discomfort.
If your compatible setup calls for them, compare compatible cycling shoes (paid link) by pedal compatibility, fit and release requirements rather than appearance. They are optional for many stationary bikes, and ordinary suitable shoes may work with the intended flat-pedal system. A purchase cannot correct a saddle set outside its usable range. New numbness, pressure or persistent foot pain needs review; loosening a strap may address a simple tightness issue, but it does not explain every possible cause of symptoms.
Adjust a recumbent bike by distance
On a recumbent bike, seat distance is often more important than vertical saddle height. Sit back against the support and test the farthest pedal position slowly. The knee should remain comfortably bent without sliding your pelvis forward to reach. If the near part of the stroke feels cramped, check whether the seat is too close. Make adjustments only while stopped, then confirm the seat slide is locked before pedaling again.
Backrest design and seat tilt may also affect comfort, depending on the model. Do not assume a chair-like appearance means any position is harmless or that the longest seat setting is best for a tall rider. Use the available instructions and current symptoms to guide a short check. The fifteen-minute recumbent workout begins with an easy observation phase so you can assess the supported position before settling into a longer continuous block.
Keep the trial ride short and repeatable
Use an interval timer (paid link) or the bike clock to organize a two- or three-minute easy check after an adjustment. Focus on how the position feels through several pedal revolutions rather than immediately riding hard. Notice hips, knees, hands, feet and neck. A small change can feel different simply because it is unfamiliar, so avoid reacting to one instant of sensation by moving every part again. Stop if the test creates sharp pain, numbness or instability.
If you share the machine, write the saddle and handlebar settings in a training journal (paid link), including the model and footwear used. A clear record saves time and reduces accidental riding in another person's position. Do not mark or modify gym equipment without permission. When a machine has no numbered scale, ask staff how settings can be reproduced safely. Your notes should describe a practical setup, not encourage repeated adjustments beyond the equipment's structural limits.
Distinguish comfort changes from persistent problems
An excessively high saddle can lead to reaching and hip movement, while a low setting may feel cramped. Handlebar reach can influence hand and shoulder pressure. These are possible setup observations, not a diagnostic map in which each pain location proves one cause. Muscle weakness, previous injury, workload and medical conditions may also matter. If an adjustment does not help, do not keep moving the seat farther in the same direction while hoping a bigger change will work.
Reduce riding demand while reviewing persistent discomfort. Saddle numbness, recurring joint pain, altered sensation or new weakness calls for appropriate assessment. A thicker seat cover is not an automatic solution and may change the effective sitting position. Ask a trained instructor about basic fit, and a clinician about symptoms that need medical evaluation. Keep the distinction clear: equipment instruction can explain how to lock a slider, but it cannot establish the cause of a continuing physical problem.
Use the setup during a sensible first workout
After a comfortable short check, begin an easy ride rather than testing the maximum resistance. Position quality can deteriorate as you become tired, so observe whether the hips start rocking or the hands grip harder later. That may reflect effort as well as fit. If you recently changed the saddle, keep other variables familiar. Avoid adding a long ride, standing climbs and new footwear on the same day, since the combined changes obscure which one affected comfort.
The twenty-minute beginner workout provides a simple next step once access, foot security and the seated position feel manageable. Recheck locking components whenever the bike has been adjusted, transported or used by another person. A useful setup supports repeatable comfortable movement without promising injury prevention. It is also acceptable to choose a different machine when the available adjustment range does not suit you; buying accessories is not a requirement to make an unsuitable frame work.
Practical Options at a Glance
| Situation | Practical option | What to consider |
|---|---|---|
| Hip rocking | Stop and review saddle position | Do not diagnose pain from one observation |
| Cramped recumbent stroke | Review seat distance | Lock the slide before testing |
| Uncomfortable hand pressure | Review reach and effort | Persistent symptoms need assessment |
Frequently Asked Questions
No single number fits all machines and body proportions. Crank length, footwear, saddle shape and the available adjustments matter. Use the manufacturer instructions, slow pedal observations and qualified fitting help when needed. Avoid treating a photograph or generic formula as a diagnosis of persistent discomfort.
Stop completely, dismount and follow the bike instructions for adjustment. Confirm pins, knobs or clamps lock before another easy check. Never extend a post beyond its limit marks. A loose or damaged adjustment needs attention before use; holding the bike carefully does not make that defect acceptable.
Not necessarily. A cover changes the contact and sometimes the effective position, but numbness may have several causes. Stop or reduce activity and seek appropriate assessment if symptoms persist. Do not assume buying more padding replaces a usable fit, suitable workload or medical review when needed.
Safety and Personal Needs
Stop activity and seek appropriate help for chest pain, faintness or severe unexpected breathlessness. Persistent pain, numbness, new weakness, unexplained swelling or recurrent instability needs assessment before progression. Follow individual guidance for medical conditions, pregnancy, recent surgery or injury. The examples are adjustable general education, not clinical rehabilitation, medical clearance or guarantees against injury. Use the actual equipment manufacturer instructions; capacities, adjustments, pedals and stopping procedures differ.
This is general educational information. Individual needs vary with health, medications, fitness and training experience.
Sources and Further Reading
- Schwinn: Product Manuals and Intended Equipment Use
- American Council on Exercise: Cardio Equipment and Indoor Cycling