Published by Best Fitness Routine. Editorial standards · Report a correction. Educational guidance; no individual clinical review is claimed unless a qualified reviewer is named.
Make the first ride manageable
A 20-minute stationary bike workout for beginners should leave you with a clear idea of your starting point. It does not need to resemble a fast studio class. This example uses five minutes of easy pedaling, ten minutes of comfortable riding and five minutes of gradual cooling down. Stay seated throughout. If twenty minutes is beyond your current capacity, shorten the middle block instead of forcing yourself to finish a number on the screen.
The purpose of the first ride is to learn the controls, settle into the seat and find an effort you can repeat. Breathing, comfort and pedal control matter more than displayed miles. A bike may calculate distance differently from another model, so an impressive-looking number is not a reliable comparison. Treat the routine as an adjustable educational example for adults who can exercise comfortably, with individual advice taking priority when health conditions affect activity.
Prepare the bike before the timer starts
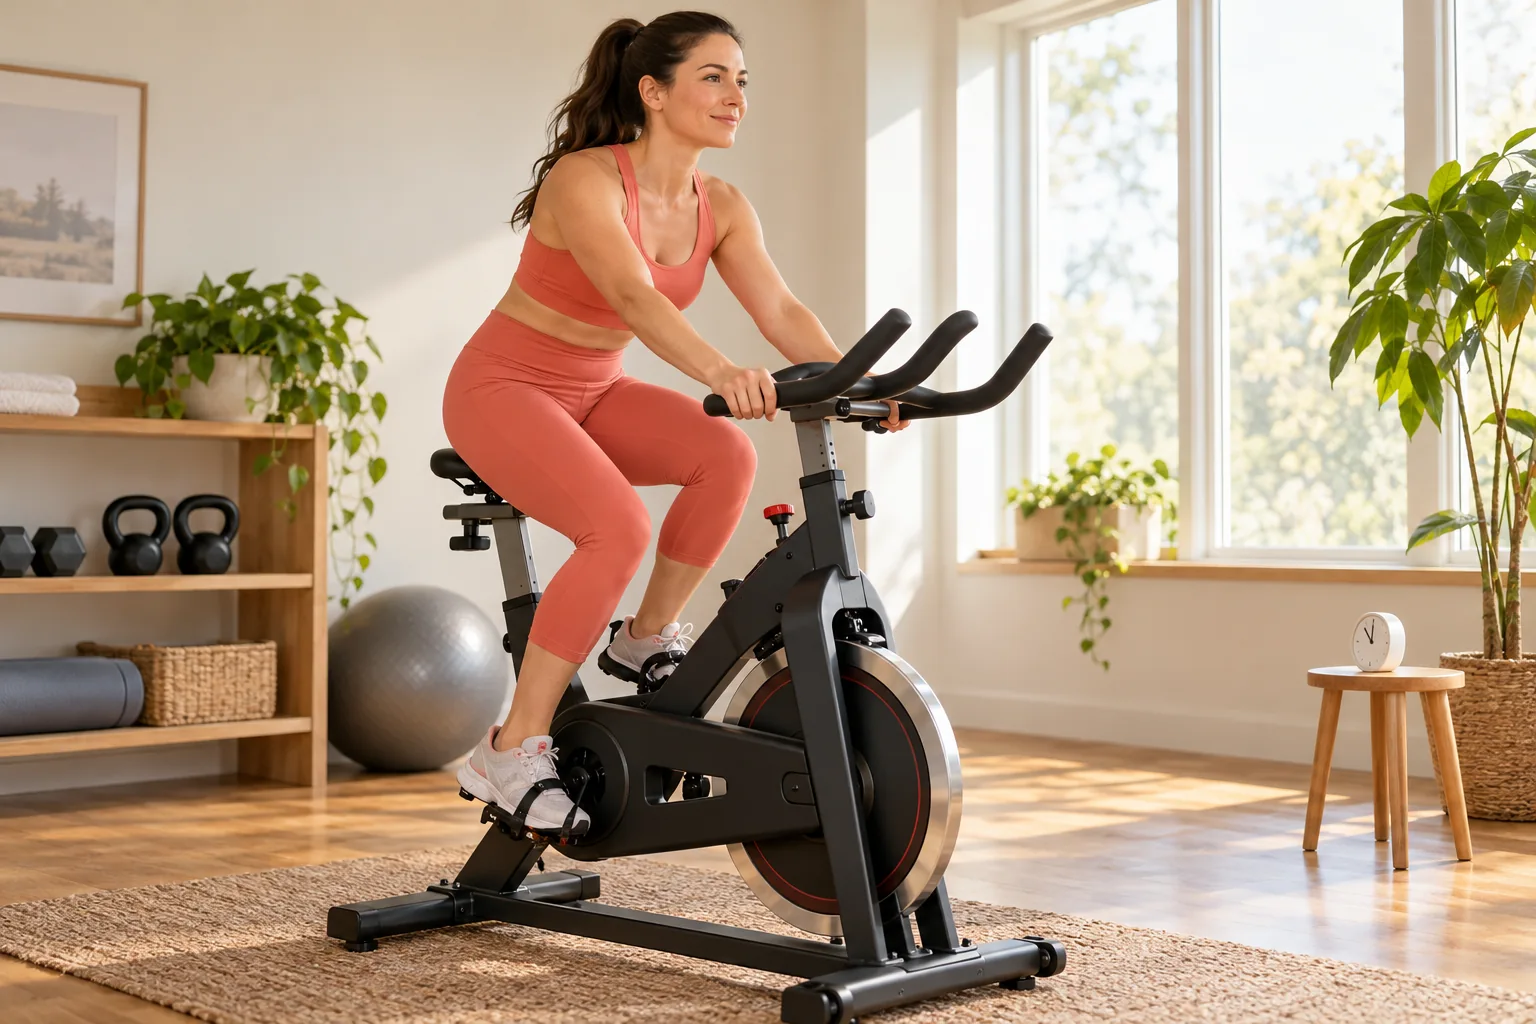
At home or in a gym, begin by identifying the seat adjustments, resistance control and stopping procedure. Read the instructions for the actual machine. Some indoor cycling bikes have a flywheel that continues moving the pedals, so suddenly lifting your feet is not a safe way to finish. Make adjustments only while the bike is stopped and you are off it. Ensure the saddle and handlebars lock securely before mounting.
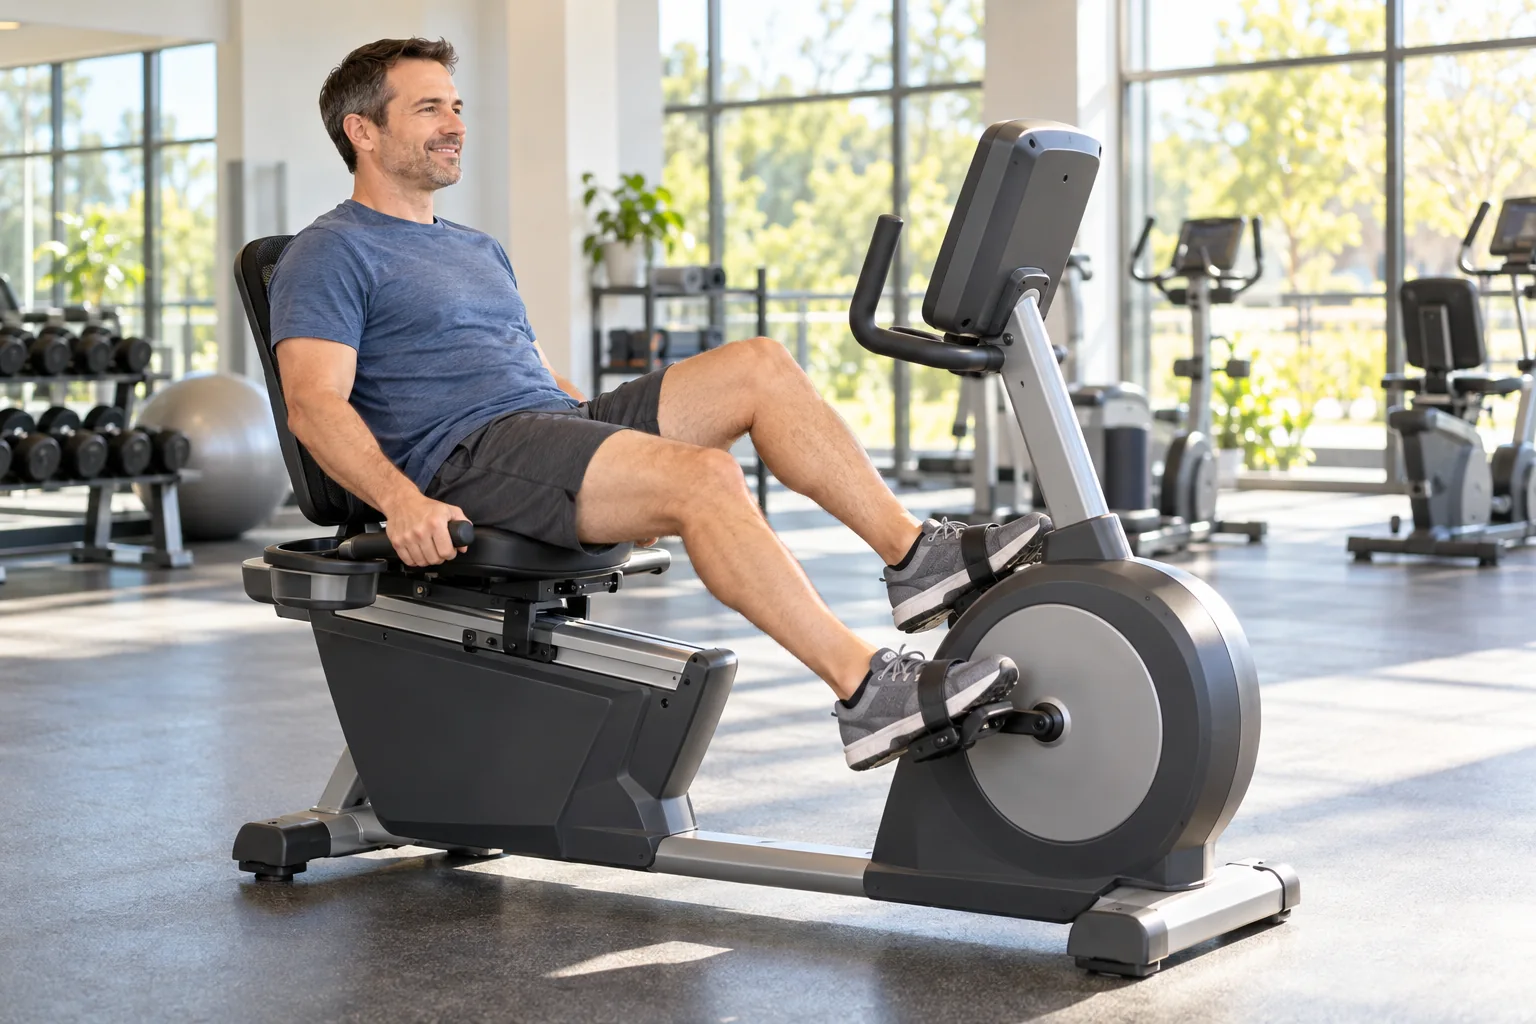
If you are comparing a upright exercise bike (paid link), consider access, adjustment range, stability and the stated user-weight limit before console features. An existing gym bike can be a sensible way to try the format before buying one. Clear the surrounding area, keep pets away and avoid loose clothing near the drivetrain. Allow the operating clearance specified by the manufacturer, including room to get on and off without stepping over a bag or tangled charging cable.
Find a comfortable seated position
Set the saddle so you can turn the pedals with a softly bent knee near the bottom of the stroke, without rocking your hips or reaching with your toes. This is a starting observation rather than a precise fitting formula. Position the handlebars where your shoulders remain relaxed and your hands can rest lightly. If a posture requires you to hang heavily from your arms, stop and review the setup before riding harder.
Wear secure footwear suited to the pedals. Adjust straps or use compatible clip-in equipment only as the maker instructs; practice releasing unfamiliar systems with assistance. Pedal slowly and notice whether your knees track comfortably rather than forcing an artificial line. Persistent joint pain, saddle numbness or a one-sided reach needs attention. Our stationary bike setup guide explains a fuller stopped-bike adjustment process and when an individual fitting assessment may help.
Use five easy minutes to settle in
Start with enough resistance to keep the pedals controlled while the effort stays light. During minute one, focus on smooth movement and relaxed breathing. Over the next few minutes, make a small adjustment only if the pedals feel uncontrolled or the setting is unnecessarily hard. You should not need to strain, bounce or grip the handlebars tightly. The warm-up is a gradual transition into riding, not a competition to reach a target quickly.
Use the bike clock or an interval timer (paid link) if you want a clear cue at five minutes. Keep the device securely positioned and avoid reaching to change it while pedaling. A timer organizes the session, but it does not decide whether you are ready. Extend the easy phase or finish early when that is the sensible choice. Take time to understand how a small resistance change affects the feeling in your legs before entering the middle block.
Ride comfortably for the middle ten minutes
For minutes five through fifteen, keep a steady rhythm that allows conversation. Moderate activity usually makes breathing more noticeable while still allowing you to talk; your first session may remain easier. Choose a manageable setting and resist the urge to copy a class instructor's cadence or resistance number. Different bikes use different scales, and riders arrive with different experience. Stay seated, with hands light and shoulders free of unnecessary tension.
Break the block into two five-minute observations. At the midpoint, ask whether breathing remains settled, the saddle feels acceptable and the pedal stroke is controlled. If one of those has changed, reduce the effort or shorten the ride. A heart-rate monitor (paid link) can provide optional feedback when compatible with the bike, but its reading should not overrule symptoms. Medication, sensor errors and individual physiology can make generic heart-rate targets unsuitable, particularly during an unfamiliar workout.
Keep the room and drinks practical
Indoor riding lacks the moving outdoor air that normally passes a cyclist. A modest room temperature and ventilation can make a short session more comfortable. If needed, position a room fan (paid link) outside the bike's operating area, with cables away from mounting and dismounting routes. Aim for comfortable airflow rather than treating sweating as proof of a successful workout. A cool room also does not justify suddenly increasing effort beyond your starting capacity.
Keep an ordinary drink accessible in the bike holder or nearby safe location. A short beginner ride does not automatically require sports drinks, supplements or a complicated fueling plan. Drink according to thirst and your usual needs, following personal fluid guidance when relevant. If reaching for the drink disrupts your balance or pedaling, stop safely first. A helpful setup removes small distractions, letting you judge the exercise rather than troubleshoot the room throughout the session.
Cool down before getting off
During minutes fifteen through twenty, gradually lower the effort while keeping the pedals under control. Let breathing become easier instead of stopping abruptly after the hardest part. Reduce resistance in small steps rather than turning it down so far that your feet race. Five minutes is an example; extend or shorten gentle movement according to your response. A cool-down supports a gradual transition, but it cannot guarantee prevention of soreness or injury.
At the end, use the actual bike's stopping procedure and wait for the pedals to stop completely. Release straps or clips as instructed, then dismount without rushing. Avoid stretching against moving pedals or stepping directly into a cluttered area. If you feel faint, unwell or unusually breathless, respond to the symptoms rather than treating them as an ordinary achievement. Our bike warm-up and cooldown guide covers the transition in more detail.
Record a useful baseline
Write down the bike model, saddle setting, total time and a few words about effort. A training journal (paid link) can keep these notes together, but a phone note or plain notebook is equally useful. Record whether you completed the planned warm-up, middle block and cool-down, and describe any adjustment you made. The most valuable observation might be that a slightly higher handlebar position made the second half more comfortable, not that you covered another tenth of a mile.
Check the response later that day and the next morning. Mild unfamiliar muscle tiredness differs from sharp pain, persistent numbness or symptoms affecting ordinary walking. Do not label every uncomfortable response as proof that training worked. If the ride was manageable, repeating the same version builds a more dependable baseline. When notes contain several simultaneous changes, it becomes difficult to know which adjustment improved comfort or created unnecessary fatigue.
Progress without turning every ride into a test
Begin with a schedule that fits your current activity and recovery, perhaps two short rides separated by easier days. Someone already active may choose a different starting frequency; someone returning after a long break may need less. Repeat the comfortable session before adding demand. Increase either a little riding time or a small amount of effort, keeping the other familiar. There is no requirement to make a workout harder merely because the calendar changed.
A practical progression might extend the middle block from ten to twelve minutes while keeping five easy minutes at each end. Another rider might keep twenty minutes and improve consistency at the same comfortable setting. Neither route requires a sprint finish. Include suitable strength activity elsewhere in the week rather than expecting cycling to cover every fitness need. The four-week beginner cycling plan organizes several repeatable starting options without imposing a universal workload.
Fix common problems before adding intensity
If your hips rock, revisit saddle height while stopped. If you bounce, slow down and use enough resistance for control. If your hands become uncomfortable, check reach and whether you are supporting too much weight through the bars. If your thighs burn almost immediately, the setting may be too hard for this introductory session. These observations are reasons to reduce demand and review setup, not a diagnosis of the cause of persistent pain.
Keep the first few rides simple enough that the solution to a problem is clear. Do not add standing climbs, hand weights, rapid handlebar push-ups or maximum-effort intervals while learning seated control. Those extras are unnecessary for this routine. The successful first session is one you understand and can recover from, with enough confidence to return. Finishing earlier with a useful baseline is more productive than reaching twenty minutes through a position or effort that does not suit you.
Practical Options at a Glance
| Situation | Practical option | What to consider |
|---|---|---|
| Minutes 0–5 | Easy seated pedaling | Learn control and settle the position |
| Minutes 5–15 | Comfortable continuous riding | Conversation remains possible |
| Minutes 15–20 | Gradually easier pedaling | Stop pedals fully before dismounting |
Frequently Asked Questions
No. Twenty minutes organizes this example, but you can shorten the middle block while keeping a gradual start and finish. Choose a duration that fits current capacity and personal guidance. Learning the controls and a comfortable seated position can be the useful result of a shorter session.
No. This routine stays seated. Standing riding changes the demand and is not permitted on every exercise-bike design. Follow the actual manufacturer instructions rather than copying a class. Controlled seated pedaling is enough for this introductory workout, with progression based on a repeatable comfortable response.
Not automatically. Resistance scales differ between bikes, and riders differ in experience and current capacity. Use breathing, pedal control and personal advice to choose effort. Record your own model and setting so later comparisons mean something. A number from a video is not a personalized prescription.
Safety and Personal Needs
Stop activity and seek appropriate help for chest pain, faintness or severe unexpected breathlessness. Persistent pain, numbness, new weakness, unexplained swelling or recurrent instability needs assessment before progression. Follow individual guidance for medical conditions, pregnancy, recent surgery or injury. The examples are adjustable general education, not clinical rehabilitation, medical clearance or guarantees against injury. Use the actual equipment manufacturer instructions; capacities, adjustments, pedals and stopping procedures differ.
This is general educational information. Individual needs vary with health, medications, fitness and training experience.
Sources and Further Reading
- CDC: Adult Physical Activity Guidance
- CDC: Measuring Physical Activity Intensity
- Schwinn: Product Manuals and Intended Equipment Use