Published by Best Fitness Routine. Editorial standards · Report a correction. Educational guidance; no individual clinical review is claimed unless a qualified reviewer is named.
Define an interval before making it hard
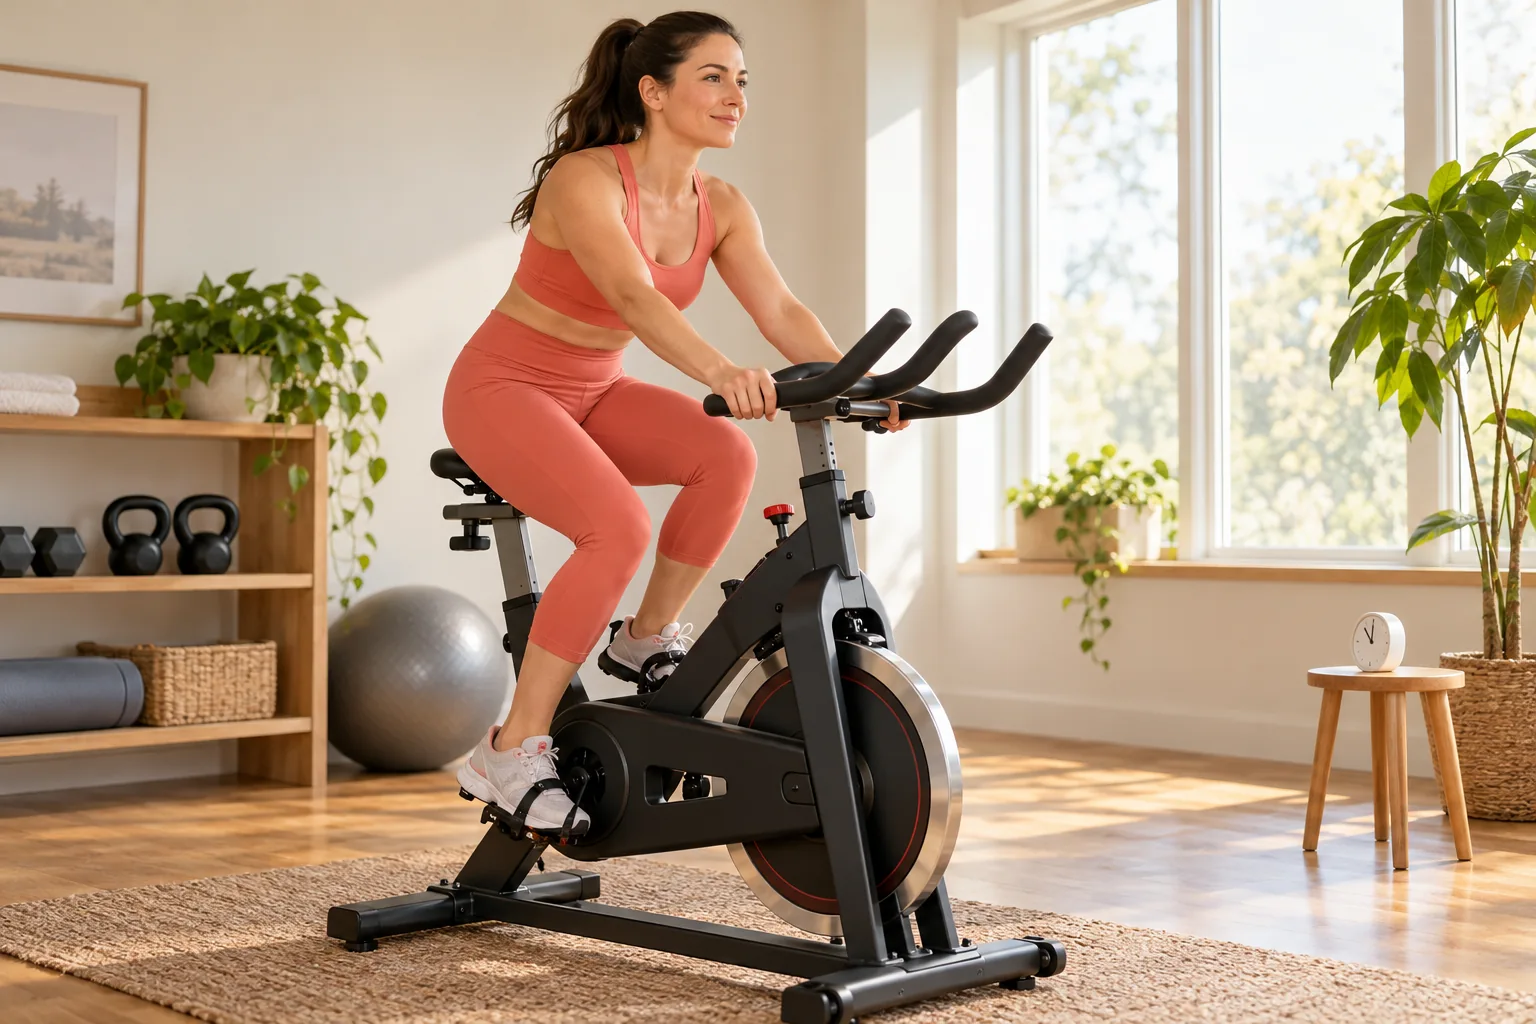
A beginner stationary bike interval workout alternates planned work and recovery. It does not have to mean high-intensity interval training or maximum sprints. This twenty-minute example uses five easy minutes, four rounds of one minute at a slightly stronger manageable effort followed by ninety seconds easy, then five minutes of gradual cooling down. The four rounds total ten minutes. Stay seated and choose settings that preserve control rather than chasing a class leaderboard.
Try this only after easy continuous rides feel familiar and your health situation allows the added demand. The stronger minutes should remain controlled, not maximal. If you are still learning to mount, adjust resistance or release pedal restraints, practice those skills first. A useful alternative is a twenty-minute comfortable continuous session. Intervals are one way to organize training; they are not a requirement for beginning cardio or a shortcut that makes every workout more effective.
Prepare a setup that lets you focus
Read the actual bike's use and stopping instructions. Lock the saddle and handlebars while stopped, secure your feet as intended and clear the area around the machine. Keep the first interval session free from new shoes, unfamiliar clips and complicated entertainment controls. You want the effort pattern to be the only meaningful new challenge. A bike that wobbles, has a loose saddle or cannot provide a comfortable seated position needs attention before an interval routine.
A suitable indoor cycling bike (paid link) should offer accessible controls and a resistance range you can adjust smoothly. An existing gym or home machine may be enough; buying a new model is not part of the workout. Check the user-weight limit and operating clearance if selecting equipment. On a fixed-flywheel design, learn the intended braking procedure rather than assuming the pedals stop when you stop pushing. Do not stand on the pedals or dismount while they are still moving.
Organize the timing before pedaling
Set an interval timer (paid link) for four rounds of sixty seconds work and ninety seconds recovery, with a separate five-minute easy phase before and after. The machine clock can also serve this purpose if the transitions are easy to track. Practice the sequence while stopped so programming does not distract you during riding. A clear sound cue may help, but keep it at a volume that still lets you hear safety instructions in a shared gym.
The elapsed sequence is straightforward: warm up from zero to five minutes, complete the four alternating rounds from five to fifteen minutes, then cool down from fifteen to twenty. Missing a cue is not a reason to accelerate suddenly. Continue easy pedaling and restart the next block only when you understand where you are. If the routine needs longer recovery, extend the session gently or reduce rounds; the clock should organize the activity rather than control your judgment.
Warm up without using the first interval as preparation
Begin with light controlled pedaling and relaxed shoulders. Let breathing become slightly more noticeable over several minutes, adjusting only enough to feel settled. The first stronger minute should not be your first exposure to movement that day. If the easy phase reveals an uncomfortable knee, numb foot or unstable seat, stop and resolve the issue rather than assuming a faster section will improve it. Warm-up time is an opportunity to assess readiness.
Keep a water bottle (paid link) accessible without placing it near moving parts. Ordinary drinks are usually sufficient for a brief session, with individual fluid restrictions taking priority when relevant. If the room is warm or the ride feels unexpectedly difficult, lower the demand. Hydration does not make an unsuitable intensity safe. The warm-up and cooldown guide explains how to use a gradual start while keeping preparation separate from a demanding training block.
Make the first stronger minute modest
For the first work minute, increase resistance slightly while keeping a familiar comfortable rhythm, or make a small cadence change at the same manageable load. Choose one change, not both, during your first trial. Breathing may become more noticeable, but you should retain smooth pedaling and the ability to respond normally to a simple instruction. There is no prescribed universal resistance percentage because bike scales and riders differ.
Stay seated, keep elbows soft and avoid gripping the bars to overpower the setting. If you begin rocking your torso, bouncing or pressing through joint pain, reduce effort immediately. The stronger minute is a controlled comparison with the easy phase, not an endurance test. Our cadence and resistance guide explains why a fast pedal speed and a heavy load are different variables, and why neither display alone establishes a suitable intensity.
Let ninety seconds of recovery do its job
After the work minute, return to easy controlled pedaling. Breathing should become comfortable enough that another modest work block feels realistic. Ninety seconds is the example interval, not a rule requiring you to restart while still distressed. If recovery is incomplete, extend it, reduce the next work setting or finish with easy movement. An interval routine depends on manageable repetition, not simply completing a predetermined sequence despite worsening responses.
An optional heart-rate monitor (paid link) may show a trend, but heart rate can lag behind effort changes and depends on individual factors. Do not wait for a screen to declare recovery if you feel unwell, and do not force a generic target pulse. Breathing, movement quality and symptoms provide essential context. If personal medical guidance includes specific limits, use those instructions. Repeatedly failing to recover at a modest workload warrants review rather than a shorter recovery timer.
Repeat only while technique remains settled
Rounds two through four can use the same work setting as the first. A beginner does not need to make each round harder. Check posture at the start of every work minute and notice whether the easy phase restores comfortable breathing. Fatigue may change the feel of an unchanged setting. It is reasonable to reduce resistance slightly in later rounds or stop after two rounds when that matches the response better.
Write the completed rounds and effort in a training journal (paid link) after the ride. Include whether you extended recovery or used the continuous alternative. Those are meaningful training decisions, not errors that need correction through extra work. A routine completed with steady technique offers a clearer baseline than four increasingly uncontrolled rounds. Do not add an unplanned sprint because the final interval seemed easy; repeat the same design another day before deciding it needs progression.
Use a full gradual finish
After the fourth recovery block, spend five minutes making the ride easier. Keep pedals controlled, relax unnecessary upper-body tension and let breathing settle. Do not immediately stop after the hardest minute to save time. If you finish early, still use an appropriate easy transition where symptoms and circumstances allow it. A cool-down is not treatment for chest pain, faintness or severe unexpected breathlessness; those symptoms require an appropriate response.
Follow the bike's stopping instructions, wait for all pedal movement to cease and release foot restraints as directed. Stand slowly and take time before walking away if needed. Avoid using the moving bike as a stretching support. When a workout has produced unusual symptoms, write down the circumstances and seek suitable advice before another interval trial. Equipment numbers cannot establish why a person felt faint or whether repeating the same demand is medically appropriate.
Place intervals sensibly in the week
During an introductory period, one modest interval session can be enough to learn how the format feels. Keep other rides comfortable and leave room for recovery and suitable strength activity. This is not a command that every reader must complete intervals weekly. Your existing activity, health needs and response may make continuous riding the better option. Avoid placing the first interval experiment after a demanding leg session or during a sudden increase in overall exercise.
The cycling and strength schedule provides ways to distribute different demands. If work or family commitments shorten a session, reduce the planned content instead of compressing recovery. Time efficiency does not require turning every spare minute into high effort. A schedule that repeatedly leaves you exhausted for ordinary life needs adjustment. Keep the weekly pattern understandable enough to identify whether the stronger ride, strength session or combined workload is causing a problem.
Progress one feature after repeated comfortable sessions
Once the four-round version feels manageable on several occasions, consider one small change: a modestly stronger work setting, a little more easy riding elsewhere or an additional round with enough recovery. Increasing all three together makes the response hard to interpret. Adding a round also changes the total duration; do not continue calling an expanded version the same twenty-minute routine. Update the timing so the planned warm-up and cool-down remain visible.
Progress can also mean better control at an unchanged workload. If you return after illness, a break or unusually tiring weeks, restart with an easier familiar ride before resuming stronger blocks. No deadline requires progression after a particular number of sessions. The four-week beginner plan treats intervals as optional, keeping continuous activity available throughout. A useful interval workout is one whose purpose, timing and recovery you understand, rather than one that simply feels the hardest.
Practical Options at a Glance
| Situation | Practical option | What to consider |
|---|---|---|
| Five-minute start | Easy seated pedaling | No maximum effort test |
| Four alternating rounds | One minute stronger, ninety seconds easy | Extend recovery when needed |
| Five-minute finish | Gradually lower effort | Continuous riding is an alternative |
Frequently Asked Questions
This example uses manageable stronger minutes rather than maximum-effort work. It is not presented as a high-intensity prescription. Continuous easy or moderate riding remains a suitable alternative when it fits the person better. The ability to recover and keep control matters more than the interval label.
Extend the easy phase, reduce the next effort or finish with gentle riding as appropriate. Do not restart a stronger minute while still distressed simply because the timer sounds. Unexpected or severe symptoms need an appropriate response. Recovery is a manageable physical state, not only a programmed time.
Repeat the starting version comfortably before changing it. An extra round adds time and demand, so update the total duration and retain gradual transitions. Avoid simultaneously increasing resistance, rounds and frequency. A small understandable progression is easier to assess than several changes introduced together.
Safety and Personal Needs
Stop activity and seek appropriate help for chest pain, faintness or severe unexpected breathlessness. Persistent pain, numbness, new weakness, unexplained swelling or recurrent instability needs assessment before progression. Follow individual guidance for medical conditions, pregnancy, recent surgery or injury. The examples are adjustable general education, not clinical rehabilitation, medical clearance or guarantees against injury. Use the actual equipment manufacturer instructions; capacities, adjustments, pedals and stopping procedures differ.
This is general educational information. Individual needs vary with health, medications, fitness and training experience.
Sources and Further Reading
- CDC: Measuring Physical Activity Intensity
- American Heart Association: Warm Up, Cool Down
- Schwinn: Product Manuals and Intended Equipment Use