Published by Best Fitness Routine. Editorial standards · Report a correction. Educational guidance; no individual clinical review is claimed unless a qualified reviewer is named.
Compare the riding position before the features
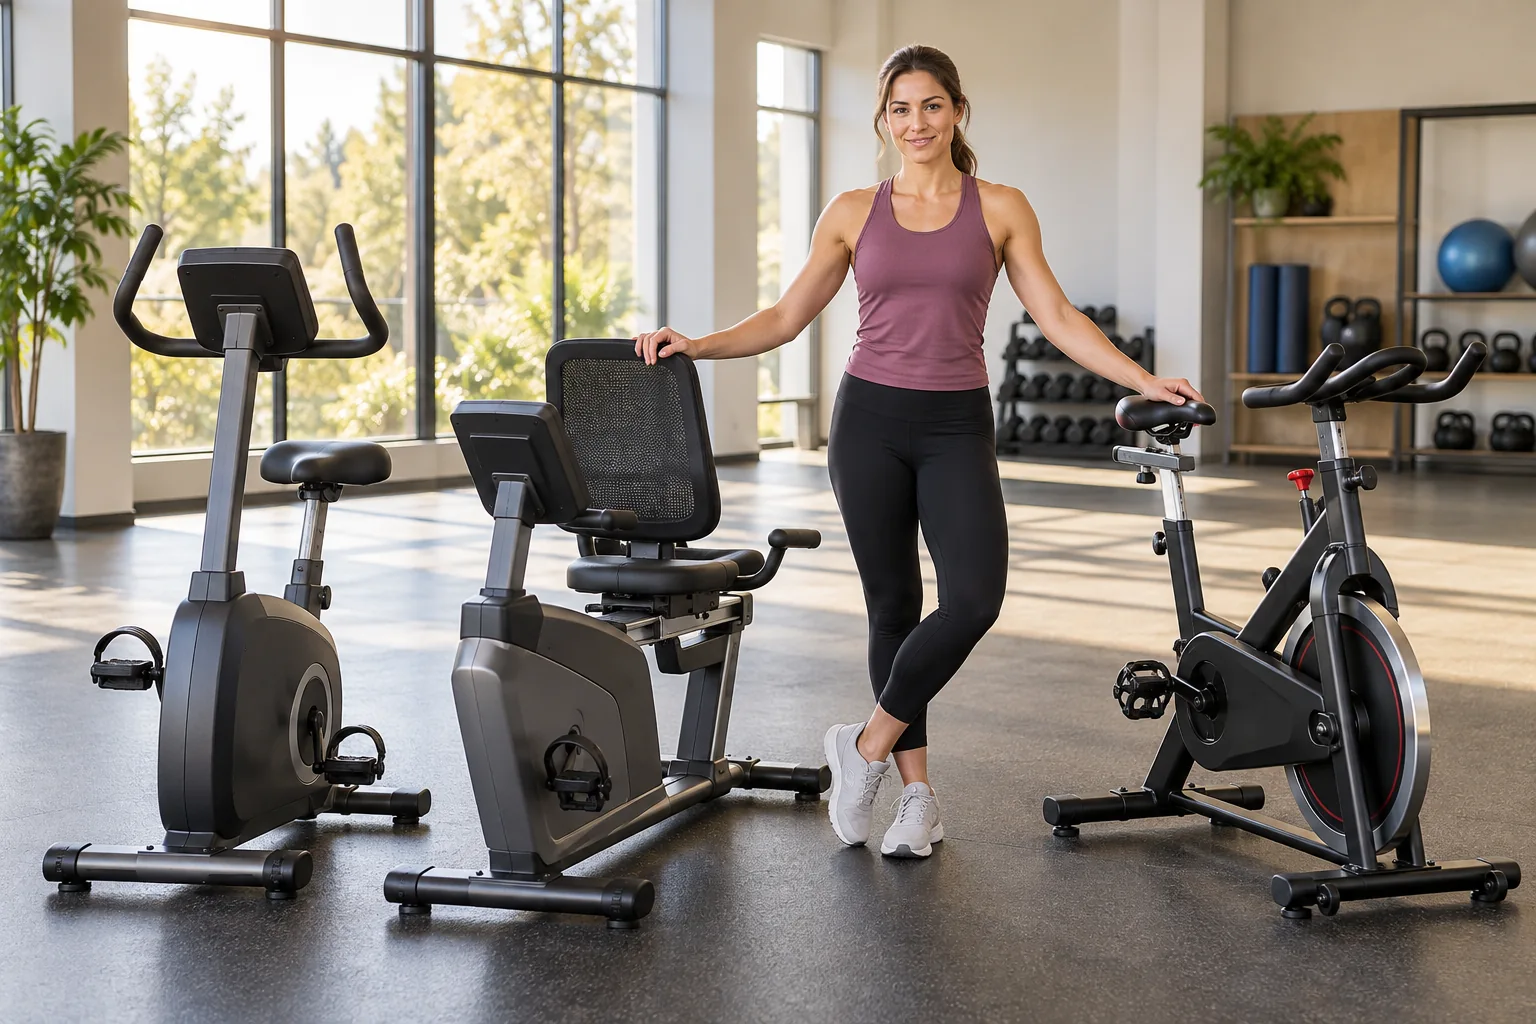
Upright, recumbent and indoor cycling bikes all provide ways to pedal indoors, but they arrange the body and controls differently. An upright exercise bike typically places the saddle above the pedals with a relatively upright torso. A recumbent model has a supported seat farther behind the pedals. An indoor cycling bike often uses a narrower saddle and a position that can resemble a road bike, with a flywheel and manual or electronic resistance controls.
These are broad categories, not identical designs. Specific models vary in access, adjustment range, resistance mechanism and permitted use. This guide helps you compare practical questions before selecting equipment. It is not a ranking of brands or a claim that one style is best for every rider. Begin with fit, comfortable movement and the manufacturer's instructions. Entertainment options matter less when the basic entry route or pedal position does not suit the intended user.
Understand the upright exercise-bike format
An upright bike can offer a relatively compact seated cardio option for a home or gym. The saddle normally adjusts vertically, with other adjustments depending on the model. Many riders use the intended seated position throughout, rather than standing on the pedals. Console controls may offer programmed resistance changes, but these do not automatically establish a suitable beginner workout. Learn the actual stopping procedure and how to adjust the seat while off the machine.
When comparing an upright exercise bike (paid link), check whether the saddle height range, handlebar reach and mounting arrangement fit you. Test gentle pedaling rather than choosing solely from a size chart. A machine with a compact footprint may still require substantial operating clearance. If standing riding is not explicitly permitted by the manufacturer, do not assume it is allowed because another bike at the gym supports it. The name of the category cannot replace the instructions for the particular frame.
Understand the recumbent format
A recumbent bike places the rider in a seat with back support, typically with the pedals forward. Seat adjustment commonly changes distance rather than vertical height. Some people appreciate this arrangement for access or a supported torso position, but it still requires a comfortable knee and hip movement through the stroke. A chair-like appearance does not guarantee an individual can mount, reach the pedals or get up easily from every model.
A recumbent exercise bike (paid link) comparison should include entry height, step-through space, backrest shape and the seat slide's usable range. Check how the adjustment locks before riding. Some machines are long, creating a larger room requirement than expected from the console photograph. A trial ride and a deliberate dismount can reveal practical problems that a feature list hides. Our recumbent beginner routine uses a short observation phase before a comfortable continuous block.
Understand the indoor cycling format
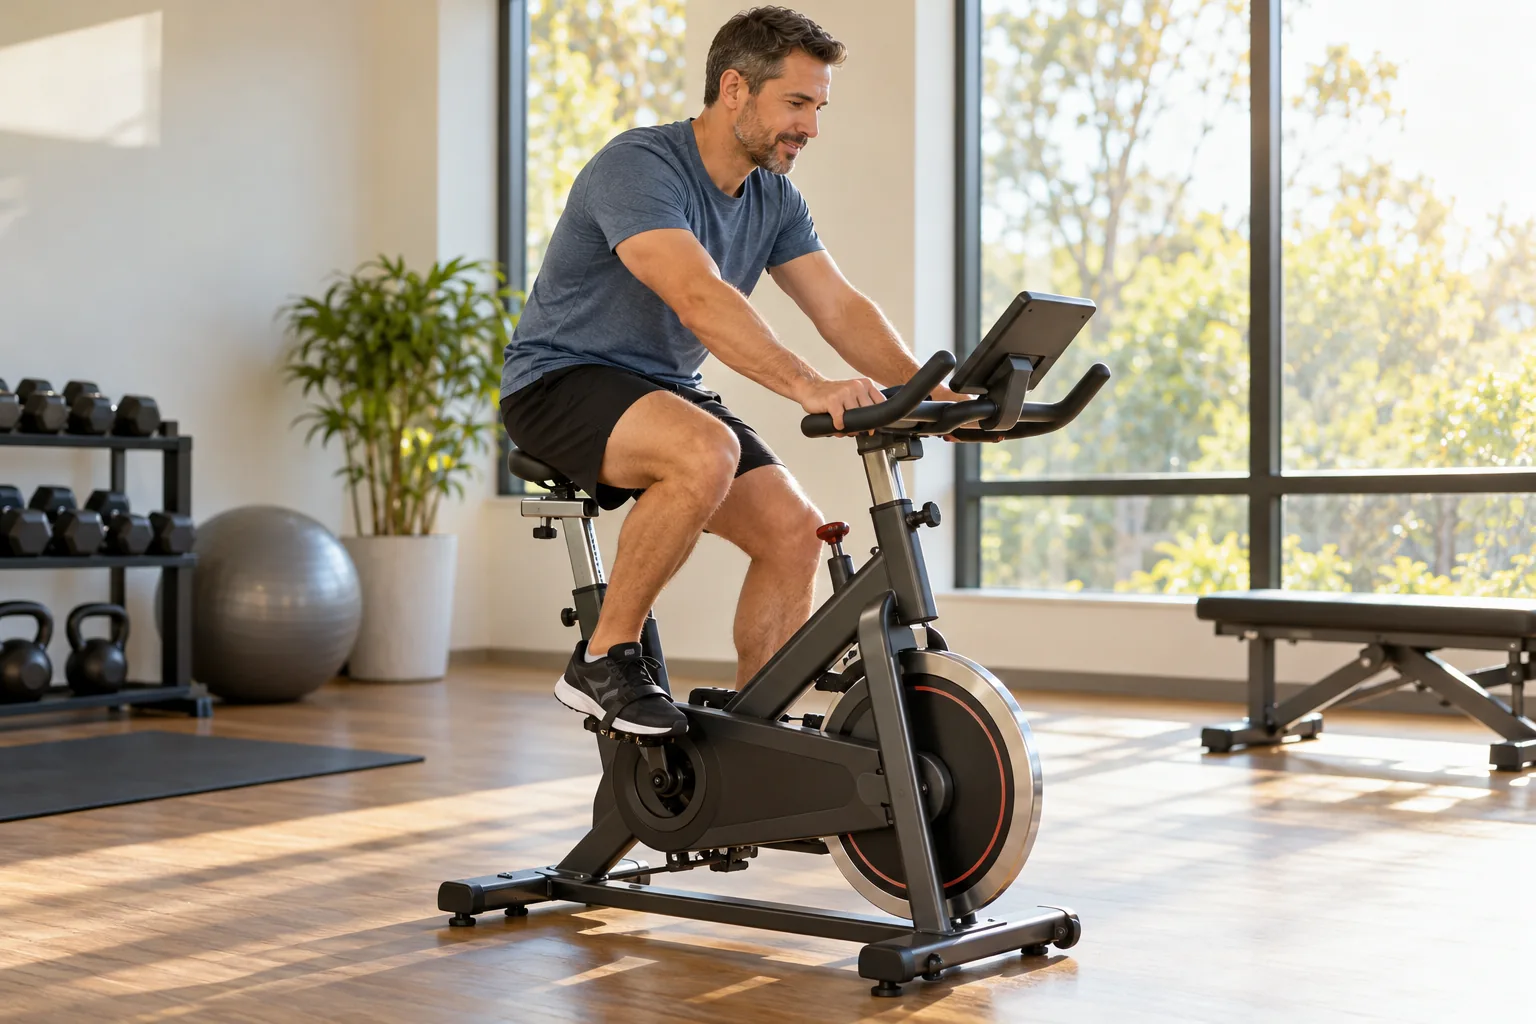
Indoor cycling bikes often provide a narrower saddle, fore-aft seat adjustment and handlebars with several intended grip positions. Some are built for instructor-led classes and may permit standing use, but that does not mean beginners need it. Many use a flywheel arrangement in which pedal movement continues until braking slows the system. Learn how resistance and stopping operate on the actual bike before following a video that assumes different equipment.
When examining an indoor cycling bike (paid link), check saddle and handlebar ranges, accessible controls, pedal compatibility and maintenance requirements. A heavier flywheel is not by itself a guarantee of a better fit or appropriate workout. Ask whether the bike's resistance numbers have a useful repeatable scale and whether a console is included or optional. Begin with seated controlled riding even if the design supports advanced class movements. Equipment capacity and technique still matter when the machine looks athletic.
Compare how each style fits the room
Measure the actual room and the manufacturer's required operating clearance, not only the advertised frame footprint. Include the path to approach the bike, release foot restraints and dismount. Consider doors, pets, children, rugs and electrical cables. A machine that fits between furniture while nobody uses it may be impractical during movement. Do not plan to relocate a heavy bike before every ride unless the transport arrangement is safe and realistically manageable.
A equipment floor mat (paid link) may protect a suitable floor and collect drips when compatible with the machine, but it should not disguise an uneven base or unstable frame. Follow the bike and mat instructions for the surface underneath. Avoid placing a bike on thick soft layers that make it rock. If you live in an apartment, also consider permitted use, vibration and access for delivery. Floor protection is one practical detail, not evidence that every machine will be silent or structurally suitable.
Check controls and moving-part safety
Look for a resistance control you can reach without losing posture and a stopping method you understand. Ask whether pedals can coast independently or remain connected to the flywheel. Secure any straps and keep loose laces or clothing away from moving parts. Inspect the bike before mounting, particularly in a shared gym where another person may have adjusted it. A console screen does not cancel the need to check saddle locks and stable footing.
Match shoes and any clip-in equipment to the actual pedals. Learn how to release them before exercise rather than during a rushed dismount. Do not add unapproved pedal adapters, handlebar extensions or seat modifications because an online reviewer used them. A supplier should be able to direct you to the correct manual and explain intended use. If the machine cannot be adjusted safely for the rider, compare a different model or activity rather than forcing the mismatch.
Separate a bike purchase from a workout plan
Buying a bike does not determine how often, how long or how hard you should ride. A recumbent session can be demanding, and an indoor cycling bike can support a gentle seated ride. The workout comes from the chosen effort, duration and individual response, not the appearance of the equipment. Start with a manageable routine, learn the controls and record the setup before adding intensity. Avoid assuming every included automatic program is suitable for a beginner.
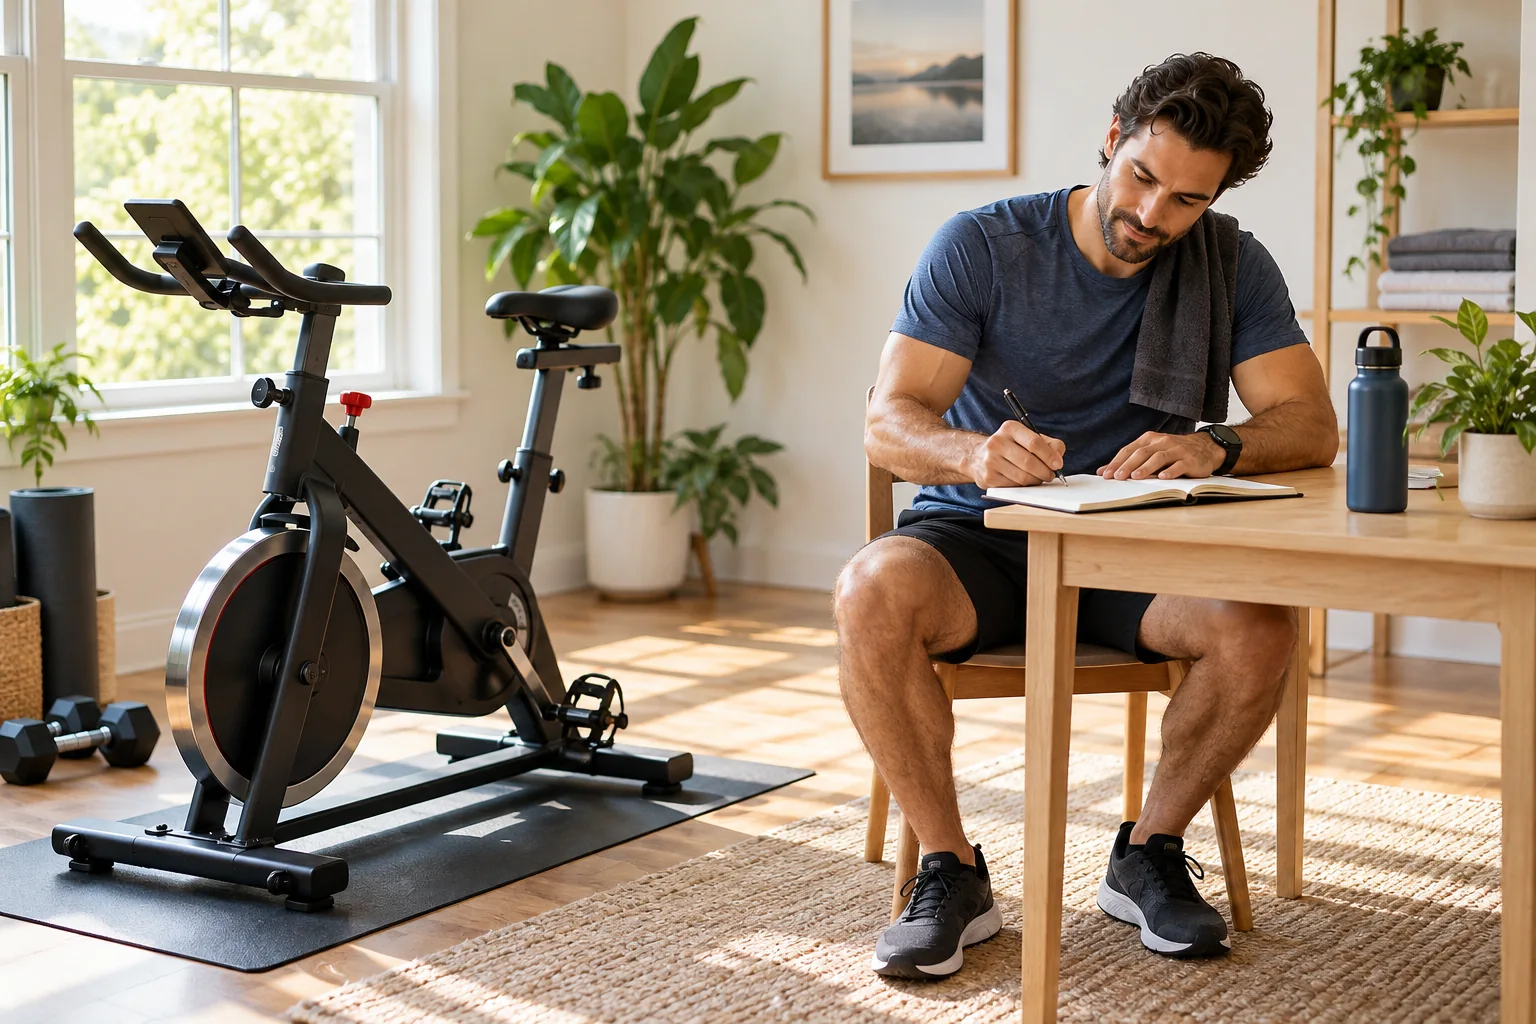
A training journal (paid link) can help compare short trial rides, recording comfort, access and any adjustment needed on each machine. Keep the trial reasonably similar so the comparison is useful. Do not choose a bike because one console shows more calories during an apparently equal ride; calorie estimation methods vary. Note which machine you could mount easily and ride without persistent discomfort. Those observations support a practical purchase decision more reliably than an unexplained score or a marketing photograph.
Compare costs that continue after delivery
Check the full arrangement before buying: delivery, assembly, servicing, replacement parts and any optional subscription. A connected screen may require membership for some features, while basic pedaling may or may not remain available without it. Verify the exact terms for the model and country instead of assuming they match a review from another market. This guide does not quote current prices because listings and subscription arrangements can change.
Ask about local support, warranty conditions and whether the product is intended for household or commercial use. Imported electrical equipment and connected features may have different compatibility requirements. If the budget is tight, trying existing gym equipment or an accessible community facility can answer the fit question before a purchase. Avoid spending on accessories first and discovering later that the bike itself cannot provide a comfortable seat position or safe entry for the intended rider.
Match the first routine to the person
For a healthy adult learning the controls, a short easy seated ride may be enough to establish a baseline. The twenty-minute beginner workout includes an easier shortened option, while the recumbent routine uses fifteen minutes. Neither duration is mandatory. Medical conditions, symptoms, current activity and recovery can change the starting point. Someone with significant access or balance concerns may need assistance or individual guidance before using unfamiliar equipment independently.
Do not assume one bike type is prescribed by age, body size or a single diagnosis. People within those groups differ, and specific machines vary. A supported seat might suit one rider while another finds an upright saddle easier to get onto. If a position produces persistent pain or numbness, stop and review rather than simply selecting a harder workout. The bike setup guide offers basic observations while keeping equipment instruction separate from clinical assessment.
Make the final comparison concrete
Choose three or four must-have requirements before comparing entertainment features. These might be safe step-through access, an adjustment range that fits two household users, clear controls and support available in your country. Try the intended seated position, operate the stop mechanism and practice a careful dismount. Read capacity and clearance limits directly from the manufacturer. A meaningful shortlist is based on those verified requirements rather than a broad claim that one category always burns more calories.
If more than one style fits, choose the arrangement you are likely to use consistently and maintain properly. Keep suitable strength activity and other movement in the wider routine, since cycling alone does not cover every fitness need. It is acceptable to delay buying until you understand the setup better. A sensible exercise-bike decision connects a real rider, a real room and a workable activity plan, without requiring a premium screen or an unnecessarily demanding class format.
Practical Options at a Glance
| Situation | Practical option | What to consider |
|---|---|---|
| Upright bike | Seated position above pedals | Check height and mounting access |
| Recumbent bike | Supported seat behind pedals | Check distance and room length |
| Indoor cycling bike | Adjustable saddle and varied handlebars | Learn flywheel stopping procedure |
Frequently Asked Questions
The better option is the specific machine that suits your access, adjustment needs, room and intended use. There is no universal winning category. A short easy trial and a careful dismount often reveal more than a feature list. Verify capacity, clearance and controls from the manufacturer.
No. Many support seated riding, and beginners do not need standing climbs. Whether standing is permitted depends on the actual model instructions. Flywheel and stopping arrangements also vary. Learn the machine before following a class that assumes a different frame or more advanced technique.
No. A simple clock and understandable controls can support a beginner routine. Connected features may be useful for some preferences, but verify subscriptions, country support and offline functions before buying. A screen cannot solve an unsuitable seat range, awkward entry route or unclear stopping procedure.
Safety and Personal Needs
Stop activity and seek appropriate help for chest pain, faintness or severe unexpected breathlessness. Persistent pain, numbness, new weakness, unexplained swelling or recurrent instability needs assessment before progression. Follow individual guidance for medical conditions, pregnancy, recent surgery or injury. The examples are adjustable general education, not clinical rehabilitation, medical clearance or guarantees against injury. Use the actual equipment manufacturer instructions; capacities, adjustments, pedals and stopping procedures differ.
This is general educational information. Individual needs vary with health, medications, fitness and training experience.
Sources and Further Reading
- Schwinn: Product Manuals and Intended Equipment Use
- American Council on Exercise: Cardio Equipment and Indoor Cycling