Published by Best Fitness Routine. Editorial standards · Report a correction. Educational guidance; no individual clinical review is claimed unless a qualified reviewer is named.
Use bands for balanced preparation rather than endless swings
A resistance band workout for pickleball can provide practical strength practice at home or while traveling. Bands are compact, but they are still resistance equipment and need deliberate setup. A useful routine trains more than the paddle arm: pushing, pulling and controlled lower-body movement all have a place. Repeatedly swinging against a heavy band is not necessary for a beginning program and can create a movement very different from comfortable shot practice.
This example uses a few manageable patterns rather than a continuous high-speed circuit. Learn each exercise separately, using low tension and enough rest to keep technique consistent. The resistance depends on the band, the stretch and the position of your body, so color alone is not a universal measure of difficulty. If a joint is painful, recent surgery affects your options or you have restrictions on resistance exercise, seek personalized guidance before choosing movements or anchors.
Inspect the band and the entire setup
Before using resistance bands (paid link), check for cracks, thinning, tears or damaged handles. Follow the maker's instructions about storage, stretch limits and attachment. Keep the equipment away from sharp edges and hot surfaces, and replace damaged material rather than trying to repair it with tape. Be aware of latex sensitivity when selecting products. Inspecting the band is part of each session, even if it looked fine during the previous workout.
Allow a clear space around you and along the possible recoil direction. A broken or released band can move quickly, so avoid arrangements that pull directly toward your face. Never wrap a band around a weak chair, a radiator or another object not intended to hold the load. If you do not have a secure approved arrangement, use exercises that do not require an anchor. Compact equipment is convenient only when the way you use it is appropriate to the environment.
Learn tension before counting repetitions
Start with a comfortable stance and gently take up slack, then return without snapping the band. Notice how resistance increases as the band stretches. Use a range you can control in both directions, with no jerking start or abrupt release. During the first session, practice the setup and a few easy repetitions rather than trying to complete a full workout. You should be able to stop the movement at any point.
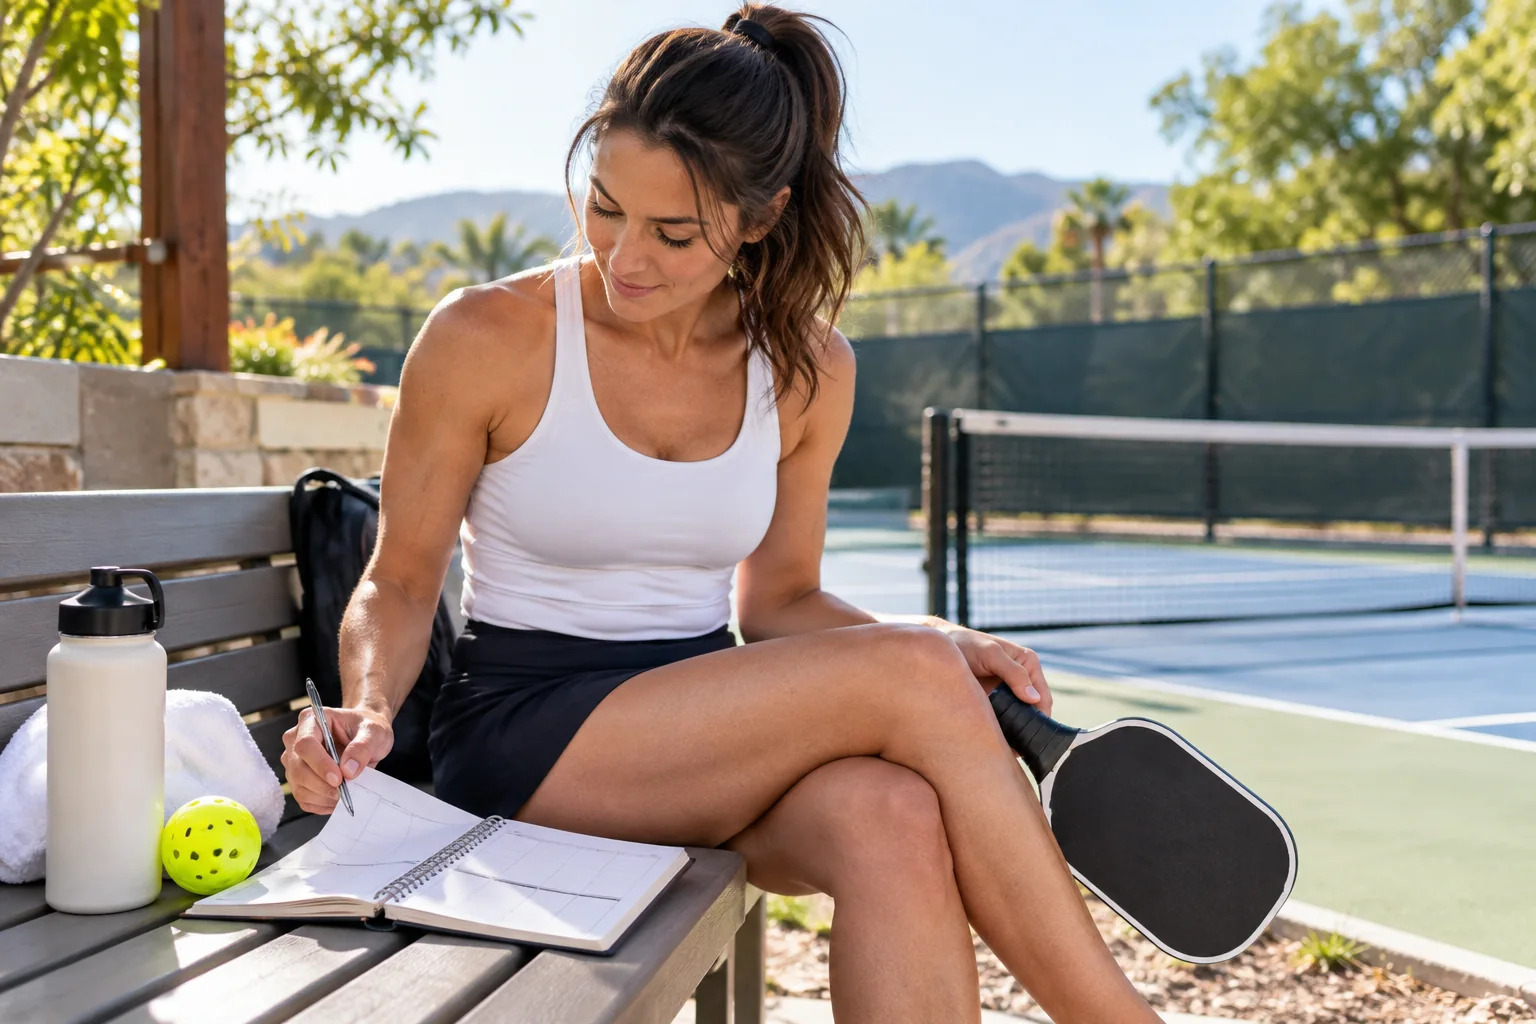
A training journal (paid link) can record the exact band, grip position and approximate starting length along with the repetitions. These details are more useful than a color label alone. Changing how close you stand to an anchor may make an exercise harder even when the equipment is unchanged. Compare progress using the same setup before deciding to move to a thicker band. If returning slowly feels much harder than pulling outward, reduce the tension so the full repetition remains controlled.
Pattern one: an unanchored pull-apart
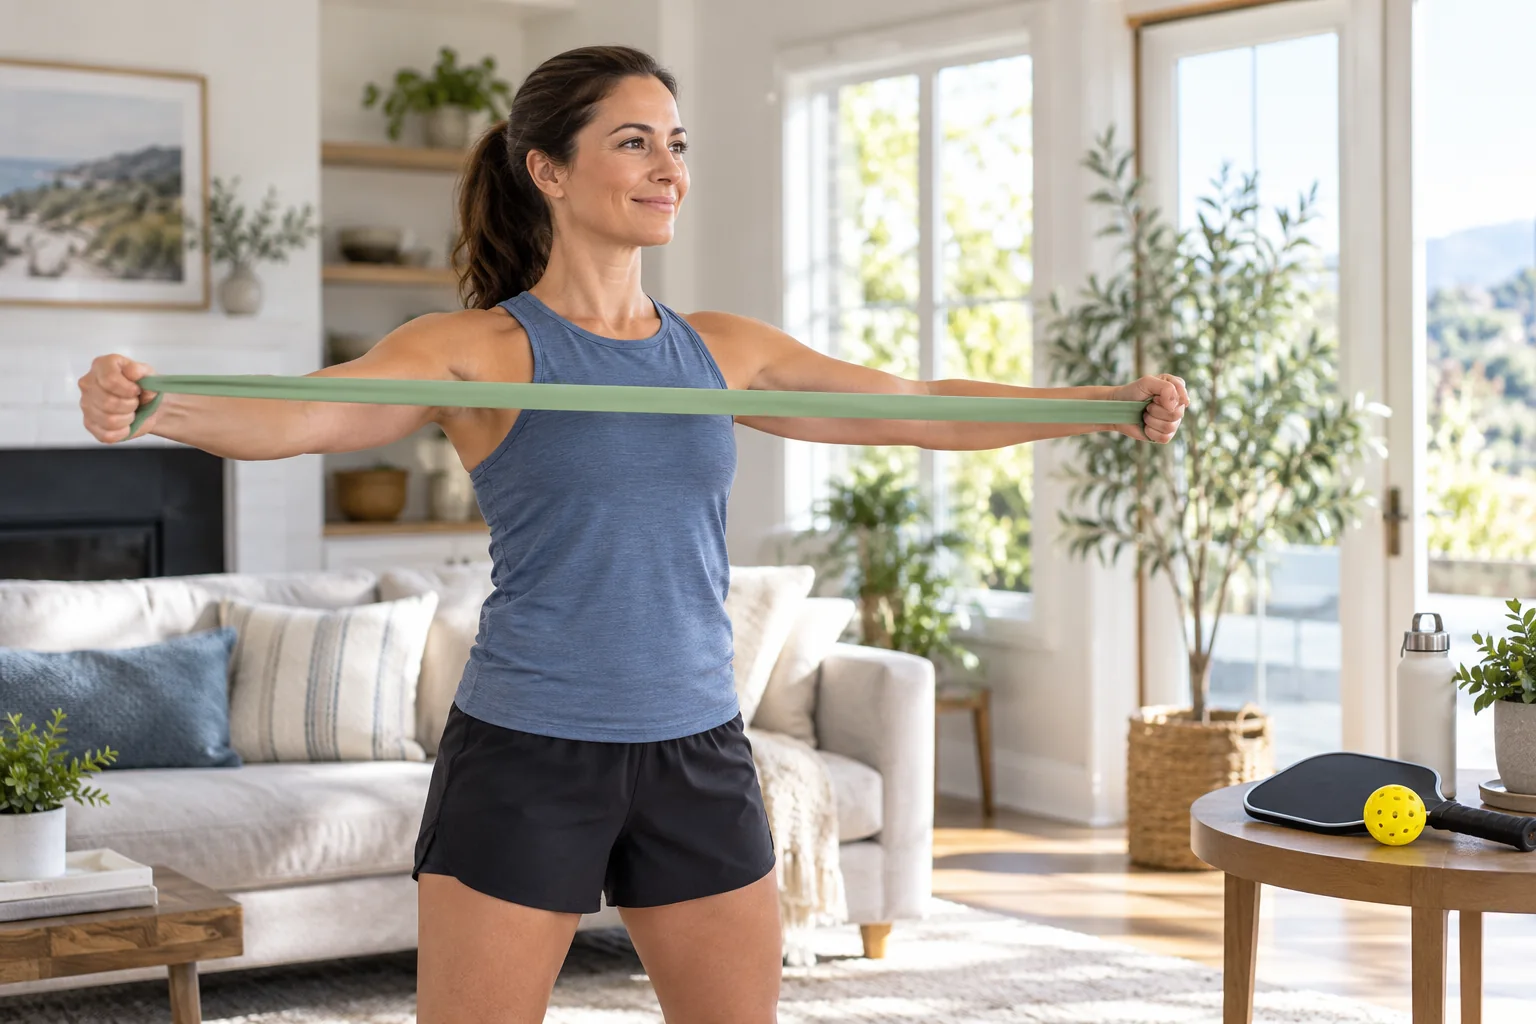
Hold a light band with both hands around chest level, with elbows softly bent and shoulders relaxed. Begin with enough slack that the opening movement is easy. Slowly separate the hands within a comfortable range, then return with control. Keep the torso steady rather than leaning backward to create more stretch. Start with a small number of repetitions and pause before neck tension or shoulder shrugging becomes the main feature.
This exercise does not need the hands to reach the widest possible position. A smaller range may be better for learning or for an individual with limited comfortable shoulder movement. Do not force the band behind the body or use momentum to complete the pull. If a shoulder hurts during the movement, stop and seek a suitable alternative. The pull-apart is a simple option for balanced upper-body practice, not a test that diagnoses weak shoulder muscles or a remedy for every paddle-related symptom.
Pattern two: an anchored row only with secure equipment
An anchored row can provide another pulling option when the band system supports it. Use a manufacturer-compatible band anchor (paid link) and follow its installation and orientation instructions. With a secure setup, stand or sit in a stable position and pull the handles toward your torso without throwing your body backward. Let the elbows move comfortably and return slowly. Keep the tension modest while checking that the anchor remains stable.
Do not improvise a door setup from an internet picture. Door construction, direction of opening, anchor placement and nearby access all affect the arrangement. Make sure no one can open the door during use, following the product instructions rather than an assumption that a closed door is sufficient. If you cannot establish a safe setup, leave the row out. You can use a familiar dumbbell row or an unanchored movement instead with suitable instruction. Never pull harder to test whether a doubtful anchor will hold.
Pattern three: pressing with a stable alternative available
For a band press, use only the arrangement specified for your equipment and a stance that feels steady. Move the hands forward through a comfortable range and return without letting the band pull your shoulders abruptly backward. Begin lightly and keep your ribs and pelvis comfortable. If the setup involves placing a band around your back, follow the maker's guidance and avoid pressing the material against bare skin or positioning it near the neck.
A wall push-up is a valid alternative when a pressing setup is awkward. The workout does not lose its value because every exercise does not use the same product. A interval timer (paid link) can organize rest between patterns, but wait longer if breathing or concentration is not ready for the next set. Band training should not turn into a speed contest. Keeping a few well-chosen movements controlled is more useful than rotating through many unfamiliar positions without time to inspect the equipment.
Pattern four: modest lower-body resistance
For a simple lower-body option, some players use a light loop above the knees during a shallow squat or a small side step, if the loop's instructions permit it. Start with an unloaded version first and make sure knees, hips and balance are comfortable. The band should add manageable demand rather than force your feet into a stance you cannot control. A stable support may be useful for early practice, and the movement should stay slow.
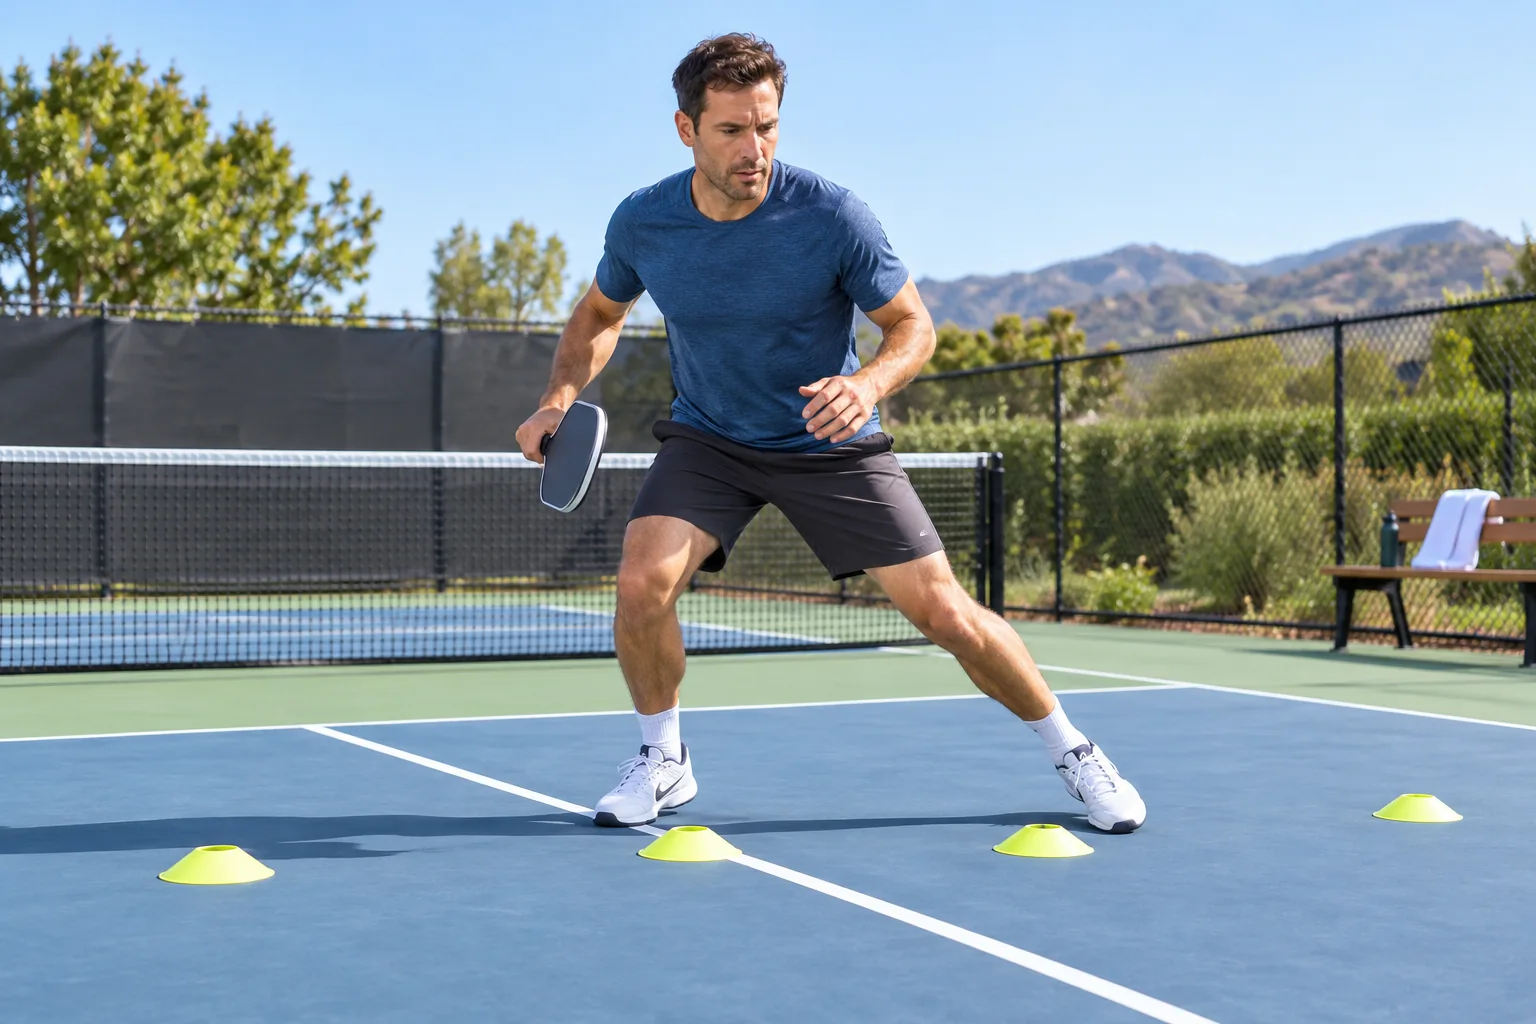
Use court shoes (paid link) with suitable traction when practicing on court, and stable appropriate footwear at home. Keep side steps short enough that the band does not drag one foot abruptly toward the other. Do not add large lateral bounds to a beginning routine. If the loop rolls, slips or causes discomfort, stop and adjust or choose the unloaded exercise. Our footwork guide treats stopping and repositioning as separate skills, while supported balance practice offers a lower-demand option when stability is the main challenge.
Put the patterns into a manageable session
After a few minutes of easy movement, choose two or three familiar patterns and use one set of comfortable repetitions for each. Six to twelve may be a practical example, but the useful amount depends on tension and control. Rest between sets and avoid letting the final repetitions become rushed. A short session might include an unanchored pull-apart, a secure row or wall push-up, and an unloaded or lightly banded squat. There is no requirement to include every option.
Repeat the same session on another suitable day before increasing resistance. Record how you feel afterward and during the next court visit. If the arm or shoulder is unusually tired, reduce the volume before assuming more training is needed. Do not perform a heavy band circuit immediately before several games merely because the equipment fits in your bag. Strength practice and warm-up serve different purposes; low-tension familiar movements may prepare you, while demanding sets require room for recovery.
Progress the routine and maintain the equipment
Progress may mean completing the same repetitions more smoothly or adding a small amount of resistance while keeping the setup unchanged. Change one variable at a time. A tighter starting position, a longer movement and a thicker band can each alter demand, so avoid combining all three at once. Record the new arrangement so you can repeat it accurately. Stop a set if the band begins to slip or the anchor shifts, even when the repetition target has not been reached.
After use, store the bands according to their instructions and inspect them before the next session. Travel does not remove these requirements: hotel furniture and doors may not be suitable anchors. Our strength training plan provides ways to combine bands with other exercise options. The equipment should serve a clear movement goal. You do not need a different resistance product for every pickleball shot, and purchasing a stronger band is not a substitute for learning comfortable technique and allowing recovery.
Practical Options at a Glance
| Situation | Practical option | What to consider |
|---|---|---|
| No safe anchor | Choose an unanchored exercise | Never test a doubtful fixing by pulling harder. |
| Changing resistance | Record band and starting length | Colors differ between systems. |
| Before games | Only light familiar preparation | Strength demand needs separate recovery. |
Frequently Asked Questions
No. Door construction, orientation, anchor compatibility and access all affect the setup. Follow the exact equipment instructions and make sure the anchor is intended for that arrangement. Keep others from opening the door according to those instructions. Do not improvise a fixing to a handle, weak chair or unsupported object. If you cannot establish a secure setup, use an unanchored exercise or another suitable movement. A doubtful anchor should never be tested by pulling harder.
Colors are not a universal resistance scale across brands and systems. Starting length, stretch and body position also affect the demand. Record the exact band and setup when tracking progress. A lighter-looking product may still be challenging in a different position. Choose resistance that allows control in both directions and comfortable breathing. Change one feature at a time instead of combining a thicker band, larger range and tighter starting tension. Equipment labels cannot establish a suitable load without considering the exercise.
A demanding strength session has a different purpose from preparation. Keep warm-up movements light, familiar and brief enough to leave you ready rather than fatigued. Do not automatically perform the full band workout before extended play. Place strength practice where recovery fits the wider schedule. If you want to use a band during preparation, choose a comfortable low-tension movement you already know. The fact that the equipment is portable does not make every exercise or volume appropriate immediately before a match.
Safety and Personal Needs
Stop activity and seek appropriate help for chest pain, faintness or severe unexpected breathlessness. Pain that changes movement, unexplained swelling, new weakness or recurrent instability needs assessment before progression. Follow individual guidance for health conditions, pregnancy, recent surgery or an injury. The routines are adjustable educational examples, not clinical rehabilitation plans or guarantees against injury.
This is general educational information. Individual needs vary with health, medications, fitness and training experience.