Published by Best Fitness Routine. Editorial standards · Report a correction. Educational guidance; no individual clinical review is claimed unless a qualified reviewer is named.
This article includes paid Amazon links. As an Amazon Associate, we earn from qualifying purchases.
A Practical Starting Point
The kettlebell press in this guide is a single-arm strict press: the legs stay quiet while the arm moves the bell from the rack toward a controlled overhead position. A push press or jerk uses leg drive and is a different task. Begin only when both the rack and an unloaded overhead reach are comfortable.
Check whether overhead work belongs in your session
Raise an unloaded arm in a comfortable standing position and notice whether you can reach without pain or a large backward lean. This is a practical check, not a medical assessment. A painful or restricted reach deserves individual guidance rather than a heavier weight.
Previous shoulder trouble, recent surgery, symptoms down the arm or clinician-directed limits may change the exercise choice. It is acceptable to use a different pressing pattern that suits you. No single overhead exercise is required for a complete strength routine.
Organize a stable rack
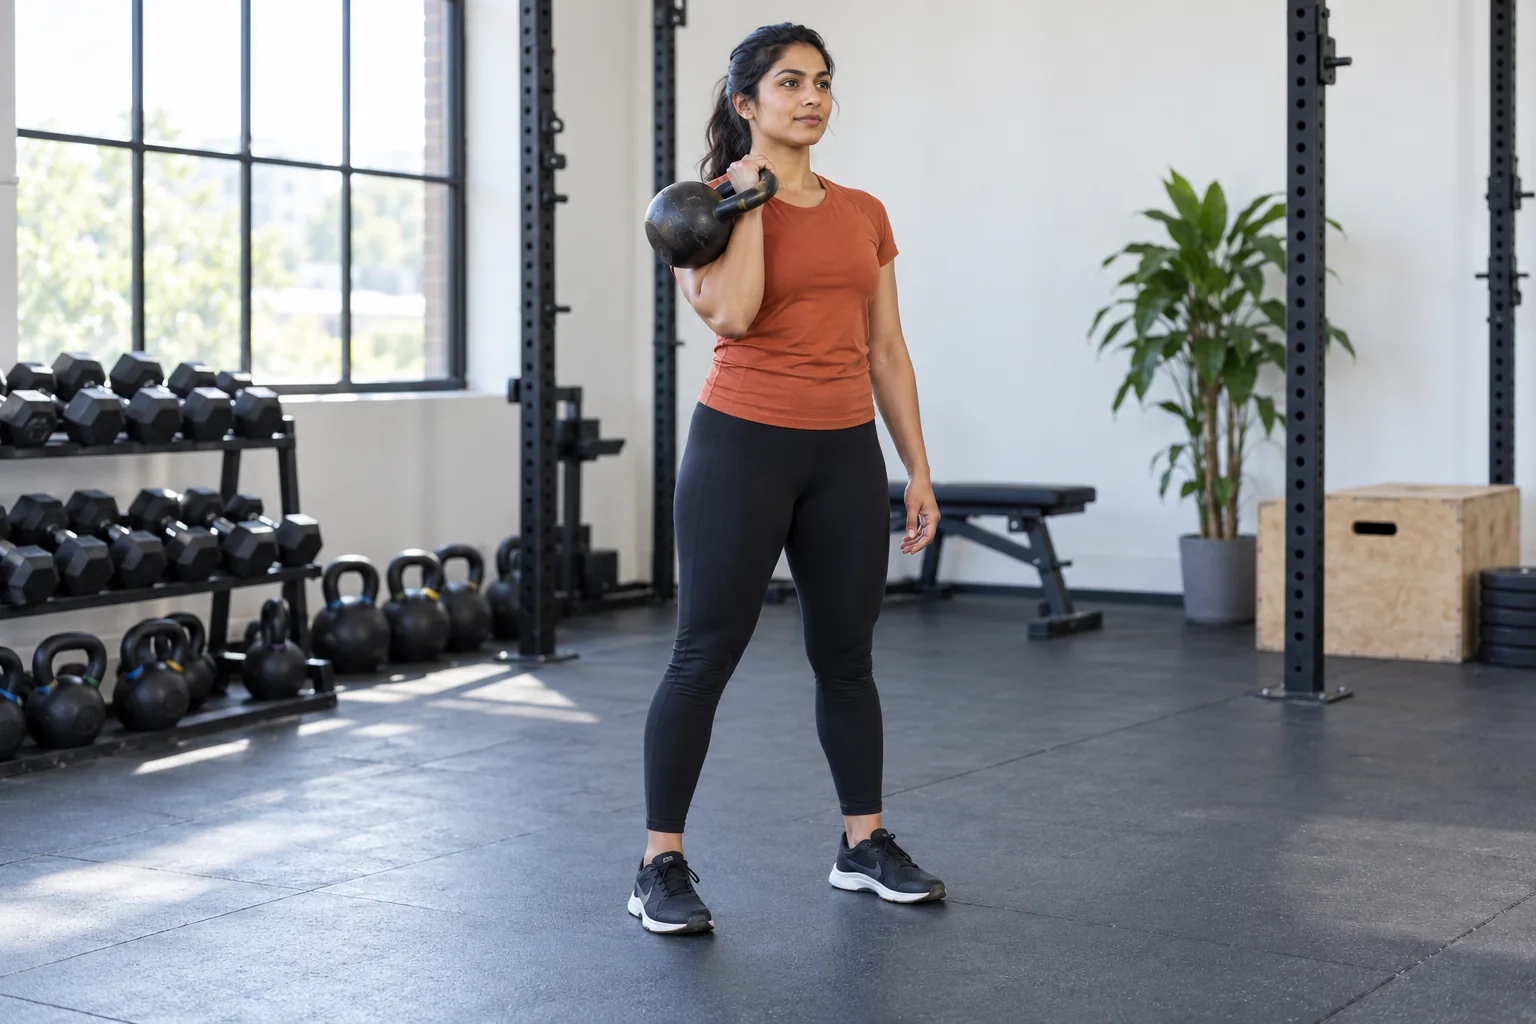
Bring the bell to the shoulder using a method you already know. A controlled assisted setup may be more appropriate than a clean while learning. Keep the wrist comfortable, the forearm supporting the load and the elbow near the side. Stand with feet secure and the trunk stacked.
Before pressing, briefly hold the rack and take a comfortable breath. If the bell pulls your wrist back or you need to lean away from it, reduce the load. A heavier bell that you can only balance awkwardly is not a useful starting point for a strict press. When comparing kettlebells for home training (paid link), select a load you can control through the press and return to the rack.
Press through a comfortable overhead path
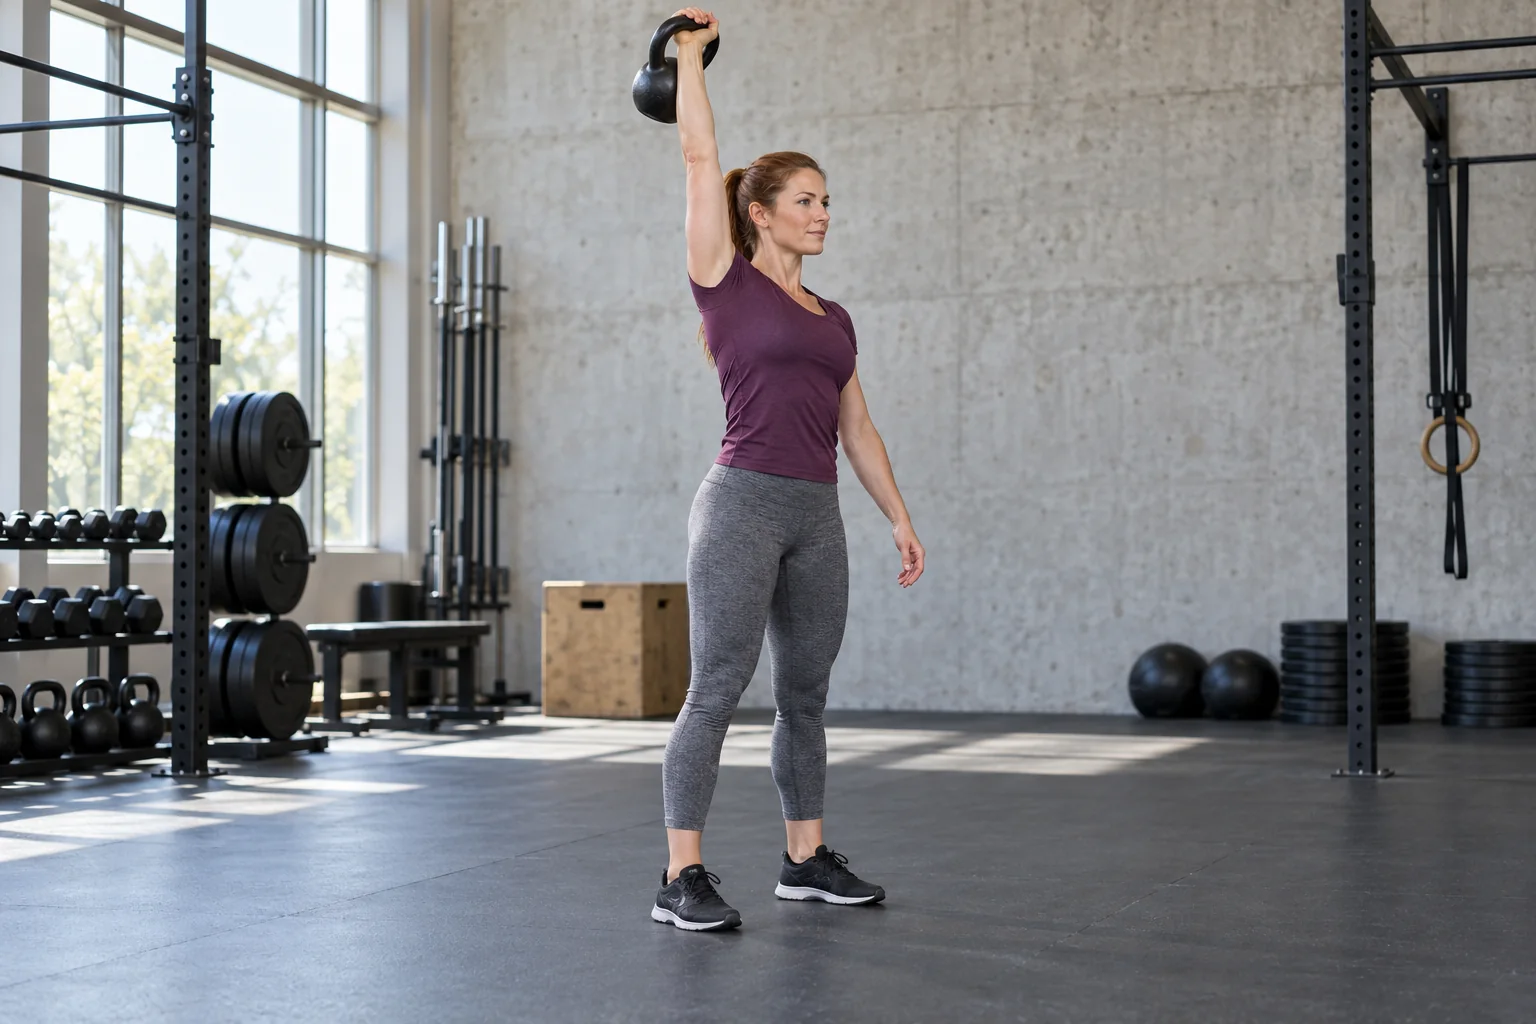
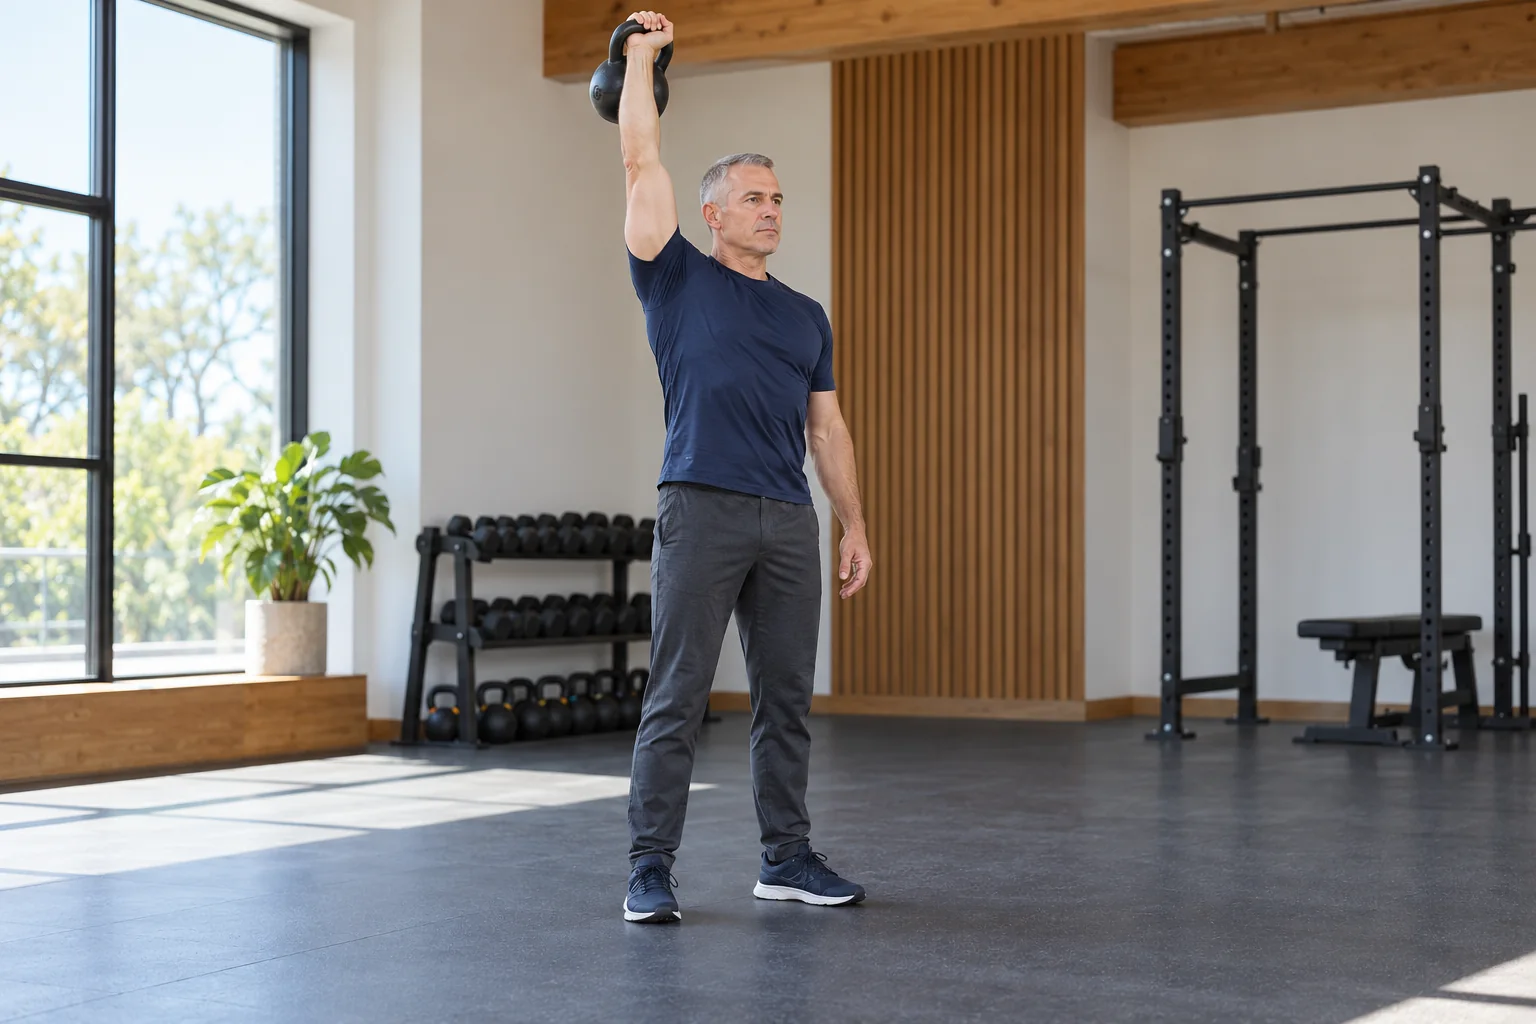
Move the bell upward while allowing the shoulder blade to move naturally. The elbow and forearm follow a path appropriate to your structure rather than being forced into a perfectly flat side plane. Keep the ribs from flaring and avoid tipping sideways to create extra range.
Near the top, the arm should support the bell over a stable base. Do not press the weight far in front and try to hold it there. You also do not need to force an uncomfortable lockout or shrug aggressively. A qualified coach can help you distinguish normal shoulder movement from compensation.
Lower as deliberately as you press
Guide the elbow back toward the rack without allowing the bell to fall onto the forearm. Pause when it reaches the supported position. A repetition includes this return, so select a weight that you can lower even after the upward effort.
Use the free hand appropriately to assist the setup or finish only if that method has been taught and is safe for the load. Do not try to catch an escaping bell. Keep the surrounding floor clear and follow competent instruction for ending a failed repetition.
Keep strict pressing separate from leg drive
If your knees dip to start every repetition, you are adding a push-press pattern. That may be a valid exercise in another context, but it changes this guide’s task. Reduce the load and repetition target if the intention is a strict press.
Similarly, a large backward lean can turn an overhead effort into an improvised incline press through the torso. Shorten the set when the first compensation appears. The goal is a press you can describe and repeat, not simply getting the bell overhead by any available method.
Build volume in small, recoverable steps
After warm-up and position practice, a learning example might use one or two sets of three to five controlled repetitions per side. Rest enough for a stable rack and comfortable breathing before the next set. Use fewer repetitions whenever the return becomes abrupt.
Progress by improving consistency before adding load. A modest repetition increase may be more useful than a large jump between available bells. Keep other overhead exercises in mind when planning the week so the shoulder workload does not rise in several places at once. A training journal (paid link) can help you record which load you can press and lower consistently on each side.
Movement and Session Checklist
- Check that the unloaded overhead reach and rack are comfortable.
- Set your stance and support a manageable bell in the rack.
- Press upward with quiet legs and a steady trunk.
- Pause only in a controlled comfortable overhead position.
- Guide the bell back to the rack and finish the set before technique changes.
Practical Options at a Glance
| Press variation | Main distinction | This guide |
|---|---|---|
| Strict press | Arm presses while legs stay quiet | Primary movement |
| Push press | A leg drive helps initiate the lift | Separate skill |
| Jerk | Leg drive and a receiving phase under the load | Outside this guide |
| Assisted setup | Other hand helps position a light bell | Optional preparation with instruction |
Common Mistakes and Better Replacements
Use a lighter bell or a suitable alternative.
Control the return and stop the set earlier.
Keep the intended technique clear when selecting load and repetitions.
Frequently Asked Questions
Not while learning the press. Use a setup you can control, including an appropriately taught assisted setup when suitable.
That turns the exercise into a push press or another variant. Learn and program it separately.
Stop and seek appropriate advice. Do not force the movement or assume that a different grip makes new pain safe to ignore.
Safety and Personal Needs
This guide provides general fitness education and adjustable practice examples, not a personalized exercise prescription or rehabilitation plan. Stop for pain, dizziness, a slipping grip or loss of control. Chest pain, fainting or severe unexpected breathlessness needs urgent appropriate help. Follow individual advice for medical conditions, pregnancy, recent surgery or injury. Learn complex, ballistic and overhead lifts with a qualified instructor; a written guide and illustrative image cannot assess your technique.
Sources and Further Reading
Prepared by the Best Fitness Routine Editorial Team. The example sessions are educational frameworks; they have not been individually tested for every reader. Images are AI-generated illustrations.