Published by Best Fitness Routine. Editorial standards · Report a correction. Educational guidance; no individual clinical review is claimed unless a qualified reviewer is named.
This article includes paid Amazon links. As an Amazon Associate, we earn from qualifying purchases.
A Practical Starting Point
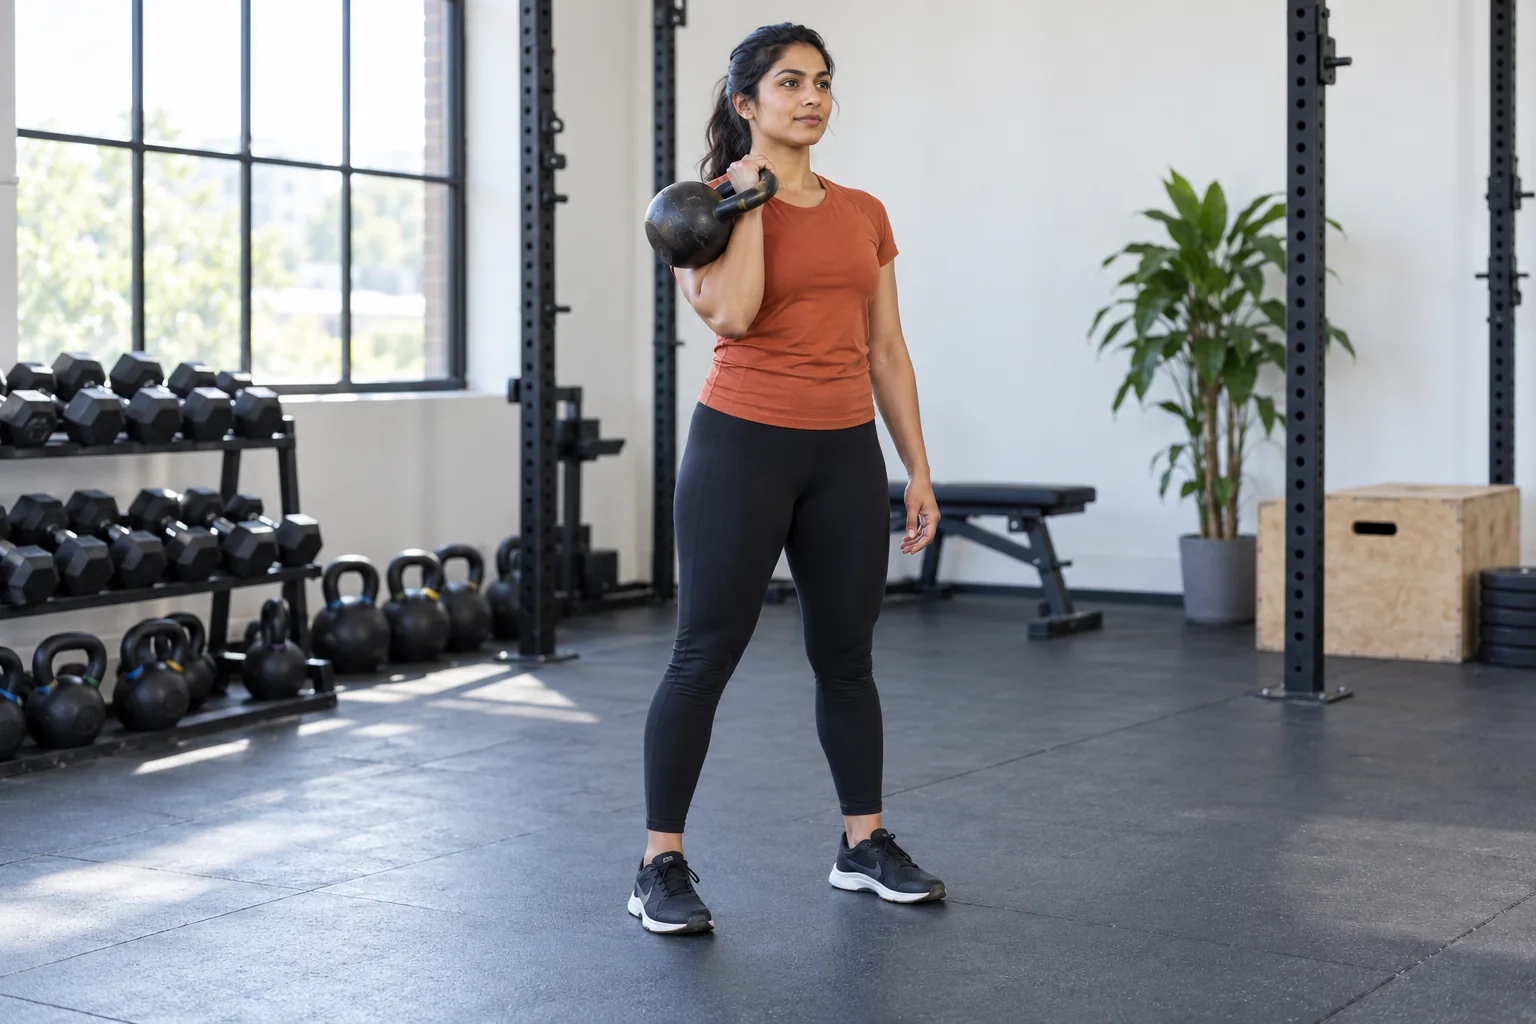
A kettlebell clean brings the bell into a supported position near the shoulder called the rack. The aim is a quiet, controlled arrival rather than a weight flipping over the hand. Learn the rack first, then connect it to a manageable hip-driven path. This article covers the clean itself; pressing the bell overhead is a separate skill.
Start with the finish you want to reach
Use a light bell and appropriate instruction to become familiar with the rack. The hand passes through the handle, the wrist stays comfortable and the elbow remains near the ribs. The bell rests against the back of the forearm and upper arm rather than hanging from a bent wrist. Exact contact varies with bell shape and individual proportions. When comparing kettlebells (paid link), consider whether the handle lets you practice a comfortable rack with a suitable light load.
For early position practice, the other hand can help bring the bell into a secure rack and help return it. Keep the hold brief. If you cannot remain comfortable while standing still, a faster entry will not solve the problem. Adjust the load, grip or instruction first.
Understand the path before adding speed
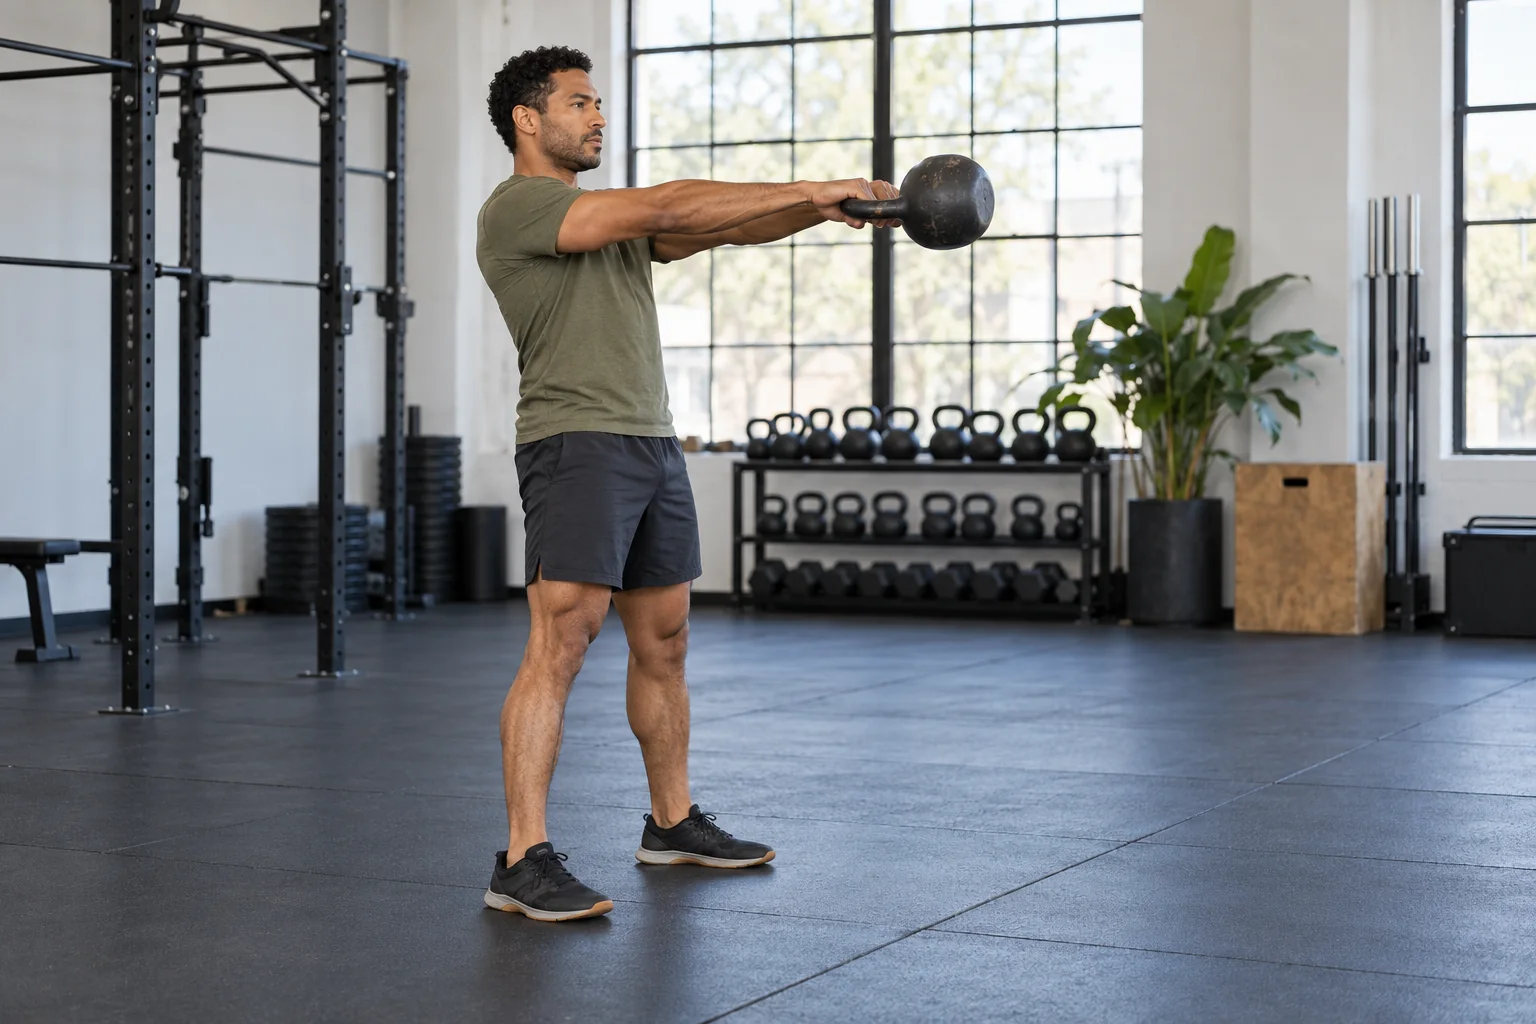
A clean has a smaller, closer path than a large outward swing. The hip drive supplies movement, then the elbow bends and the hand moves through the handle as the bell approaches the rack. The bell should settle around the hand instead of looping far away and dropping onto the forearm.
Practice with a coach if the timing is unfamiliar. The aim is not to yank harder or catch the falling weight. You need enough room for the hand to enter the handle without an excessively tight grip blocking the transition. Keep the handle secure while avoiding unnecessary squeezing at every instant.
Build the movement from a reliable hinge
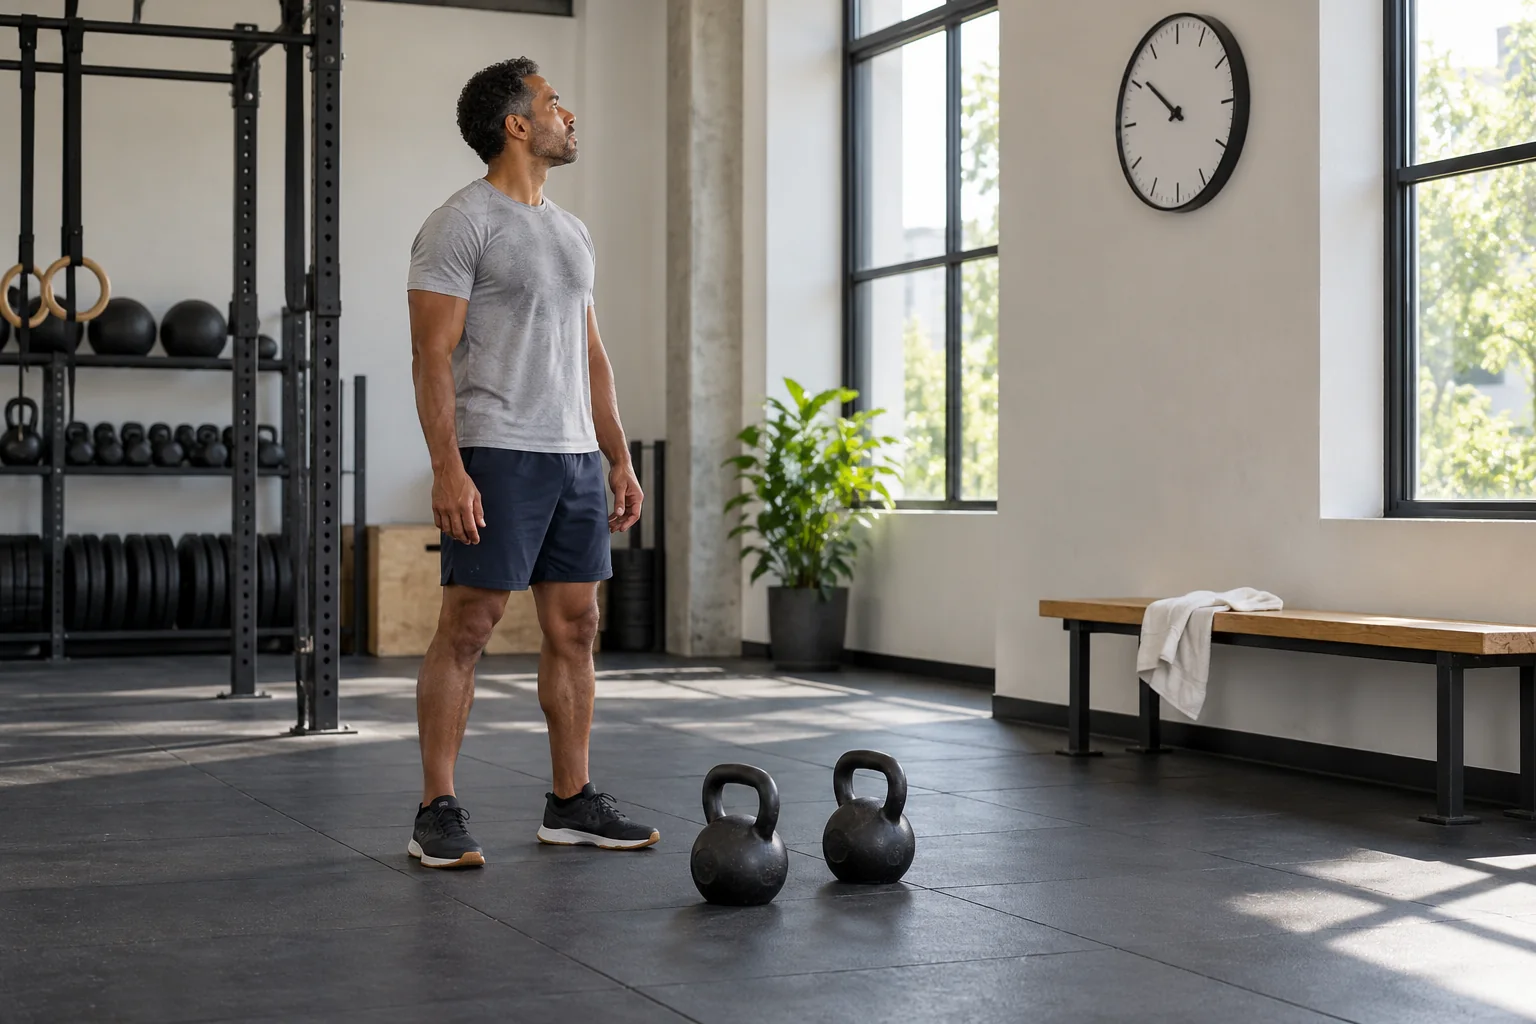
Before practicing the full clean, learn a controlled deadlift and the relevant single-arm hinge setup. A bell hanging from one side also asks the trunk to resist rotation. Choose a stable stance and keep the free arm clear of the bell path. Start each practice attempt deliberately.
Use the hips to initiate the movement, keep the bell close and guide the elbow toward the ribs as the hand enters the handle. Settle into the rack without leaning back. The clean should end with you balanced and able to pause; an unstable catch is a reason to reduce the task.
Return the bell without losing the path
Lowering from the rack requires its own practice. Guide the bell out of the rack into a controlled backswing only when you have learned that transition. Otherwise use an appropriately taught assisted return and set it down safely. Do not open the hand suddenly or let the bell pull the shoulder forward.
A set of isolated attempts can make more sense than continuous cleans. Put the bell down between repetitions, assess how it arrived and reset. Repeating an uncomfortable forearm impact over many attempts is not a useful conditioning method.
Troubleshoot forearm impact at its source
A bell landing heavily may be traveling too far from the body, turning over too late or moving with more speed than you can guide. A grip that prevents the hand entering the handle can also interfere. Stop and simplify the movement rather than treating bruising as a required adaptation.
A lighter bell, assisted rack practice and slow demonstrations from a qualified instructor can help identify the issue. Padding may change contact comfort, but it does not establish that the path and timing are appropriate. Pain, swelling or persistent tenderness needs a pause and suitable assessment.
Program practice around precision
A few individual attempts per side with full rest can be enough at first. End while you can still control the rack and lowering phase. For example, you might practice two or three clean singles on each side before moving to familiar strength exercises. This is an adjustable learning example. An optional workout timer (paid link) can organize pauses between attempts; it should never rush the next clean.
Add repetitions only when both sides have a repeatable path. Practice may progress at different rates on each arm, but extra volume on an uncertain side is not automatically the answer. Learn the strict press separately before combining cleans and presses in a complex.
Movement and Session Checklist
- Check your stance, clear space and one manageable bell.
- Learn a comfortable rack position before adding a moving entry.
- Initiate the clean with a controlled hip-driven path.
- Keep the bell close and guide the hand through the handle.
- Pause in a balanced rack, then return using a method you have learned.
Practical Options at a Glance
| Problem | Simpler practice | Success looks like |
|---|---|---|
| Bell hits the forearm | Assisted rack position and individual attempts | A quiet controlled arrival |
| Wrist folds backward | Review hand placement and reduce load | Comfortable wrist alignment |
| Torso twists | Reset stance and reduce speed | Balanced standing rack |
| Fatigue changes the catch | Stop the set and rest | The last attempt matches the first |
Common Mistakes and Better Replacements
Keep the path close and review hip drive and hand timing.
A secure finish needs to be familiar before a fast entry.
Learn each task separately before linking them.
Frequently Asked Questions
Repeated heavy impact is a reason to stop and review the path, load and hand transition. Do not use bruising as proof that the exercise is working.
No. The clean combines a hip-driven movement with a guided transition into the rack. Pulling mainly with the arm changes the task.
Yes. Resetting between attempts can help you evaluate the arrival and return before fatigue changes the movement.
Safety and Personal Needs
This guide provides general fitness education and adjustable practice examples, not a personalized exercise prescription or rehabilitation plan. Stop for pain, dizziness, a slipping grip or loss of control. Chest pain, fainting or severe unexpected breathlessness needs urgent appropriate help. Follow individual advice for medical conditions, pregnancy, recent surgery or injury. Learn complex, ballistic and overhead lifts with a qualified instructor; a written guide and illustrative image cannot assess your technique.
Sources and Further Reading
Prepared by the Best Fitness Routine Editorial Team. The example sessions are educational frameworks; they have not been individually tested for every reader. Images are AI-generated illustrations.