Published by Best Fitness Routine. Editorial standards · Report a correction. Educational guidance; no individual clinical review is claimed unless a qualified reviewer is named.
This article includes paid Amazon links. As an Amazon Associate, we earn from qualifying purchases.
A Practical Starting Point
Kettlebell swings are a fast hip-hinge movement rather than a slow front raise. The hips create the drive, the bell follows an arc and the arms guide it. This guide focuses on the two-handed, chest-height version. Keep overhead swings and high-repetition challenges outside the learning session so you can concentrate on the timing of one movement.
Check the hinge before the swing
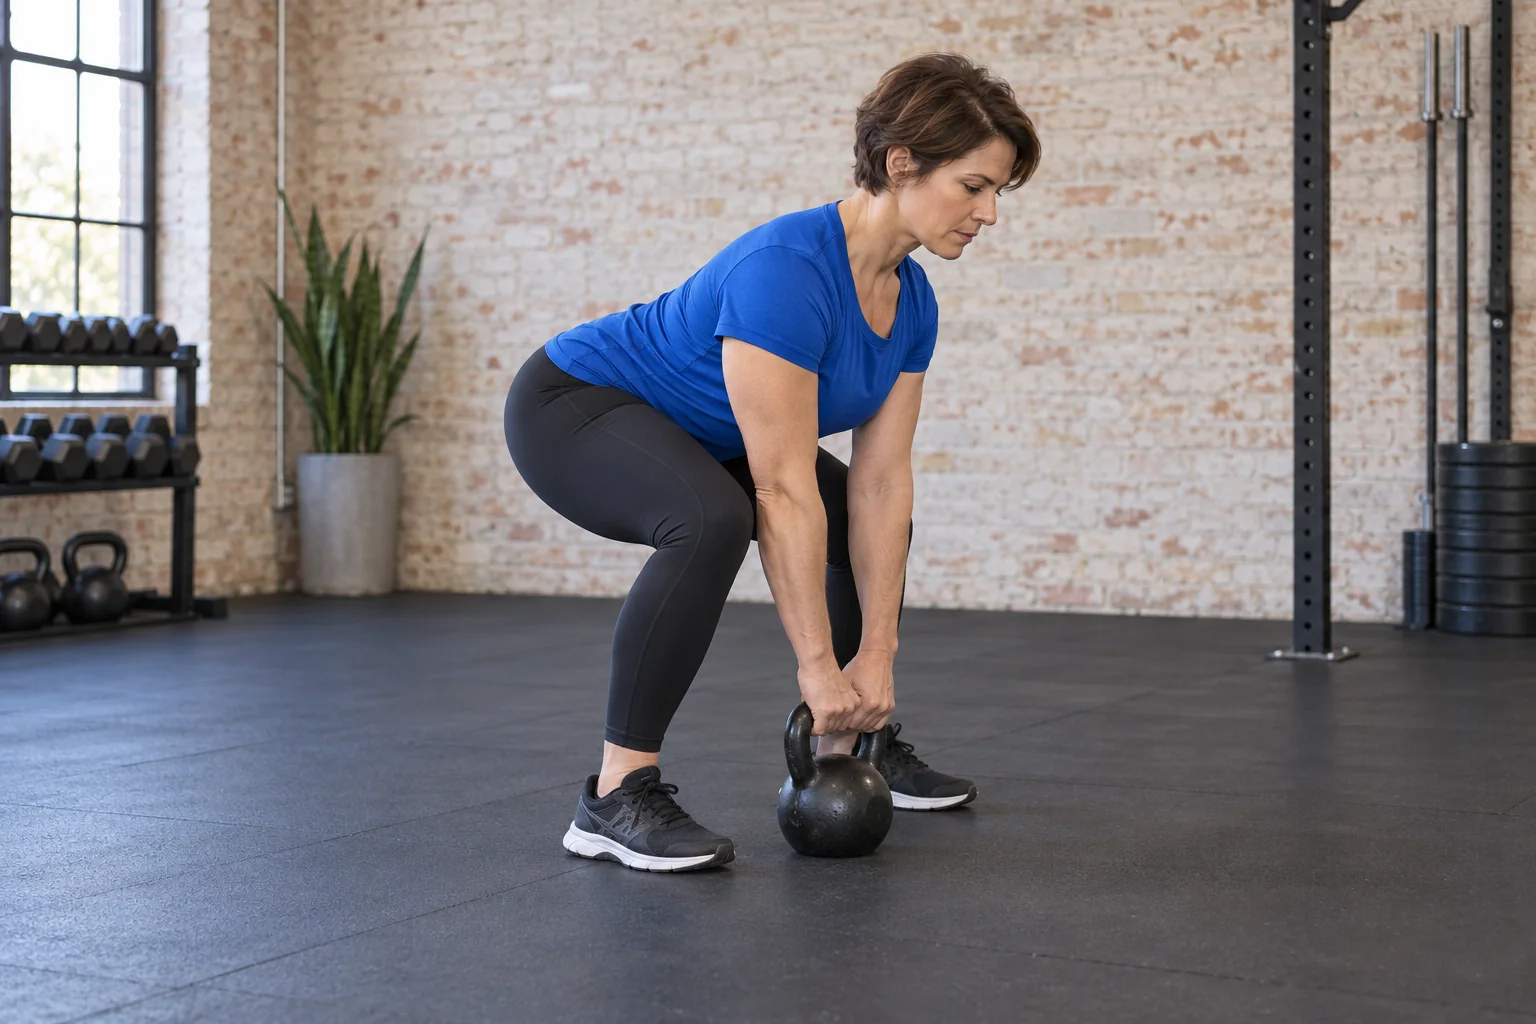
A controlled deadlift is a useful prerequisite. You should be able to send the hips backward, bend the knees enough to reach the bell and stand without rounding or overextending your back. If reaching the floor changes your position, address the setup and load first. A swing adds speed to that pattern; it does not repair an uncertain hinge.
Also check that the handle allows a secure two-handed grip. Hands should be dry and the training area clear. If you have new pain or cannot control the bell through the setup, choose a different exercise and get appropriate instruction. When comparing two-hand kettlebell options (paid link), check that the handle accommodates both hands comfortably.
Understand the difference between a hinge and a squat
During the backswing, the hips move behind you while the knees bend enough to support the hinge. The bell passes high between the thighs, not close to the floor. If every repetition becomes a deep squat, the movement and timing change. Practice an unloaded hinge from the side before trying to correct it at speed.
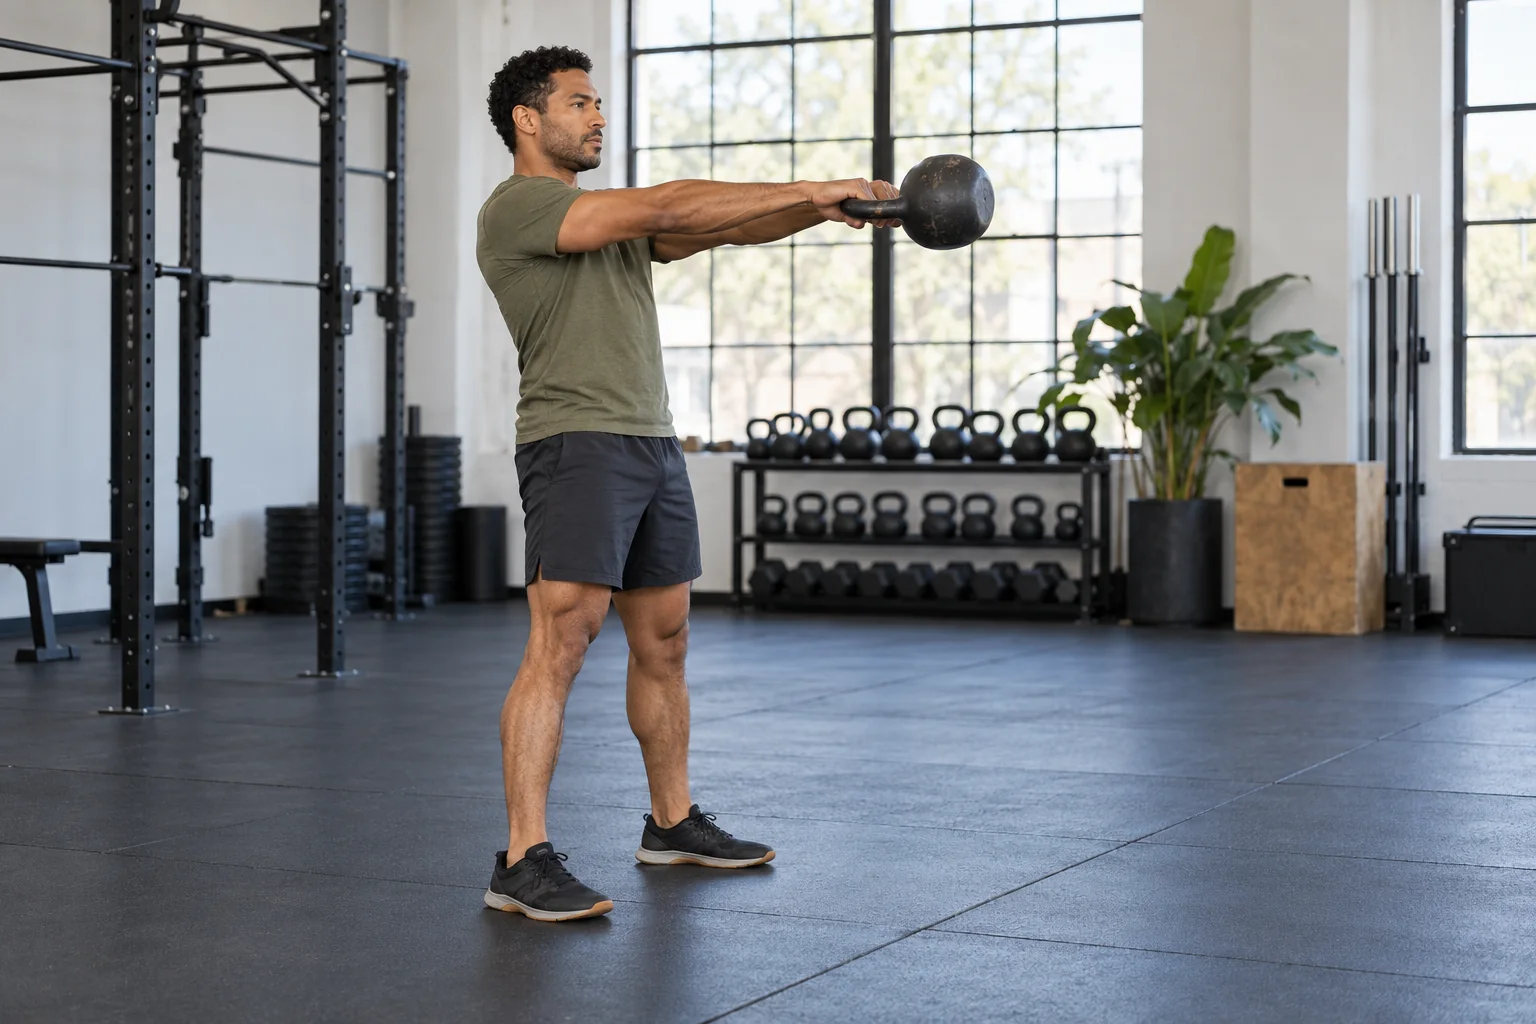
At the top, stand tall with the ribs over the pelvis. The bell may float near chest height, but reaching an exact height is less important than using a manageable arc. Avoid pulling the shoulders upward or leaning back to send the bell higher.
Build the first repetition deliberately
Position the bell a short distance in front of you. Hinge, grip the handle with both hands and create a stable long-back position. Tilt the bell toward you, then hike it back between the legs. Use the returning hinge to organize the next forward drive. A qualified coach can help you choose the starting distance and timing.
Stand forcefully through the hips while allowing the arms to stay long. Let the bell return before moving into the next backswing. Avoid dropping your torso early while the bell is still far in front. The movement should feel coordinated rather than like chasing a weight.
Practice parking as well as lifting
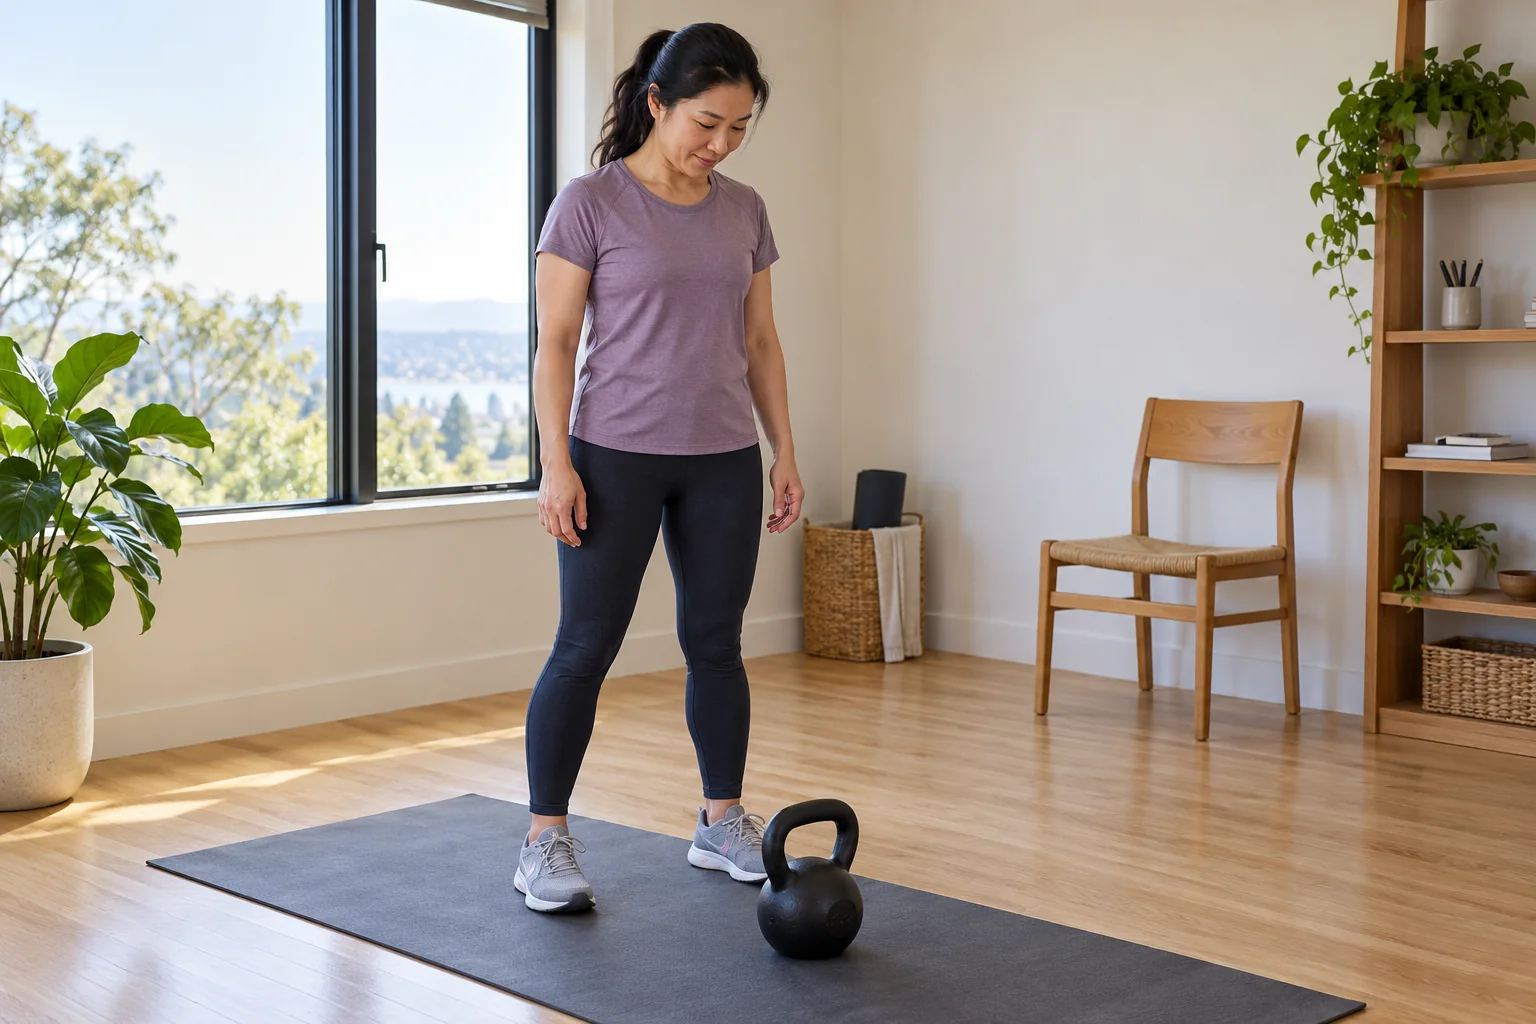
The end of the set deserves the same attention as the start. After the final backswing, guide the bell forward onto its stable base in the clear starting area. Keep both hands on the handle until the bell is settled. Do not release it, catch a slipping handle or improvise a landing beside your feet.
Rehearse a hike-and-park with instruction if the return is unfamiliar. Knowing that you can stop after one or two repetitions reduces the pressure to continue a poor set. A deliberate finish is a skill, not an optional extra.
Use brief sets while you learn the timing
Try a few low-fatigue repetitions only when the movement has been introduced appropriately. Three to five swings can be enough for a practice set. Put the bell down, recover fully and decide whether the next set will look like the first. The number is an example, not a requirement.
Avoid timed maximum-repetition tests while learning. Grip, breathing and timing often change before a person feels completely exhausted. Increase total practice only when the backswing, standing finish and parking remain consistent. A heavier bell is a later choice rather than the first solution to every problem.
Keep expectations connected to the whole program
Swings can be one way to train power and conditioning, but their effect depends on how they are used and what else you do. They do not selectively remove abdominal fat and do not replace all pulling, squatting or pressing work. Treat dramatic calorie and daily-challenge claims cautiously.
Place technique practice before demanding conditioning while concentration is fresh. If you also train legs heavily, consider the combined demand on the hips, back and grip. A simple log of clean repetitions and recovery provides more useful feedback than chasing a social-media total. A training journal (paid link) can help you record the marked load, clean repetitions and how you recover between sessions.
Movement and Session Checklist
- Check the floor, grip and space in front and behind you.
- Set the bell slightly ahead, hinge and establish a controlled start.
- Hike the bell high between the thighs without rounding the back.
- Drive the hips forward and finish tall as the bell floats toward chest height.
- Wait for the returning bell, hinge again and park it deliberately to finish.
Practical Options at a Glance
| What you notice | First adjustment | When to pause |
|---|---|---|
| Bell lifted mainly by the shoulders | Return to hinge practice and a smaller controlled arc | Shoulder discomfort or loss of control |
| Squatting deeply each repetition | Rehearse the hips moving backward | You cannot distinguish hinge from squat |
| Leaning backward at the top | Finish with ribs stacked over pelvis | Back discomfort |
| Grip weakening | Park the bell and rest | Slipping handle or uncertain landing |
Common Mistakes and Better Replacements
Let the arc follow the hip drive; avoid an arm lift or backward lean.
End and park the set while the handle remains secure.
Plan practice around skill and recovery rather than an arbitrary total.
Frequently Asked Questions
This article teaches the chest-height two-handed swing. Overhead versions introduce different demands and are outside this guide.
Muscular effort and pain are different. Stop for pain or a deteriorating position. Review the hinge, load and timing with a qualified coach instead of forcing more repetitions.
There is no universal total. A few technically controlled repetitions with full recovery are more appropriate for learning than a high-volume challenge.
Safety and Personal Needs
This guide provides general fitness education and adjustable practice examples, not a personalized exercise prescription or rehabilitation plan. Stop for pain, dizziness, a slipping grip or loss of control. Chest pain, fainting or severe unexpected breathlessness needs urgent appropriate help. Follow individual advice for medical conditions, pregnancy, recent surgery or injury. Learn complex, ballistic and overhead lifts with a qualified instructor; a written guide and illustrative image cannot assess your technique.
Sources and Further Reading
Prepared by the Best Fitness Routine Editorial Team. The example sessions are educational frameworks; they have not been individually tested for every reader. Images are AI-generated illustrations.