Published by Best Fitness Routine. Editorial standards · Report a correction. Educational guidance; no individual clinical review is claimed unless a qualified reviewer is named.
This article includes paid Amazon links. As an Amazon Associate, we earn from qualifying purchases.
A Practical Starting Point
A kettlebell halo guides a light bell around the head while the trunk stays relatively steady. It combines a secure two-handed hold with coordinated shoulder and elbow movement. The objective is a comfortable path, not the biggest circle or heaviest weight. It should not be presented as a cure for shoulder pain or a compulsory warm-up exercise.
Check the movement without a bell
Begin by rehearsing a small unloaded circle with the arms. Notice whether the motion is comfortable and whether you can keep the head and trunk quiet. A halo should not require ducking abruptly, forcing the neck forward or leaning backward to make space.
If reaching behind the head is painful or unfamiliar, choose a simpler suitable warm-up instead. Previous shoulder injury or current neck and arm symptoms can change what is appropriate. General mobility content cannot determine the cause of a painful restriction.
Use a secure grip and a modest load
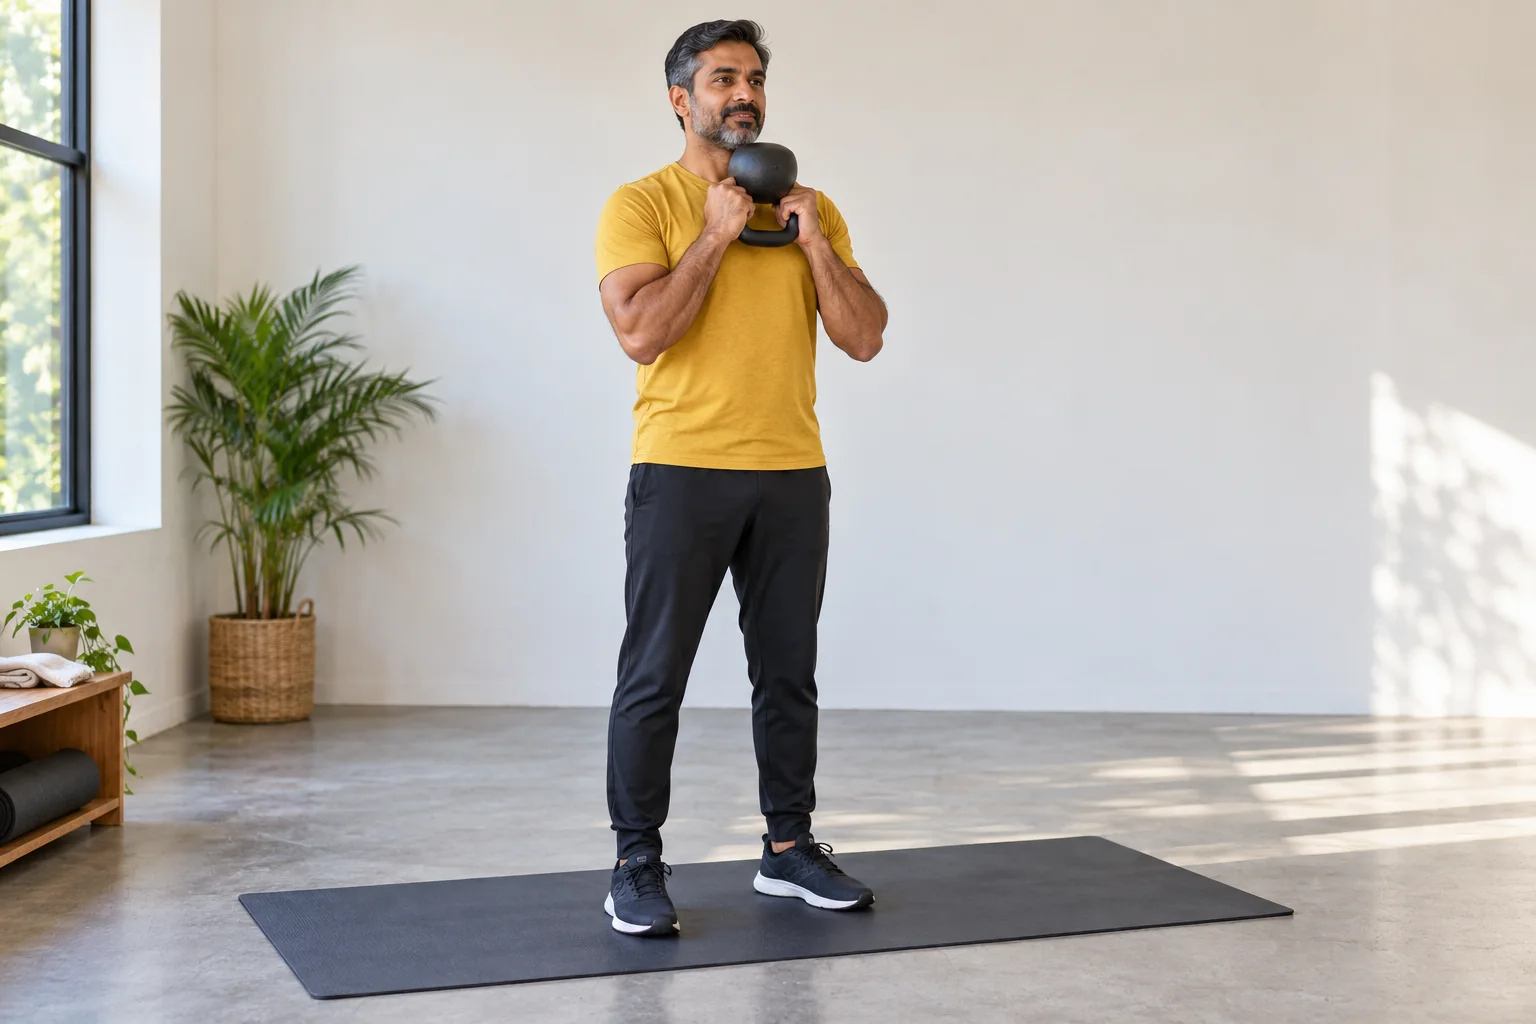
A common setup holds the bell upside down by its horns with both hands. Check that the handle shape and surface allow a secure hold and that the bell is small enough for a comfortable path. Keep it clear of the face and neck throughout. When comparing light kettlebells (paid link), prioritize a secure handle and clearance around your face rather than a heavier load.
Stand with feet secure and knees relaxed. Bring the bell to a comfortable front position near the upper chest before moving it around the head. Do not start with a heavy bell simply because the movement looks slow. Leverage and range still make the task demanding.
Move around the head rather than moving the head around the bell
Guide the bell toward one side, around the back within a comfortable range and back to the front. Let the elbows bend and change position naturally. Keep the circle slow enough that you can stop at any point. Avoid dragging the handle close to the ears.
The circle does not need to be perfectly round. Individual proportions and shoulder motion affect the route. Shorten it if the bell bumps the body or you need to flare the ribs. Repeat in the other direction only when the first path is comfortable.
Keep trunk motion small and deliberate
A little natural movement is different from using a large backbend to get the bell behind the head. Keep the ribs over the pelvis and the head comfortable. If the torso changes with every part of the circle, reduce the range and load.
Use a mirror or feedback when appropriate, but do not turn your head to watch the bell. If checking a recording, set the bell down first. Your attention belongs on the grip and path while the weight is moving near your head.
Use a small amount of practice
A learning example might be one short set of two or three slow circles in each direction, with rest as needed. This is a skill dose rather than a conditioning target. Stop before the hands or shoulders become tired enough to alter the path. An optional workout timer (paid link) can keep the practice brief while leaving every repetition unhurried.
A halo may fit into a session when it prepares a movement you plan to use and remains comfortable. It does not replace a general warm-up or establish that you are ready for a heavy overhead press. Keep those decisions separate.
Progress control before range or weight
First make the front setup, both directions and return reliable. If the movement feels easy, you can simply retain it as a brief light practice. Increasing load is not mandatory. A slightly smoother path can be meaningful progress.
Avoid marketing the halo as a universal posture correction. Exercise choices should match a person’s needs and preferences. If you are seeking treatment for persistent shoulder discomfort, use appropriate professional assessment rather than escalating a self-directed mobility drill.
Movement and Session Checklist
- Rehearse a comfortable unloaded path.
- Hold a light bell securely by both horns with it inverted.
- Guide it slowly around the head while keeping clear of the face.
- Keep the head and trunk relatively steady and use a comfortable range.
- Return to the front, pause and reverse direction when ready.
Practical Options at a Glance
| Checkpoint | Useful adjustment | Reason to stop |
|---|---|---|
| Grip | Use a smaller manageable bell | Handle slips |
| Clearance | Keep room around the face and neck | Bell contacts the body |
| Trunk | Reduce range and speed | Large backward lean |
| Comfort | Choose a different suitable movement | Pain, tingling or dizziness |
Common Mistakes and Better Replacements
The overhead path deserves its own conservative load choice.
Choose comfortable motion or another exercise.
Use individual assessment for persistent symptoms.
Frequently Asked Questions
No. This is general exercise education. Persistent symptoms need an appropriate assessment.
Speed is not the objective here. Use a pace that keeps the grip and clearance controlled.
No. A light comfortable practice can remain light when it suits the purpose of your session.
Safety and Personal Needs
This guide provides general fitness education and adjustable practice examples, not a personalized exercise prescription or rehabilitation plan. Stop for pain, dizziness, a slipping grip or loss of control. Chest pain, fainting or severe unexpected breathlessness needs urgent appropriate help. Follow individual advice for medical conditions, pregnancy, recent surgery or injury. Learn complex, ballistic and overhead lifts with a qualified instructor; a written guide and illustrative image cannot assess your technique.
Sources and Further Reading
Prepared by the Best Fitness Routine Editorial Team. The example sessions are educational frameworks; they have not been individually tested for every reader. Images are AI-generated illustrations.