Published by Best Fitness Routine. Editorial standards · Report a correction. Educational guidance; no individual clinical review is claimed unless a qualified reviewer is named.
This article includes paid Amazon links. As an Amazon Associate, we earn from qualifying purchases.
A Practical Starting Point
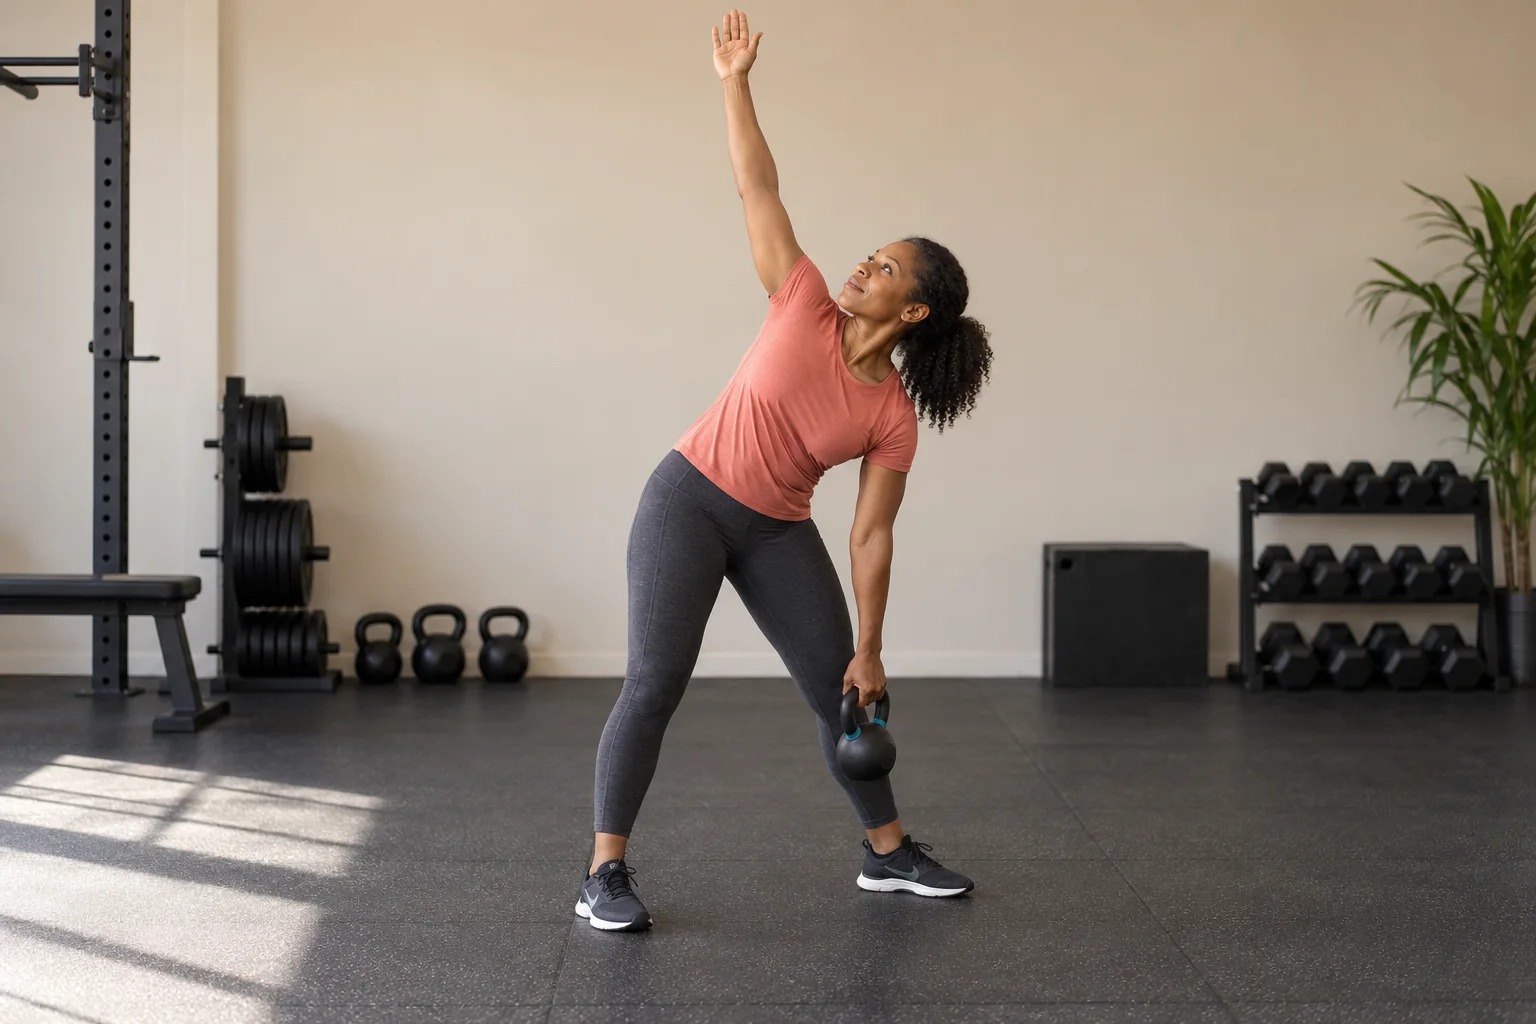
The kettlebell windmill combines a hip shift, a hinge and controlled trunk rotation. It is more complex than simply leaning sideways to touch the floor. This guide begins with unloaded pattern learning and explains the low windmill, where the weight stays in the lower hand. A high windmill adds an overhead bell and requires separate preparation.
Understand what the movement asks you to coordinate
The hips move back and toward one side while the torso inclines and rotates. The knees can remain softly unlocked. The raised arm provides a reference, but the lower hand does not need to reach the floor. Your available range depends on control and comfort rather than the height of a target.
Think of moving the hips away from the lower hand instead of collapsing the side of the waist. A coach can help distinguish a useful hinge from a large spinal bend. If the pattern is difficult unloaded, adding a kettlebell will make the problem more demanding.
Choose the stance before adding range
Stand wider than hip width with the feet oriented for the variation being taught. For a left-hand low windmill, a modest leftward toe angle and a rightward hip shift may form part of the setup. Learn the relationship between the feet and hip movement in one consistent teaching method.
Keep the feet stable and avoid forcing a locked knee. Start with a very small range that you can reverse. Stance is adjustable; a diagram or photo should not be treated as a universal prescription for every person’s anatomy.
Practice the lower-hand path unloaded
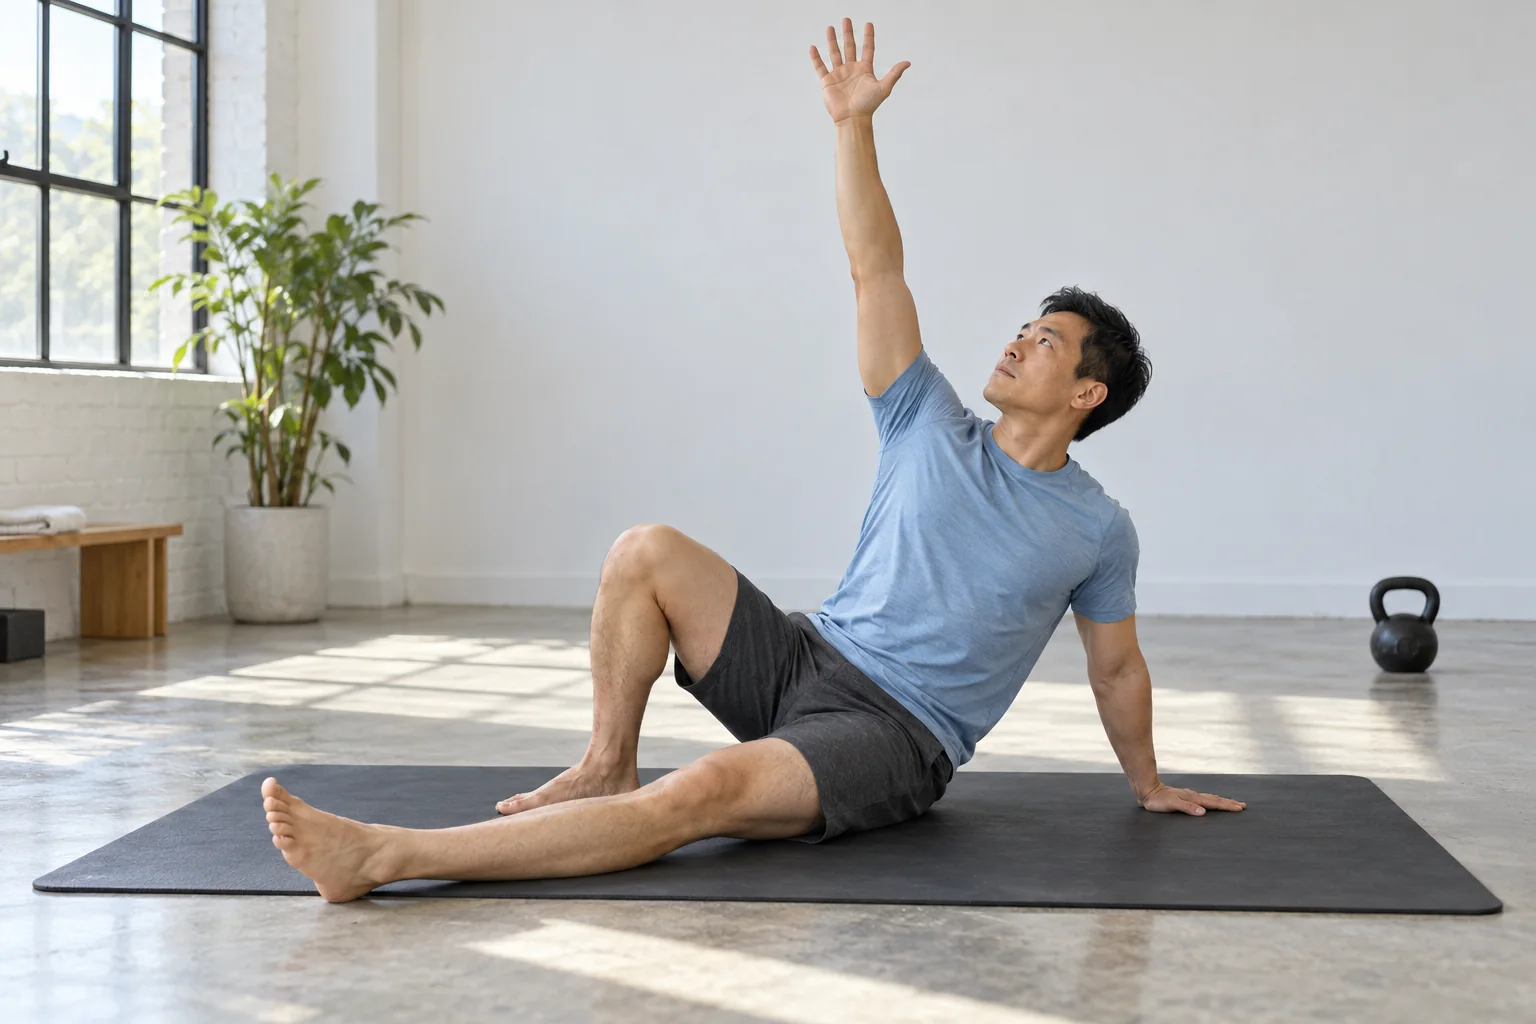
With one empty hand raised comfortably, let the other hand travel toward the inside of the leg as the hips shift and hinge. Maintain a long trunk and move only as far as you can return smoothly. Keep the neck in a comfortable position rather than forcing the gaze upward.
Pause and reverse before you lose balance or round through the back. A short range with a reliable return is more useful than reaching the floor once. Stop if the raised shoulder feels uncertain or the hip movement causes new discomfort.
Add the low bell only after the pattern is familiar
In the low windmill, a light bell hangs from the lower hand while the other arm remains unloaded. This changes the demand on the hinge, grip and trunk. Keep the load close enough to follow the planned path without dragging the body down. When comparing kettlebells (paid link) for the low variation, select a manageable lower-hand load and preserve the comfortable range.
Use a small range initially and place the bell down between attempts. A handful of carefully controlled repetitions can be enough. Avoid adding weight and increasing depth together; keep one part familiar while evaluating the other.
Treat the high windmill as another skill
Holding a bell overhead adds shoulder support and changes the consequences of losing position. An unloaded raised arm does not establish readiness for the high version. Learn the overhead hold, setup, movement and finishing procedure with qualified instruction.
The high variation is optional. You can choose other appropriate hinge, trunk and shoulder exercises rather than combining all their demands. An advanced label is information about the task, not a challenge to prove that you can do it today.
Build a practice session that leaves room to stop
After an appropriate warm-up, an example skill block might include one or two unloaded rehearsals and a few small-range attempts per side. Rest before coordination changes. Follow with familiar exercises rather than repeating the windmill until tired.
Log which side, range and load you used. Smooth transitions and an unhurried return are useful progress measures. Do not equate a lower hand position with better mobility, and do not use the windmill to self-treat unexplained back or shoulder pain. A training journal (paid link) can help distinguish the variation, range and load so separate sessions remain comparable.
Movement and Session Checklist
- Learn the stance and hip shift unloaded.
- Raise one empty arm only within a comfortable shoulder range.
- Hinge and rotate while guiding the other hand along the leg.
- Reverse before balance, trunk position or comfort changes.
- Introduce a light lower-hand bell separately with instruction.
Practical Options at a Glance
| Variation | Where the load sits | Learning priority |
|---|---|---|
| Unloaded pattern | No external weight | Stance, hinge and reversible range |
| Low windmill | Bell in the lower hand | Controlled load path |
| High windmill | Bell in the overhead hand | Separate overhead support skill |
| Short-range practice | Any appropriately taught version | Comfort and balance over depth |
Common Mistakes and Better Replacements
Use the range you can reverse without collapse.
Choose a comfortable head position and appropriate instruction.
Establish the unloaded and low-load requirements first.
Frequently Asked Questions
No. Range should follow your control and comfort rather than an external target.
The weight is in a different hand and the support demands change. Learn them as distinct variations.
Do not use a complex loaded exercise to diagnose or treat unexplained pain. Seek appropriate individual guidance.
Safety and Personal Needs
This guide provides general fitness education and adjustable practice examples, not a personalized exercise prescription or rehabilitation plan. Stop for pain, dizziness, a slipping grip or loss of control. Chest pain, fainting or severe unexpected breathlessness needs urgent appropriate help. Follow individual advice for medical conditions, pregnancy, recent surgery or injury. Learn complex, ballistic and overhead lifts with a qualified instructor; a written guide and illustrative image cannot assess your technique.
Sources and Further Reading
Prepared by the Best Fitness Routine Editorial Team. The example sessions are educational frameworks; they have not been individually tested for every reader. Images are AI-generated illustrations.