Published by Best Fitness Routine. Editorial standards · Report a correction. Educational guidance; no individual clinical review is claimed unless a qualified reviewer is named.
This article includes paid Amazon links. As an Amazon Associate, we earn from qualifying purchases.
A Practical Starting Point
The Turkish get-up links several floor-to-standing transitions while one arm stays directed upward. It asks for coordination, shoulder control and comfortable movement through several positions. Learning it is different from learning a simple lift. Begin unloaded and treat every transition as a separate skill before considering an overhead kettlebell.
Make floor access the first decision
You should be able to get down to the mat and return using a method that is comfortable for you. A get-up is not a required exercise for anyone who finds floor access painful, dizzying or uncertain. Recent surgery, balance problems or shoulder symptoms may make a different task more appropriate.
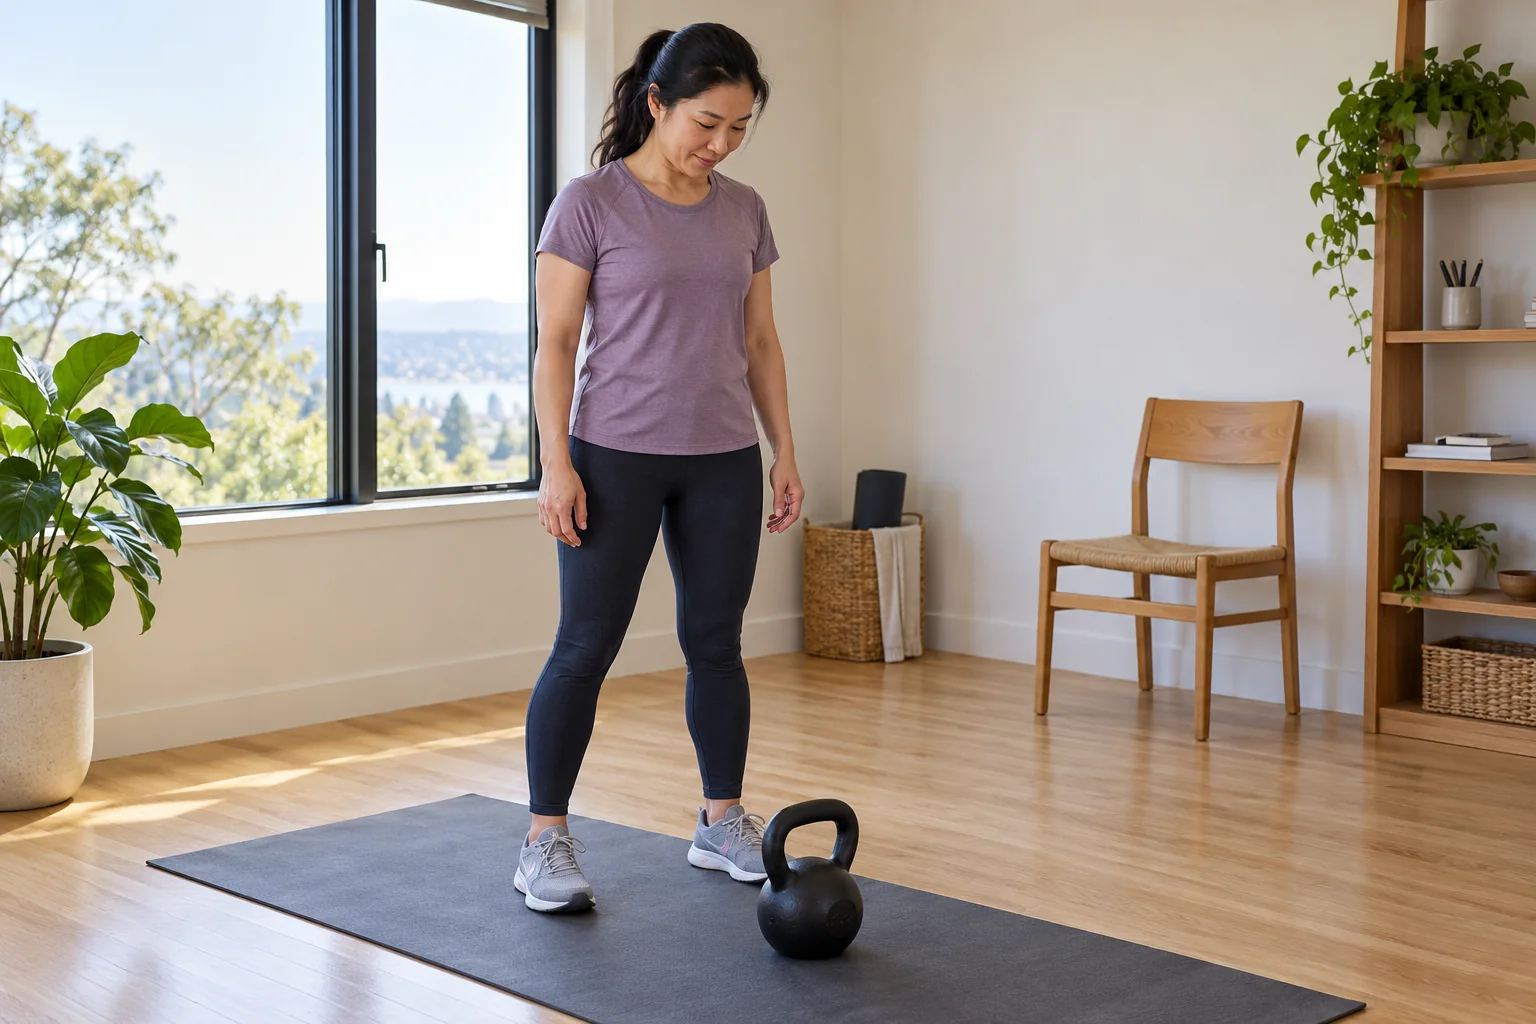
Choose a firm nonslip mat with clear space around it. A soft bed is unsuitable. When loading is eventually introduced, work with a qualified instructor who can teach safe handling and appropriate assistance. A written guide or generated illustration cannot assess your ability to support a weight overhead. When comparing exercise mats (paid link), choose a firm nonslip surface that supports steady contact rather than an unstable cushion.
Learn the starting map without a bell
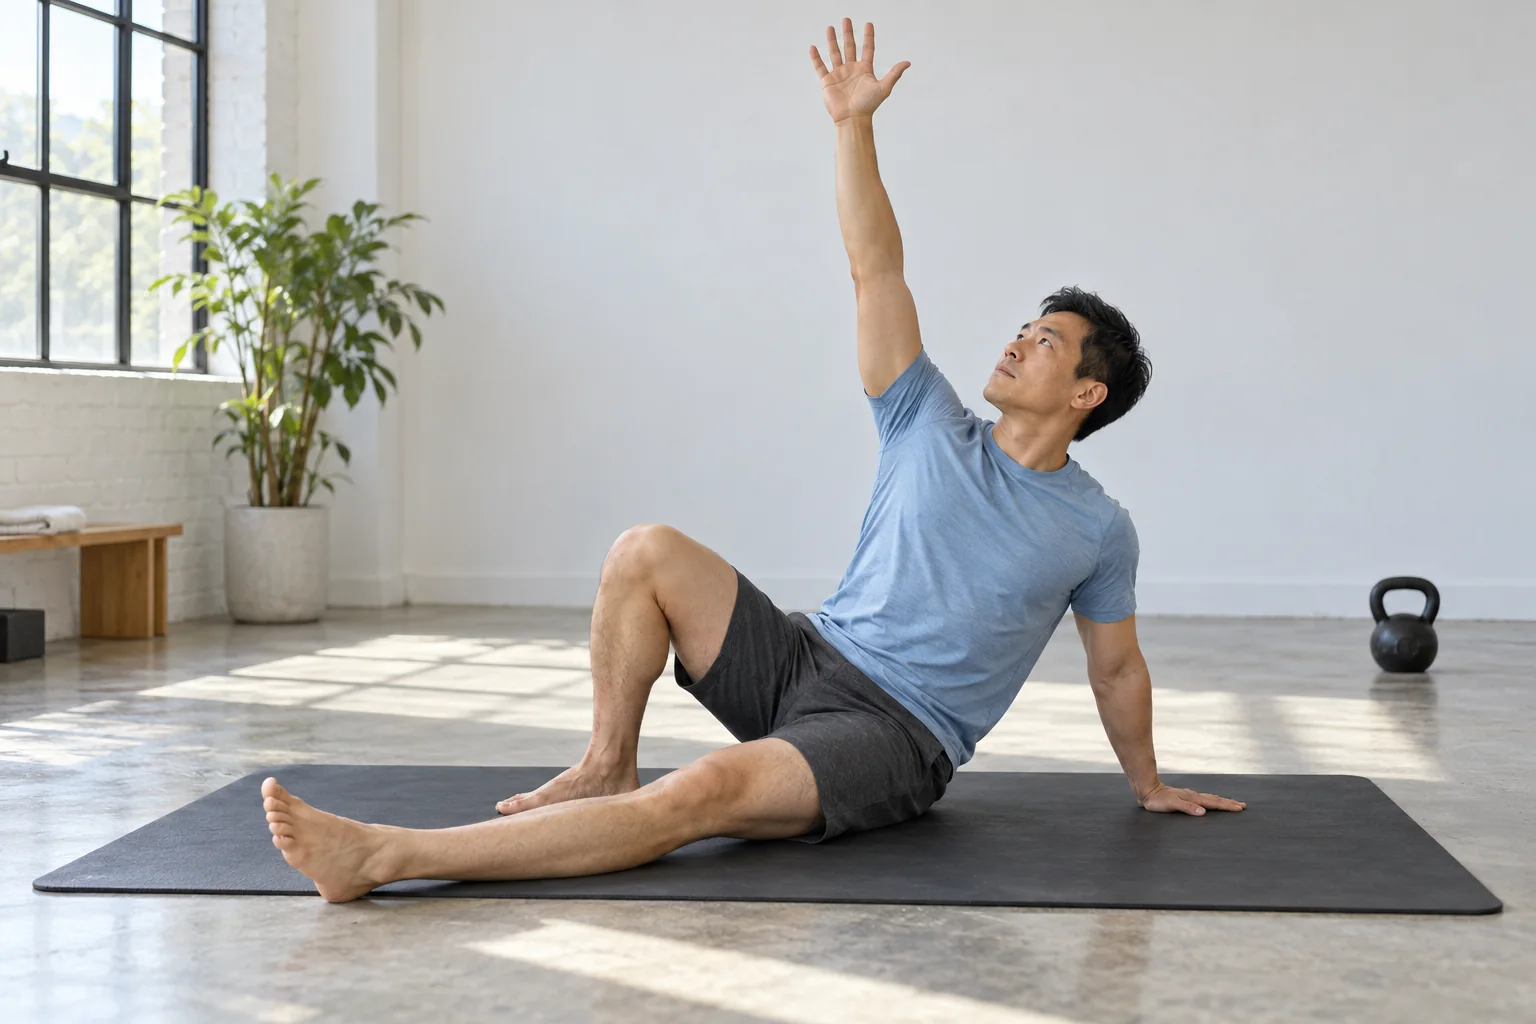
Lie on your back with the working-side knee bent and that foot on the floor. Extend the other leg at a comfortable angle and position the opposite arm to support the first transition. Raise the working-side empty hand toward the ceiling. Keep the hand empty while the sequence is unfamiliar.
For a right-sided example, the right knee bends and right arm points upward; the left leg remains extended and the left arm provides support. Reverse the arrangement for the other side. Say the side aloud if it helps you avoid changing the bent knee halfway through the sequence.
Practice the roll to the elbow and hand
Use a controlled diagonal roll toward the supporting elbow rather than trying to perform a straight sit-up under the raised arm. From the elbow, organize a stable supporting hand position. Keep the raised hand directed upward without forcing the shoulder or neck.
Pause in each supported position and reverse the transition to the floor. A half get-up can remain the whole exercise for a practice period. If returning is more difficult than rising, shorten the sequence. The ability to stop and reverse is more informative than reaching the next position once.
Add the kneeling transition with coaching
The next part creates space for the extended leg to move under the body into a half-kneeling position. Different teaching methods use a bridge or a lower leg-sweep approach. Learn one method consistently with instruction rather than combining fragments from several videos.
Before lifting the supporting hand, organize your balance over the kneeling base. The front foot should allow a controlled rise. If the knee is uncomfortable or you cannot find a stable position, return to a simpler stage rather than continuing under an imaginary deadline.
Stand, pause and reverse deliberately
From a balanced half-kneel, rise using a controlled lunge-like action while maintaining the unloaded arm direction. Once standing, pause and check the route back. The return reverses the stages with the same attention to support and leg placement.
Practice near the floor first if the complete return is unclear. A common error is to remember the upward sequence and improvise the descent. There is no reward for completing a full repetition if one transition requires a sudden drop or a frantic change in foot position.
Treat external load as a separate progression
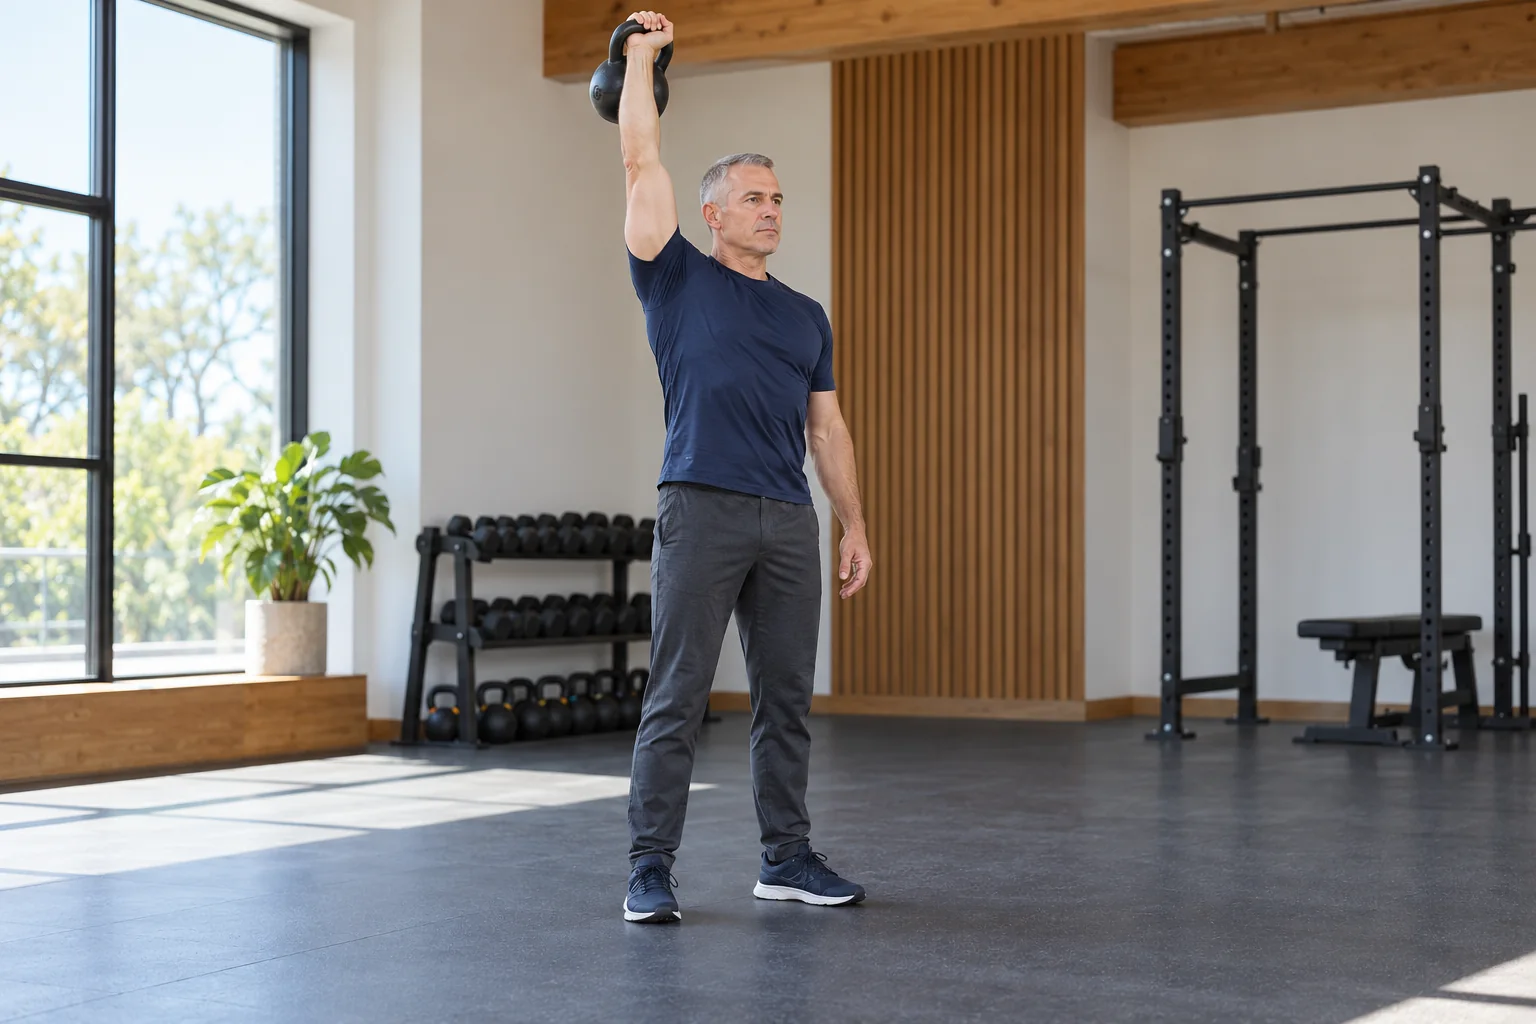
Loading changes the consequences of a lost position. Do not add a bell merely because you completed the unloaded sequence once. Learn a safe setup, shoulder support, transitions and finishing procedure with competent in-person feedback. Keep repetitions low enough to avoid practicing under substantial fatigue. If you later compare kettlebells (paid link) for a loaded get-up, choose the load with qualified guidance after mastering the unloaded stages.
A sample unloaded skill block might consist of one or two carefully selected transitions per side, followed by rest. You can stop at the elbow, hand or half-kneel. The whole get-up is an option, not an obligation, and heavier loading is not the only way to improve coordination.
Movement and Session Checklist
- Choose a clear mat and practice without an overhead weight.
- Map the bent knee, extended leg, raised hand and support arm.
- Roll to the supporting elbow, then organize the hand position.
- Learn the leg transition and half-kneel separately with instruction.
- Stand only when balanced, then reverse every stage with control.
Practical Options at a Glance
| Practice stage | Main question | Next step |
|---|---|---|
| Floor setup | Can you identify each side reliably? | Repeat the map unloaded |
| Elbow to hand | Can you pause and reverse? | Keep the half get-up as the practice |
| Half-kneel | Is the knee position and balance comfortable? | Learn the rise with instruction |
| Loaded sequence | Can you handle the bell and transitions safely? | Use competent individual supervision |
Common Mistakes and Better Replacements
Learn the sequence unloaded and retain the ability to reverse.
Stop and choose a suitable alternative.
Include the return when assessing every repetition.
Frequently Asked Questions
No. Unloaded practice lets you learn the sequence before adding the demands of external weight.
It can be a complete practice task when it matches your ability and purpose. A full get-up is not compulsory.
Use a small amount of precise practice and rest before control changes. The appropriate dose depends on the stage, your experience and individual instruction.
Safety and Personal Needs
This guide provides general fitness education and adjustable practice examples, not a personalized exercise prescription or rehabilitation plan. Stop for pain, dizziness, a slipping grip or loss of control. Chest pain, fainting or severe unexpected breathlessness needs urgent appropriate help. Follow individual advice for medical conditions, pregnancy, recent surgery or injury. Learn complex, ballistic and overhead lifts with a qualified instructor; a written guide and illustrative image cannot assess your technique.
Sources and Further Reading
Prepared by the Best Fitness Routine Editorial Team. The example sessions are educational frameworks; they have not been individually tested for every reader. Images are AI-generated illustrations.