Published by Best Fitness Routine. Editorial standards · Report a correction. Educational guidance; no individual clinical review is claimed unless a qualified reviewer is named.
A Practical Starting Point
As an Amazon Associate I earn from qualifying purchases. This guide includes paid Amazon links.
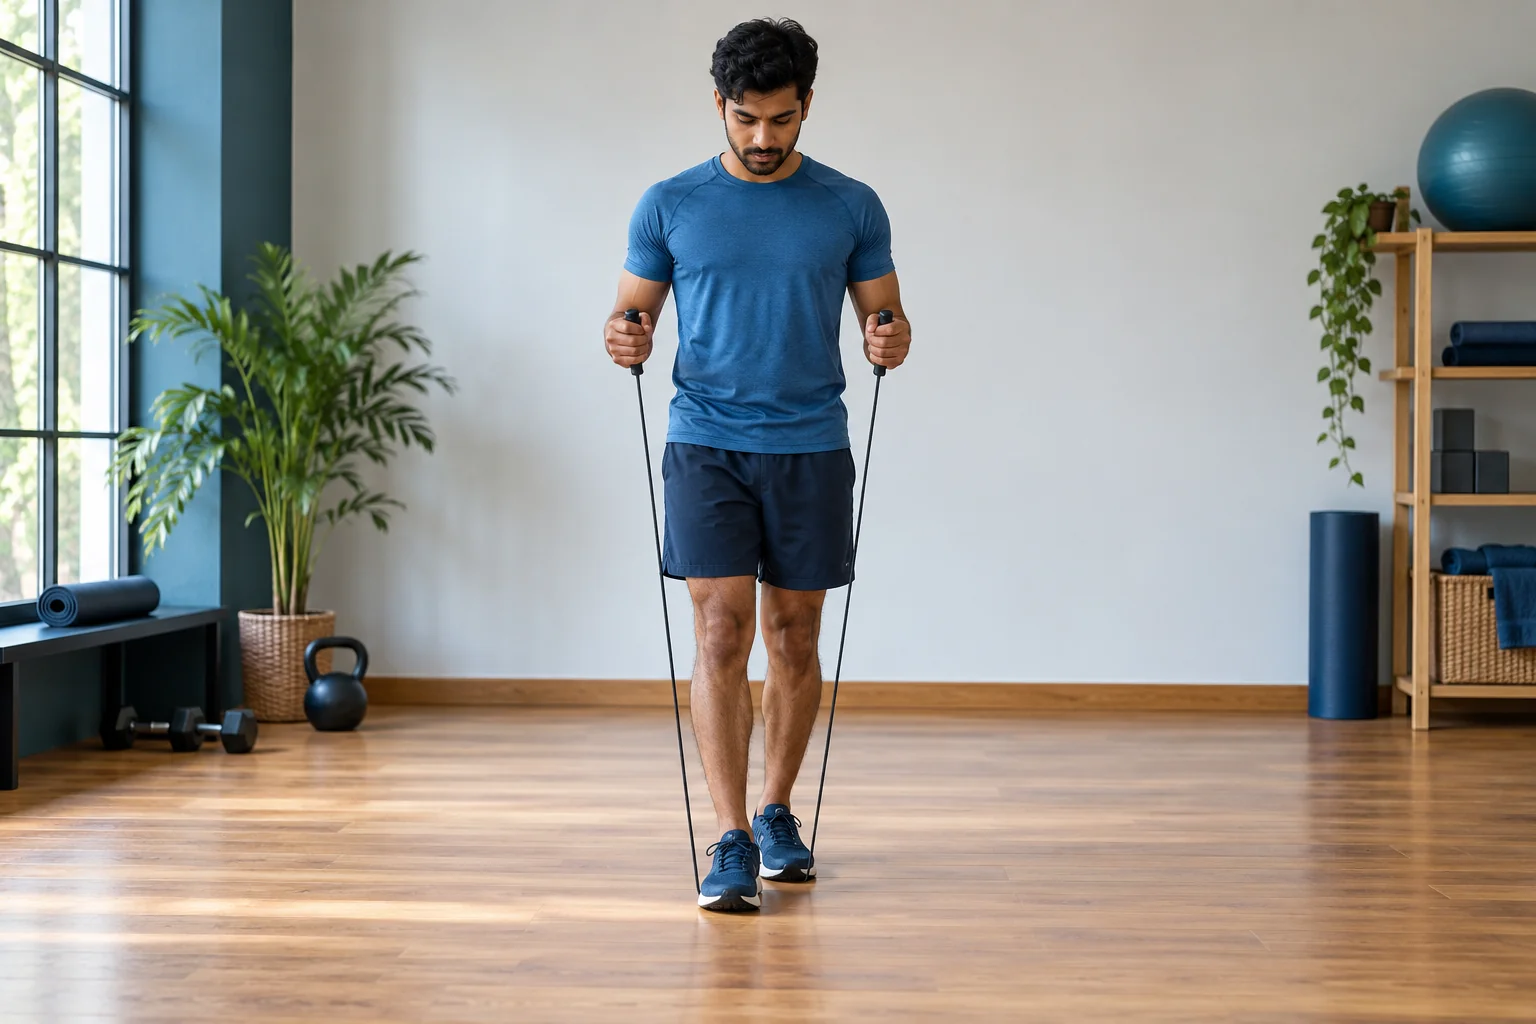
This jump rope side swing tutorial for beginners starts with your feet on the floor. A side swing sends the loop beside your body while both hands move to the same side. The rope does not need to pass under your feet during that part of the movement.
That change makes it a useful handling skill to explore separately from jumping. First learn where the loop travels, then practice opening it for an ordinary jump. The aim is a controlled transition rather than a fast freestyle combination or a way to hide uncomfortable fatigue.
See the difference between a side swing and an open turn
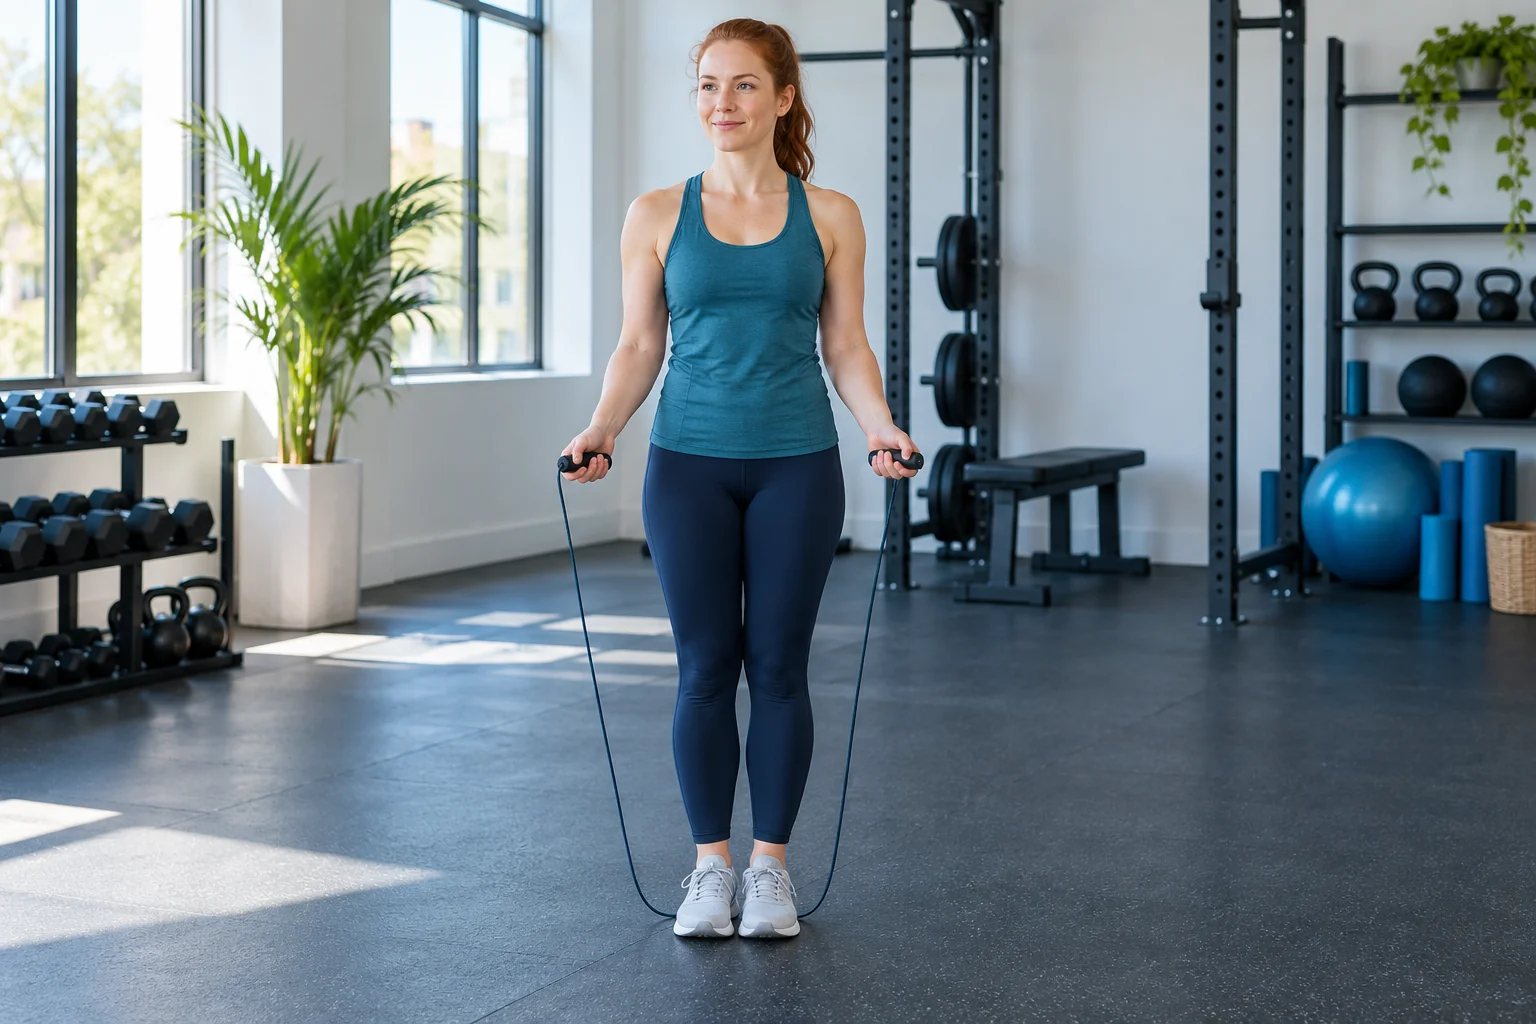
In an ordinary open turn, your hands are separated near either side of your body and the loop travels around you. For a side swing, both hands move toward one side so the rope passes beside you. The important distinction is where the loop travels, not how dramatic your arm movement looks.
Do not begin by crossing your arms in front of your chest or swinging across your face. Choose one side, stand still and trace the intended path slowly with an unturned rope. If you cannot visualize the loop, watch a qualified demonstration before adding speed. A written cue is useful, but the movement is spatial.
Check your available space in our Choosing a Surface for Jump Rope at Home when that is the part of your session you need to work on.
Give the rope room on both sides
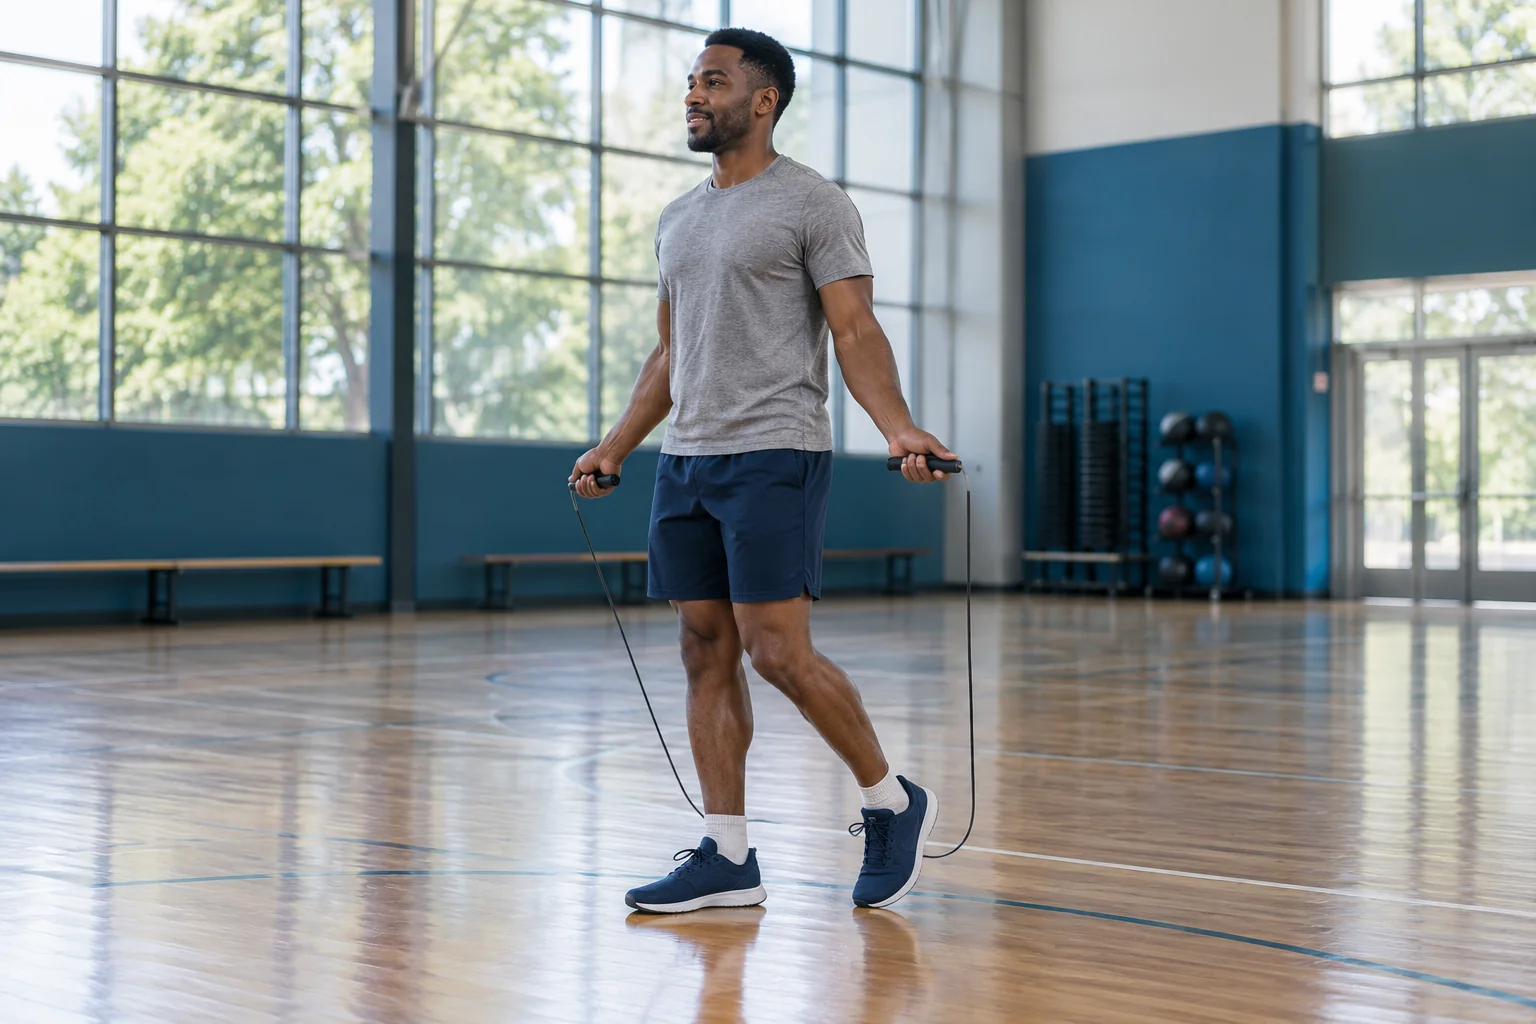
Check more than your usual jumping footprint. A side swing uses lateral space that a basic bounce may never reach. Move bottles, bags, furniture and cords away from both sides. Keep other people and pets outside the full arc. A low ceiling or crowded gym corner can make this a poor place to learn even when ordinary jumps seem possible.
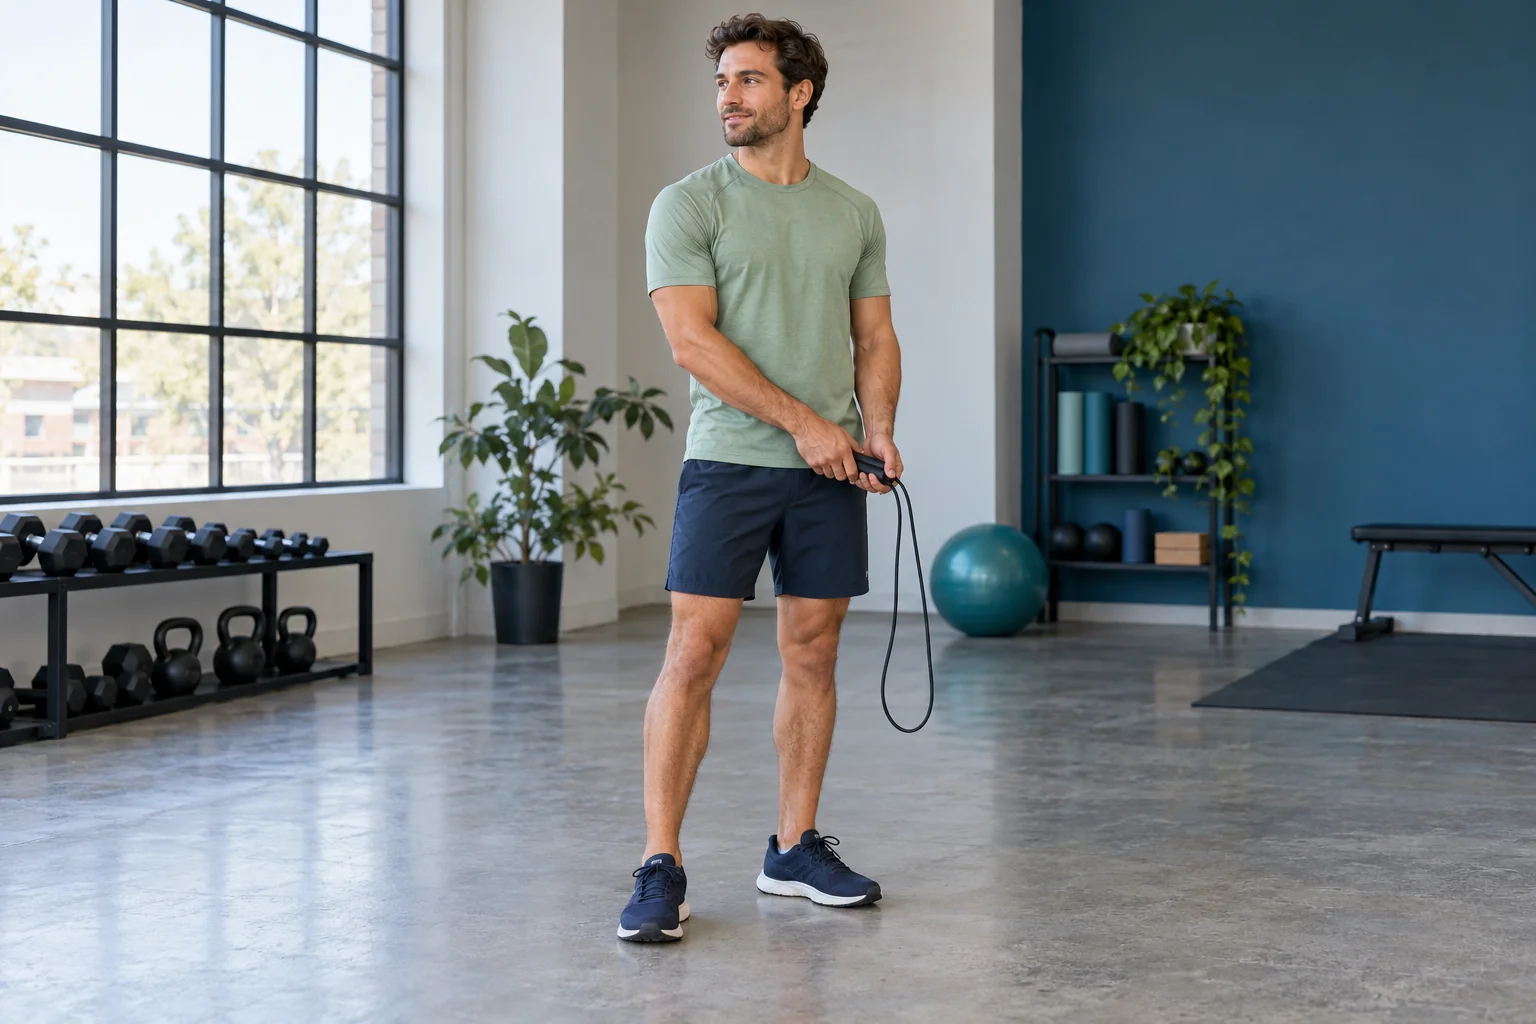
Use a familiar rope with intact connections and no exposed damaged sections. An adjustable PVC jump rope (paid link) is one possible practice tool, provided the length and handle system suit you. Do not use a heavy conditioning rope simply to make the swing more noticeable; start with something you can stop easily.
Discover a slow side loop with stationary feet
Hold both handles and bring the hands toward one hip, leaving enough separation for the rope to move freely. Start a gentle loop beside you and watch its location without leaning into it. Keep the shoulders relaxed and allow a comfortable hand arrangement. There is no need to force your wrists into an uncomfortable angle to imitate a picture.
Try a single controlled swing, then let the rope settle. Repeat on the other side as a separate task. If the rope strikes your legs or wraps unexpectedly, slow down and check hand position before trying again. Continuous circles can wait until you understand one quiet turn and stop.
Move across the body only after each side makes sense
When a side loop is familiar, explore bringing the hands across the front of your body so the rope can swing on the other side. Keep the loop outside the body rather than pulling it through your stance. Use a small comfortable transfer and remain standing. If the cord tangles, stop and reset rather than yanking it free while it is moving.
Some swing variations use different hand arrangements, so avoid trying to learn several named styles at once. Choose the simplest version shown in a reliable demonstration and stay with it. A stable phone tripod (paid link) outside the arc can help you compare the path with the demonstration without holding a screen during practice.
Open the loop before asking your feet to jump
Return your hands toward their ordinary separated positions and let the rope form an open loop. Rehearse that change while standing still. Allow the rope to settle rather than trying to jump every time the hands open. You are learning the relationship between the hand movement and the space available for the cord.
Once the path is clear, try one side swing followed by one ordinary jump, then stop. Expect a learning pause between skills. If the loop opens too late, return to the stationary rehearsal. Adding a bigger jump will not reliably solve a rope that has not yet reached the right position.
Return to familiar short intervals in our A 10-Minute Jump Rope Workout for Beginners when that is the part of your session you need to work on.
Organize a short handling practice
A simple practice might include several single swings on each side, a pause, and a few open-loop rehearsals. Finish with one or two swing-to-jump attempts only if the earlier work is controlled. The amounts in the table are examples to help you organize attention; they are not a required training dose or a test of coordination.
Give yourself enough rest to concentrate on the next attempt. Change the task if you are repeatedly guessing where the rope will go. You can spend an entire brief practice on standing swings and still make useful progress. Continuous alternating swings and longer combinations are later options, not conditions for calling the practice worthwhile.
Keep the role of side swings realistic
A side swing may help you transition between rope skills, but it is not automatically a complete rest. Your arms are still moving and a weighted rope can remain demanding. When you need recovery, stand or walk without swinging until you are ready. Use a deliberate stop when grip, attention or balance becomes uncertain.
There is no need to add jumps merely to make the practice feel like exercise. Handling skill has its own purpose. If wrist or shoulder discomfort appears, stop and review the movement with an appropriate professional if it persists. Avoid using a different hand position to work through pain. A controlled path matters more than a complicated combination.
Practice and Setup Checklist
- Clear lateral space and inspect the rope.
- Rehearse one side loop with stationary feet.
- Stop the rope deliberately before resetting.
- Explore the other side, then a slow transfer.
- Practice opening the loop before adding a single jump.
Practical Options at a Glance
| Task | Small practice example | What to watch |
|---|---|---|
| Single-side loop | A few individual swings, each followed by a stop | Rope stays beside the body |
| Other side | Repeat without rushing | Comfortable hand and shoulder position |
| Open-loop rehearsal | Open hands, allow rope to settle | Clear cord path around the body |
| First transition | One swing and one ordinary jump | Open early enough to avoid guessing |
Common Mistakes and Useful Adjustments
Check the lateral arc, not only the area under your feet.
Return to stationary single swings and controlled stops.
Put the rope down when you actually need a pause.
Frequently Asked Questions
No. Standing practice lets you understand the rope path without coordinating a landing. Jumps and footwork can be introduced later if they suit your goals. The stationary version is a useful learning step in its own right.
No. A side swing sends the loop beside the body. A crossover changes the arm arrangement so you can jump through a crossed loop. Combining the terms can make instructions confusing, so learn the paths as separate skills.
Possible reasons include changing hand orientation unexpectedly, transferring too quickly or beginning with a coiled cord. Stop, untangle the rope and repeat a single slow loop. If the mechanism binds, inspect the equipment rather than forcing the handles.
They may feel different at first. Practice each separately at a pace you can stop. Do not force an uncomfortable wrist angle to make the sides appear identical. A coach can help clarify the hand arrangement if one direction remains confusing.
Safety and Personal Needs
This is general fitness education, not a personalized exercise or rehabilitation plan. Jumping is optional; choose a suitable nonjumping activity when needed. Stop for pain, dizziness, loss of balance or unusual breathlessness. Chest pain, fainting or severe unexpected breathlessness needs urgent appropriate help. Follow individual guidance for a medical condition, pregnancy, recent surgery or injury. A written guide and illustrative image cannot assess your movement; ask a qualified instructor for help with unfamiliar skills.
Sources and Further Reading
Prepared by the Best Fitness Routine Editorial Team. The example sessions are educational frameworks; they have not been individually tested for every reader. Images are AI-generated illustrations.