Published by Best Fitness Routine. Editorial standards · Report a correction. Educational guidance; no individual clinical review is claimed unless a qualified reviewer is named.
A Practical Starting Point
As an Amazon Associate I earn from qualifying purchases. This guide includes paid Amazon links.
Learning how to size a jump rope for beginners involves more than matching a height to a number. The cord length, handle design, your hand position and the type of jumping all affect how the rope moves. Start with the instructions for your specific model, then test the result with a few slow, controlled turns. This guide explains how to make reversible adjustments and recognize common clues. It does not prescribe one universal armpit, chest or shoulder measurement for every rope or every person.
Identify what the manufacturer calls rope length
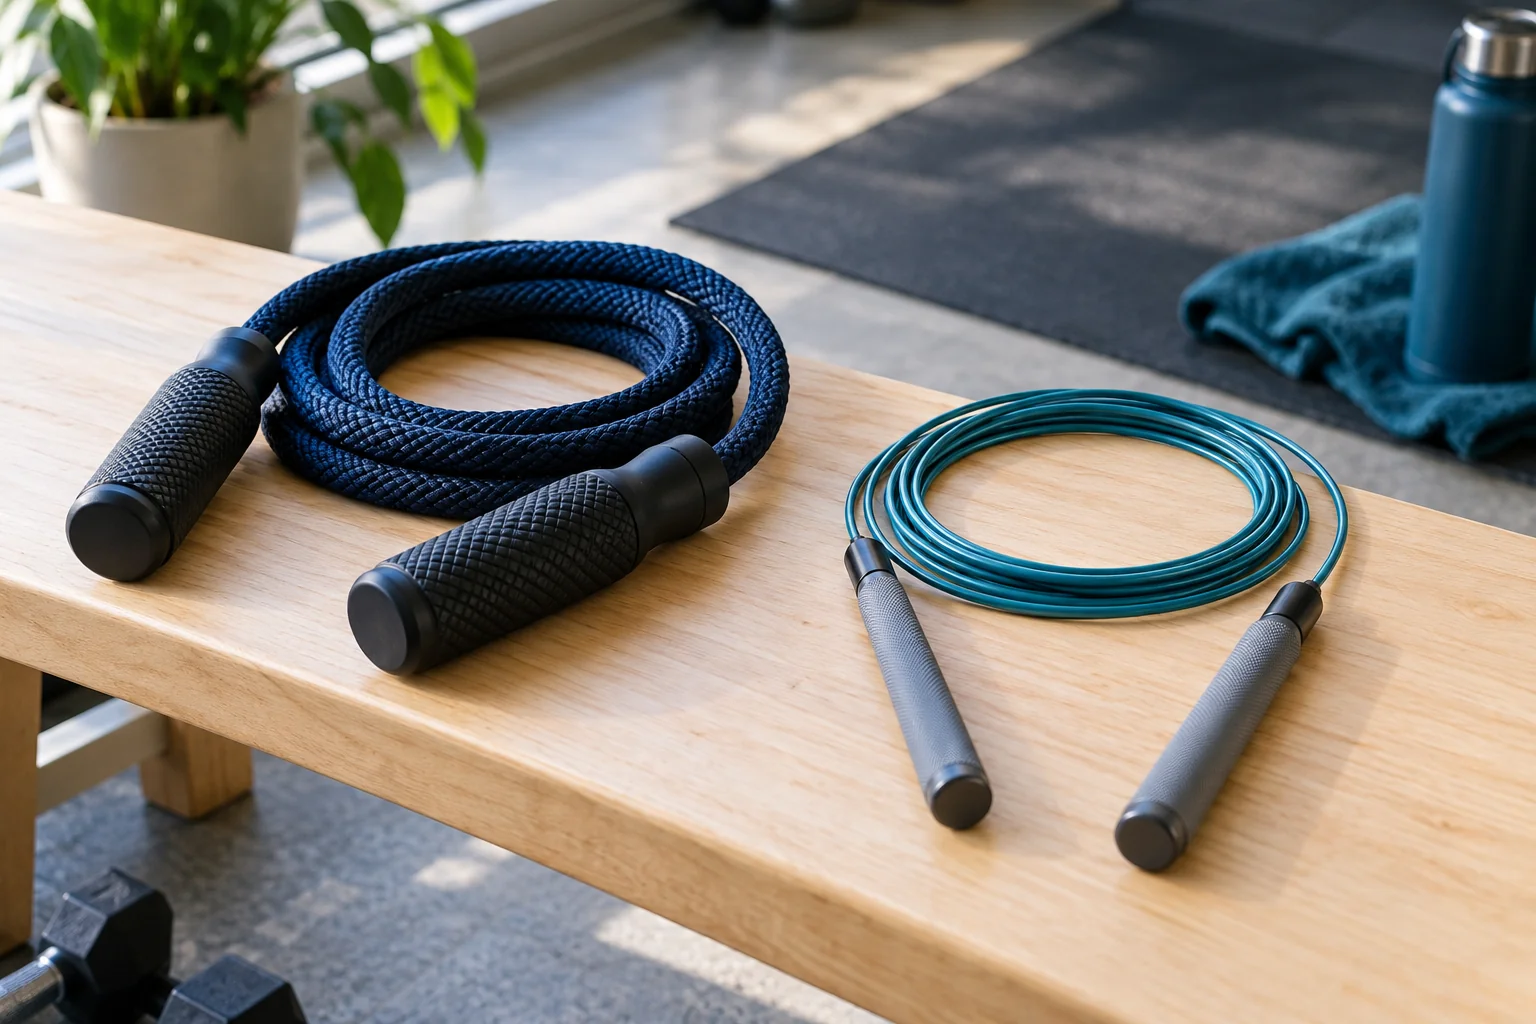
Read the supplied instructions before changing anything. Some manufacturers measure the cord between the handles; others describe an overall product length that includes handle components. A fixed-length interchangeable system may require choosing a different cord rather than cutting one. A children's rope, a beaded freestyle rope and a wire speed rope can use different adjustment methods.
An adjustable PVC jump rope (paid link) can make the first fitting process convenient, but check that its mechanism actually allows repeated adjustment. Find the locking parts and learn how to secure them while the rope is stationary. If the model's instructions are missing, look up the exact product. Do not guess where a cable should be cut or dismantle a handle that is not intended to open.
Measure the cord without adding the handles accidentally
If the instructions specify cord-only length, lay the rope out without pulling it hard and measure between its handle attachment points. A flexible measuring tape makes it easier to record the original setting in either centimeters or inches. Note both the measurement and the method so a later change is a genuine comparison. Keep unit conversions consistent.
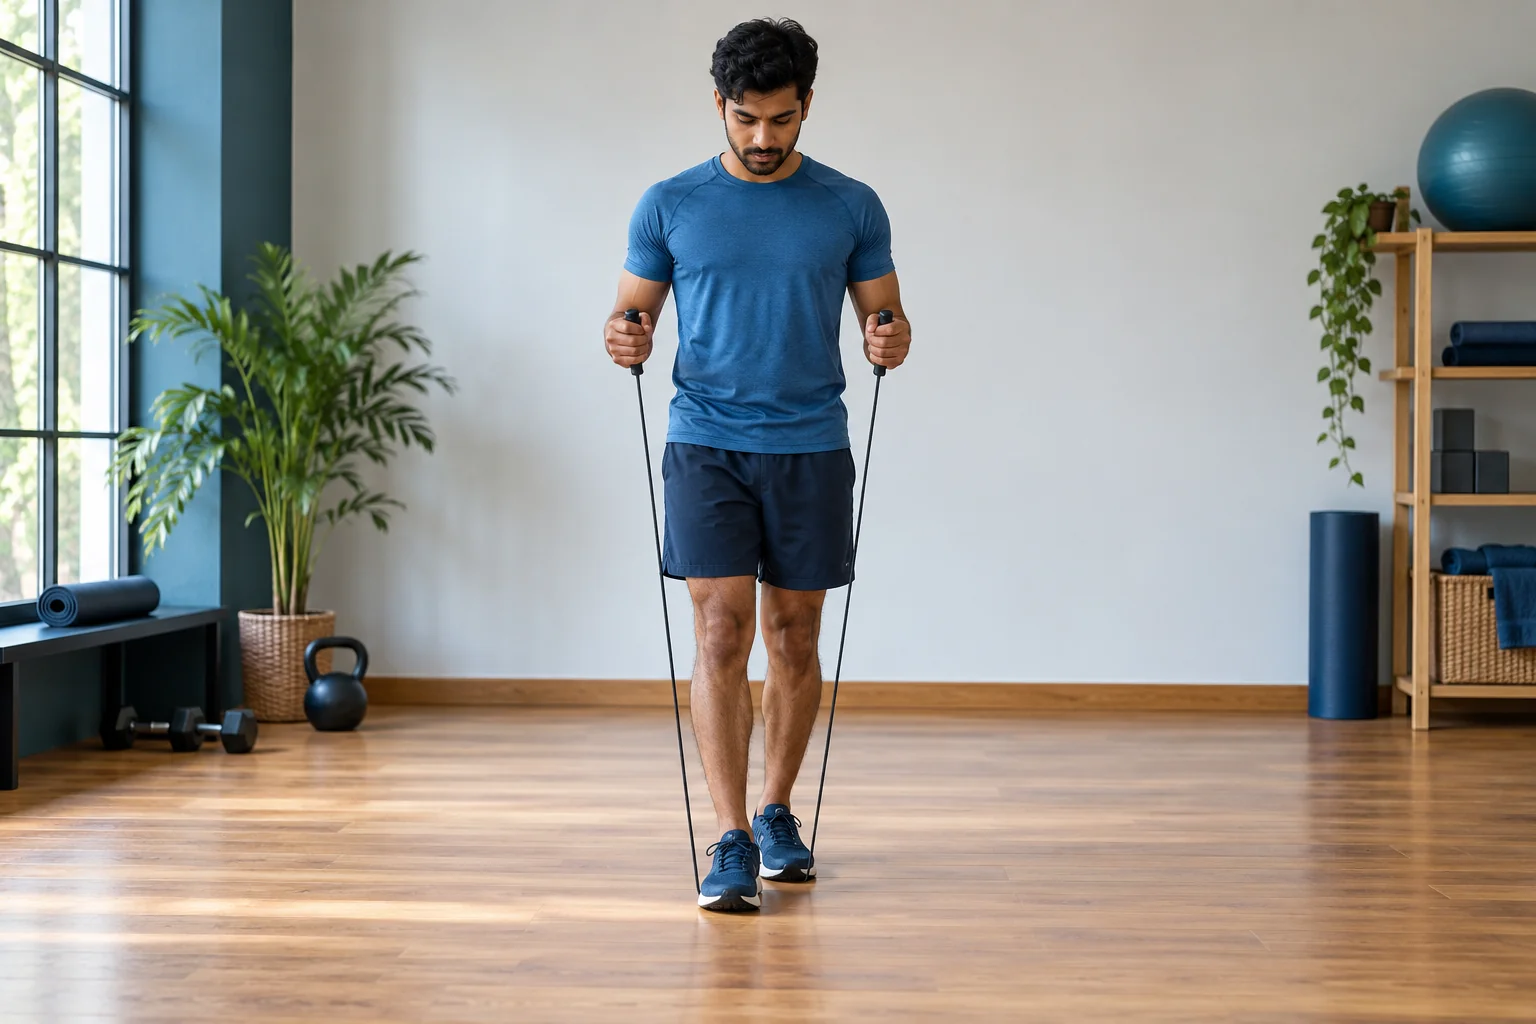
The familiar check of standing on the middle of the rope and lifting the handles can provide a rough reference when the manufacturer recommends it. It is not an exact universal fitting test. Where the handles reach changes with their length, your stance and how much tension you apply. Use it to establish a starting setup, then confirm with moving practice.
Test the fit with your usual footwear and hand position
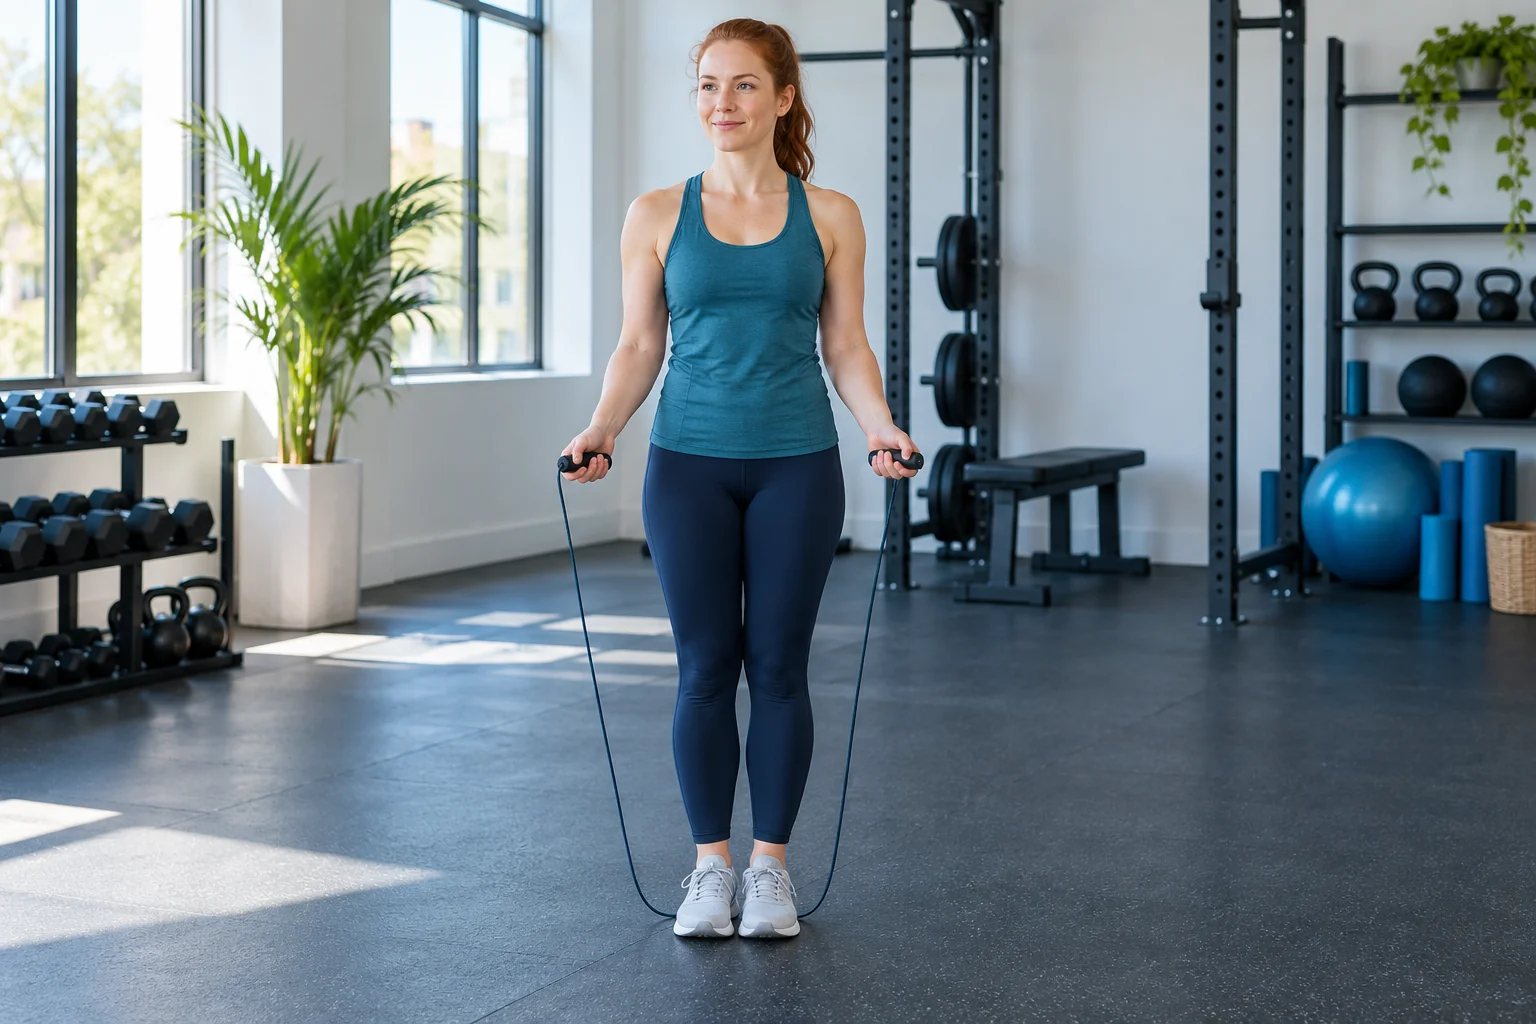
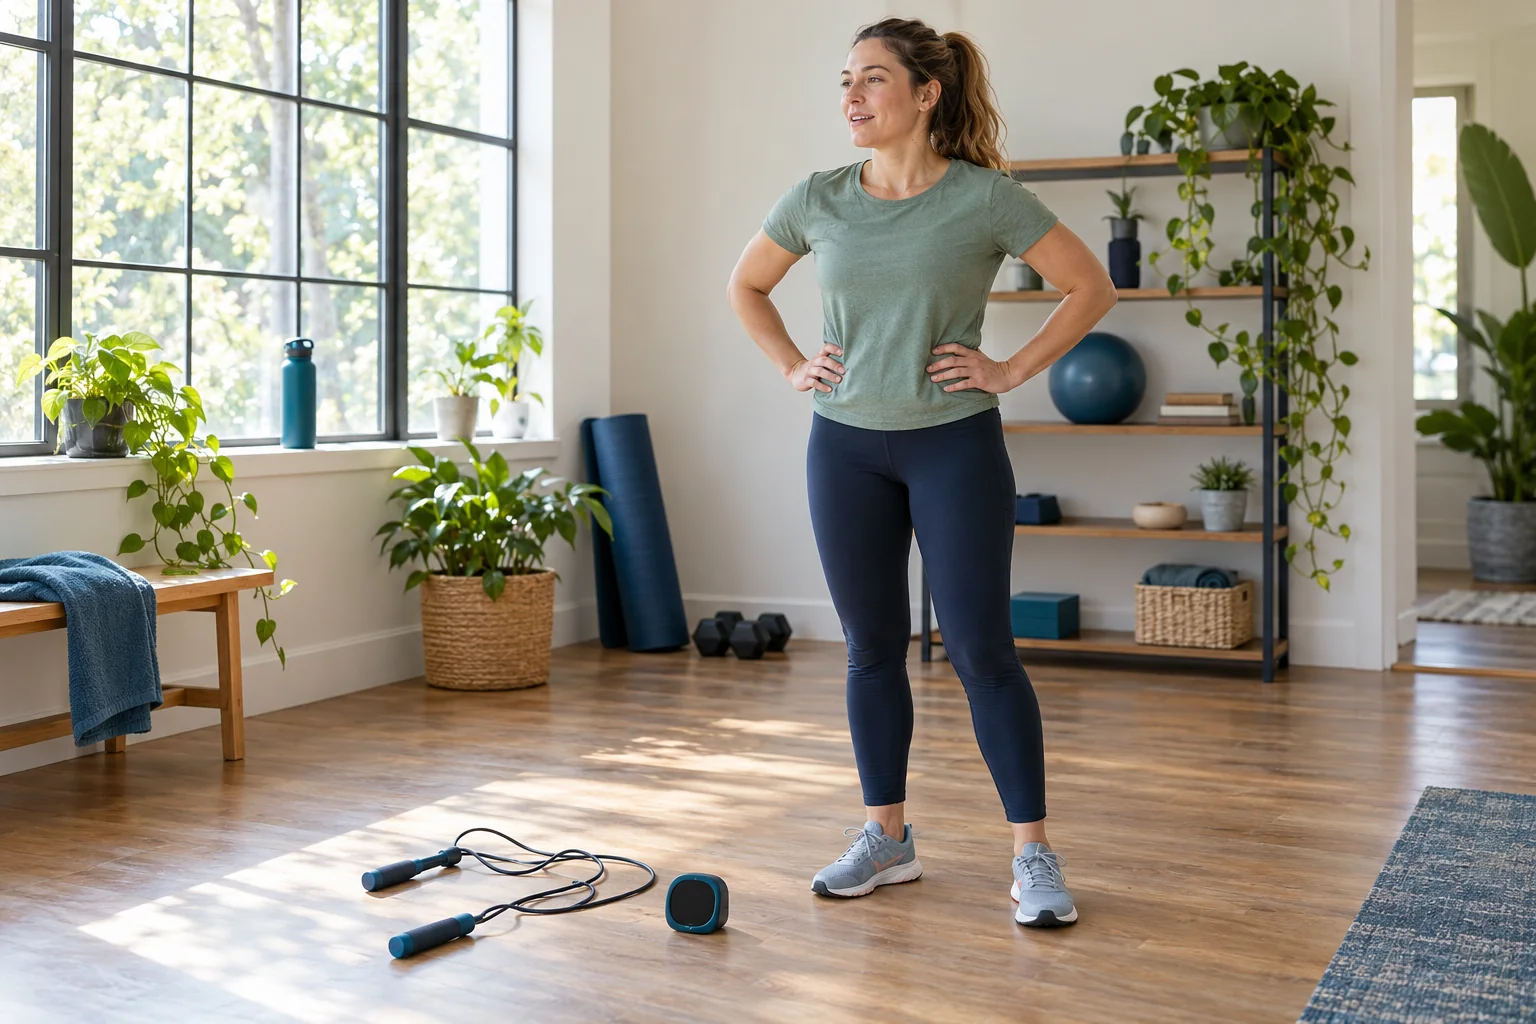
Move to a clear practice area and wear the shoes you plan to use. Begin with the rope behind you, elbows comfortably near your sides and hands positioned so they can turn the handles without a wide arm circle. Make one unhurried pass, pause and repeat. Keep the same hand position during several attempts before deciding whether the cord needs adjustment.
If you raise or spread the hands each time you jump, the rope's effective clearance changes. Shortening the cord while also moving the hands can make the result confusing. Learn a repeatable position first. A phone tripod (paid link) can hold a short side-view recording if you want to compare attempts without trying to watch your feet while jumping.
Separate length clues from timing clues
A rope that repeatedly drags well ahead of the feet, creates a large loose loop or encourages wide hand movements may be longer than necessary for your setup. A rope that struggles to clear your head or feet despite a controlled hand position may be too short. These are clues to investigate, not a reliable diagnosis from one missed jump.
A toe catch can also come from jumping too late, moving backward or changing hand height. Before adjusting length, try a handful of single passes at an easier pace. If the same problem remains across consistent attempts, make one small reversible change. Persistent uncertainty is a useful reason to ask a qualified jump rope coach to watch the movement.
Troubleshoot catching and timing in our How to Jump Rope Without Tripping: Find the Catch, Then Reset when that is the part of your session you need to work on.
Change a small amount and keep both sides balanced
Follow the model's adjustment method and secure the handles completely before retesting. Some ropes shorten through repositioned clamps, some through an internal knot and some through removable beads. Use only the method designed for the product. If a cutting step is required, postpone it until you have tested the intended fit and understand the manufacturer's instructions.
A small change that you can undo is more useful than removing a large piece at once. Record the old setting, adjust evenly where the design requires it and repeat the same practice test. An exercise logbook can keep these notes together. Never leave loose clips or excess cord in a place where they can strike you or interfere with the handle.
Compare rope types in our Weighted Jump Rope vs Speed Rope for Beginners: Choose by the Task when that is the part of your session you need to work on.
Keep a comfortable beginner fit while your skill develops
Experienced speed or freestyle jumpers may prefer a setup that differs from a beginner's. A shorter cord can demand more consistent timing and hand placement. Copying an advanced athlete's measurement is therefore not a necessary step toward learning. Choose a fit that lets you practice a controlled basic bounce without repeatedly compensating with your arms or a very high jump.
Recheck after changing rope type, handle length or footwear, and after a large technique change. You do not need to shorten the rope on a schedule. If it works comfortably, leave it alone and focus on the skill. Keep the original measurement so an unsuccessful experiment can be reversed rather than turning fitting into a cycle of increasingly short cuts.
Practice and Setup Checklist
- Find the instructions and identify whether the stated length includes handles.
- Record the original cord setting with the specified measurement method.
- Test several single passes with consistent hands, shoes and surface.
- Check timing and posture before blaming every catch on length.
- Make one small reversible adjustment, secure the mechanism and repeat the test.
Practical Options at a Glance
| What you notice | What to check first | Possible next step |
|---|---|---|
| Large loose loop in front | Consistent hands and the manufacturer's starting fit | Try a small permitted shortening adjustment |
| Cord repeatedly catches toes | Timing, hand height and movement backward | Practice single passes before changing length |
| Poor clearance overhead | Model size and hand position | Check the sizing instructions; do not keep cutting |
| Rope works until arms spread | Hand drift as you tire | Reset and shorten the practice set |
| Unsure how to adjust a handle | Exact model instructions | Ask the manufacturer before changing or cutting it |
Common Mistakes and Useful Adjustments
Match your measurement method to the manufacturer's definition.
Use reversible adjustment first whenever the design permits it.
Keep the practice conditions consistent so you can judge a single change.
Frequently Asked Questions
No single body landmark fits every rope design or person. Follow the model's starting instructions, then check the fit through controlled practice.
A brand's height chart can provide a starting size, especially for fixed-length systems. Confirm its measuring method and exchange options, then test your actual setup.
No. Timing, hand position, posture and fatigue can all affect clearance. Check those before making repeated length changes.
Safety and Personal Needs
This is general fitness education, not a personalized exercise or rehabilitation plan. Jumping is optional; choose a suitable nonjumping activity when needed. Stop for pain, dizziness, loss of balance or unusual breathlessness. Chest pain, fainting or severe unexpected breathlessness needs urgent appropriate help. Follow individual guidance for a medical condition, pregnancy, recent surgery or injury. A written guide and illustrative image cannot assess your movement; ask a qualified instructor for help with unfamiliar skills.
Sources and Further Reading
Prepared by the Best Fitness Routine Editorial Team. The example sessions are educational frameworks; they have not been individually tested for every reader. Images are AI-generated illustrations.