Published by Best Fitness Routine. Editorial standards · Report a correction. Educational guidance; no individual clinical review is claimed unless a qualified reviewer is named.
Understand why climbing changes the effort
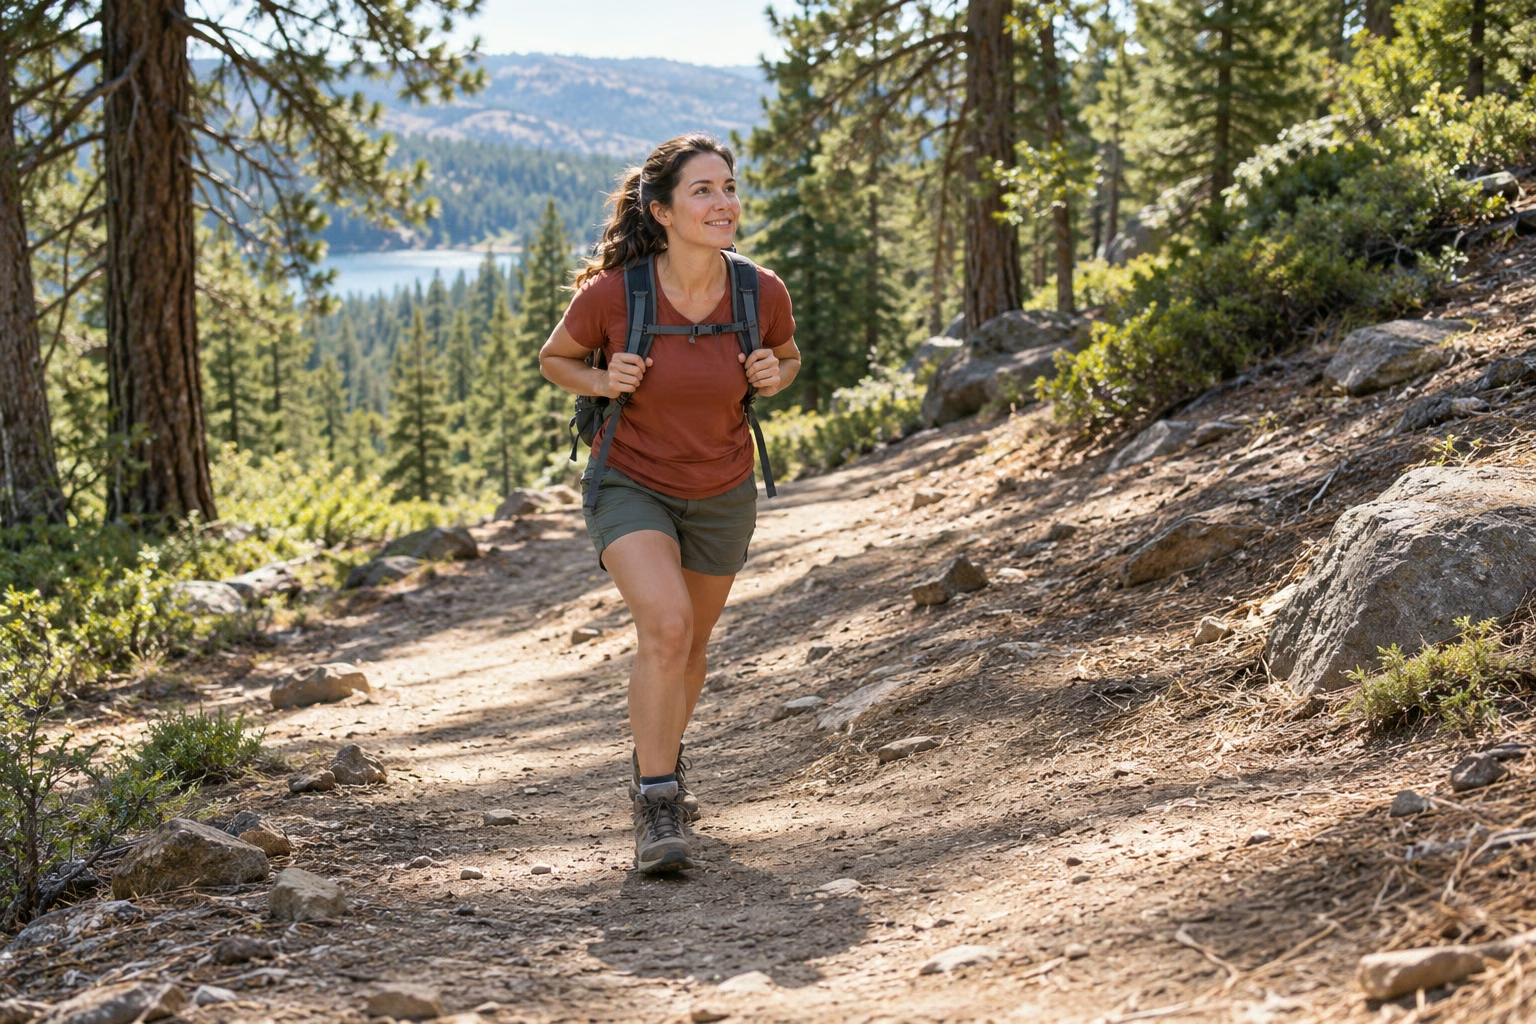
Training for uphill hiking means preparing to move your body upward repeatedly while maintaining control of breathing and footing. A slope can make a familiar walking speed feel much harder, even before the trail becomes long. Starting slower is therefore part of the skill. You do not need to prove that you can hold your flat-ground pace on a hill to make the session worthwhile.
Choose a first practice slope that is short, dry and easy to leave. A broad park path is usually easier to manage than a narrow rocky trail. Read the route profile before assuming that the opening climb is the only demanding part. Some hikes finish with an uphill return. Match training to the whole outing, including descent and the walk back to the car, station or trailhead.
Find a comfortable uphill pace
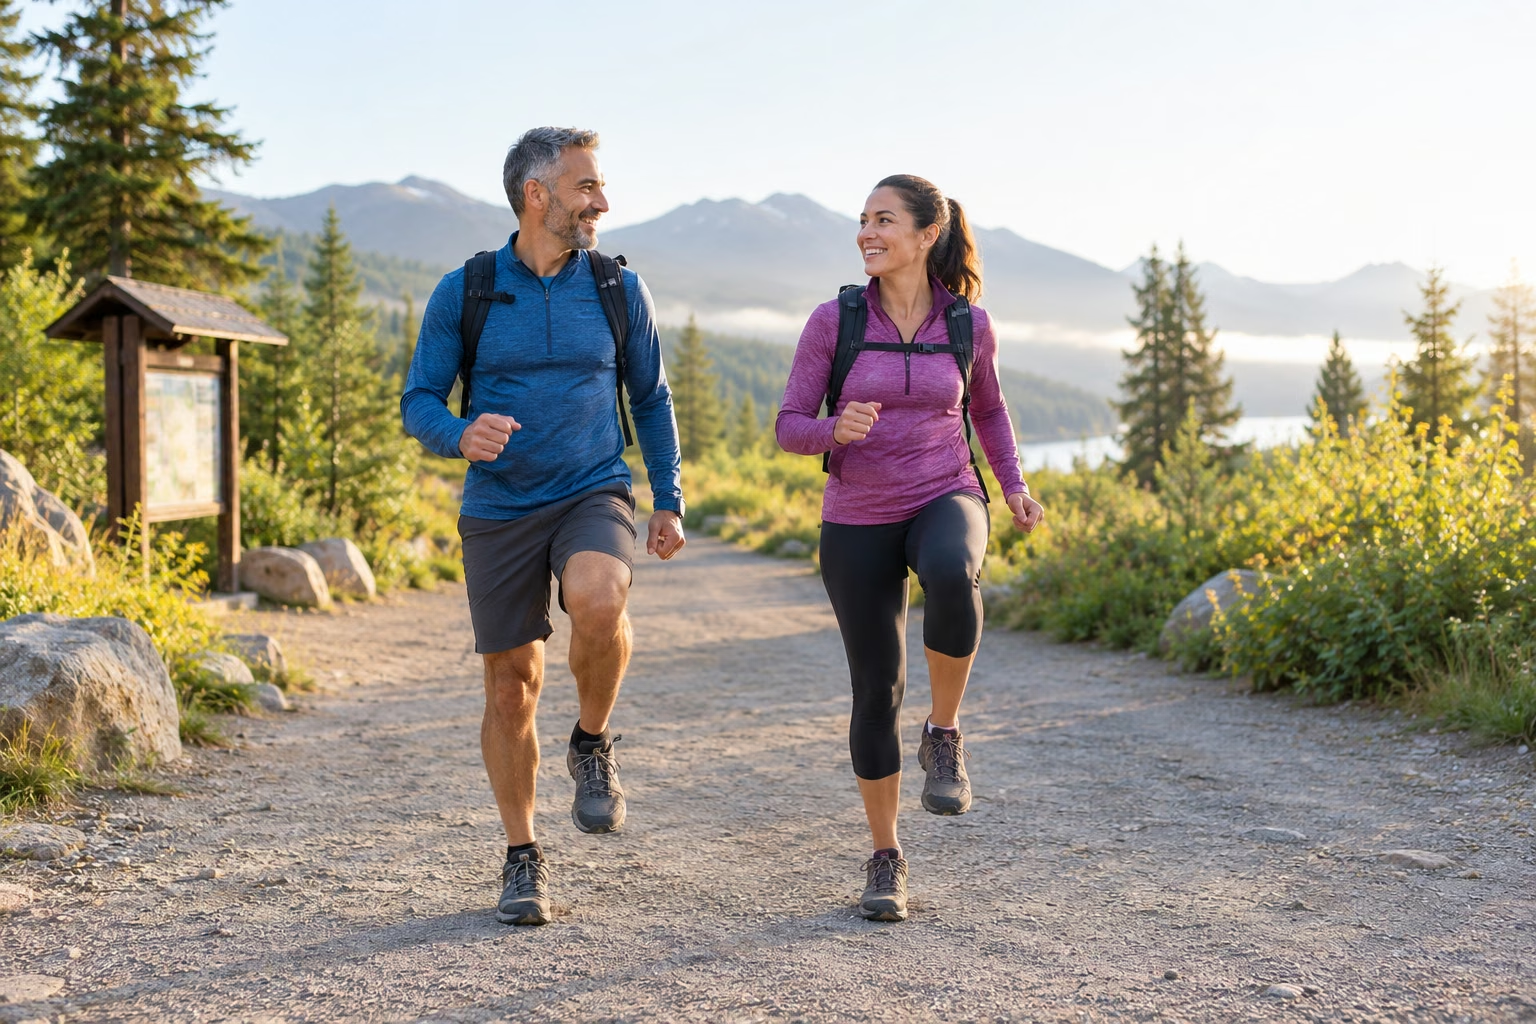
Walk easily on level ground before approaching the slope. Shorten your steps slightly as it rises and allow your pace to slow. Keep your torso reasonably upright, with a natural small lean from the whole body rather than folding sharply at the waist. Let your arms move comfortably. You should still be able to notice the trail and communicate with a partner instead of concentrating only on reaching the top.
Use speech and breathing as practical feedback. For an easy beginner session, choose an effort that leaves conversation manageable. An optional heart-rate monitor (paid link) can provide an additional record, but generic heart-rate zones may be unsuitable for some medications or conditions. Do not increase speed simply because a screen shows a lower number than expected. Symptoms, balance, environmental conditions and individual advice take priority over device targets.
Try a small hill-repeat session
One adjustable starting example is five easy minutes on the flat, followed by three short uphill walks of thirty to sixty seconds. Walk slowly back down or recover on level ground between them, taking enough time to feel settled. Finish with several easy minutes. You can shorten the repeats, do fewer of them or use a shallower slope. The session should finish while your movement remains controlled.
Use a workout timer (paid link) to organize the short efforts if watching time helps, but check it while stopped safely. A landmark can work just as well. Avoid sprinting the final part of each repeat or racing the recovery descent. Downhill walking still adds leg demand, so it belongs in the total session. If you cannot descend the practice slope comfortably, choose a different location rather than assuming uphill fitness is the only concern.
Practice step-ups for repeated climbing
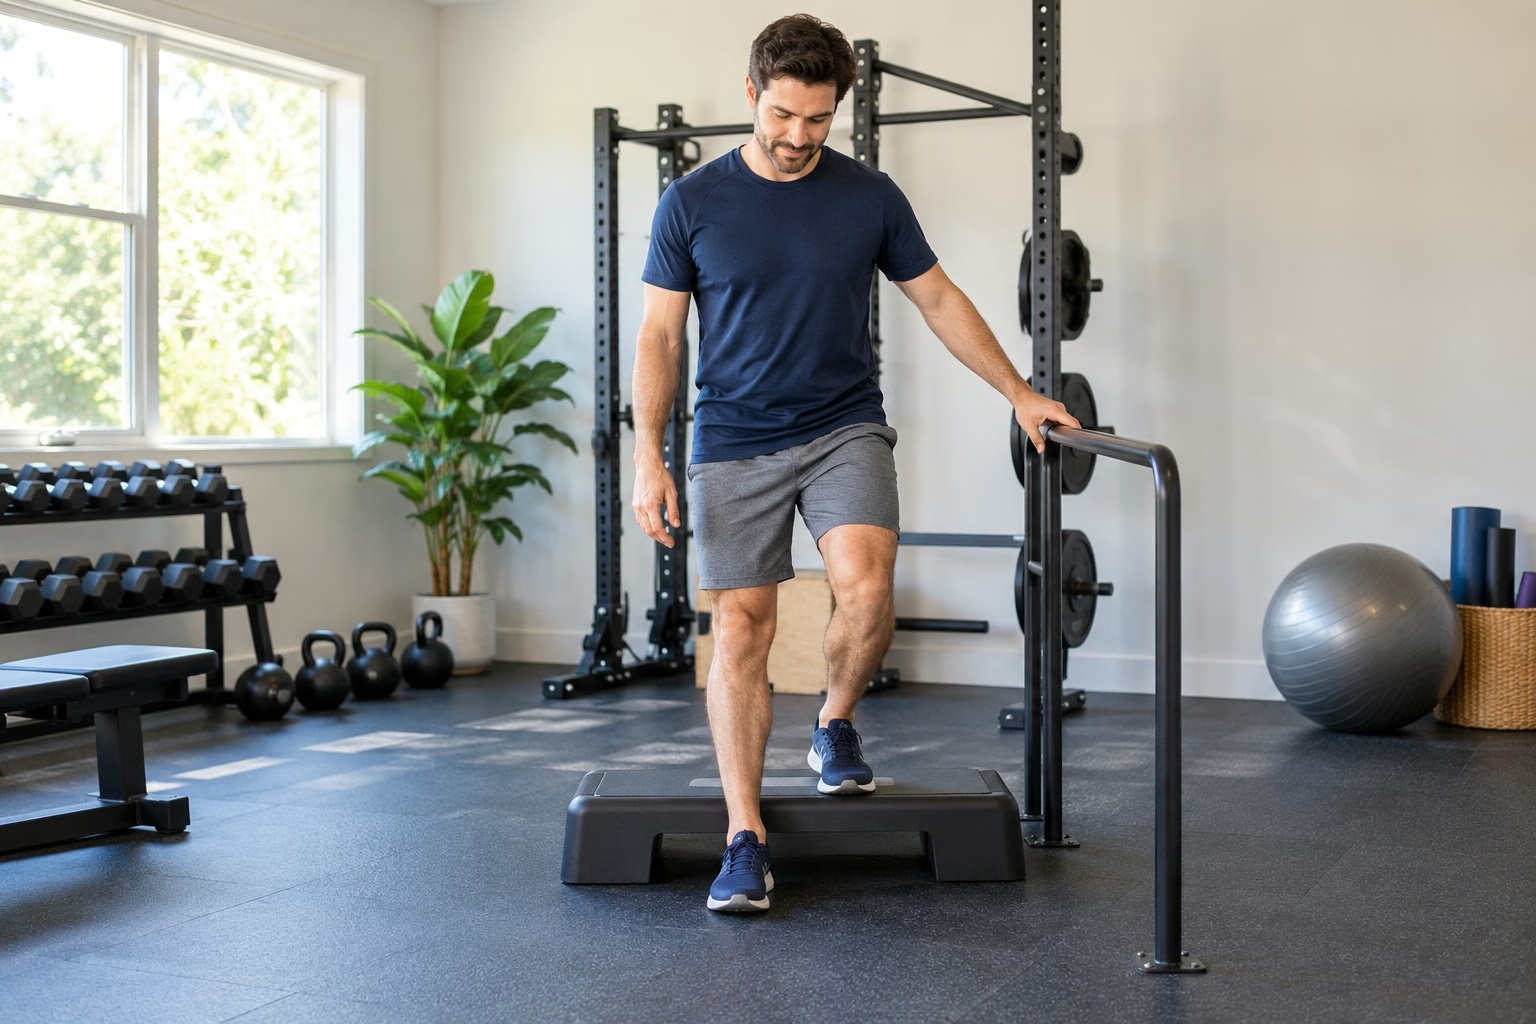
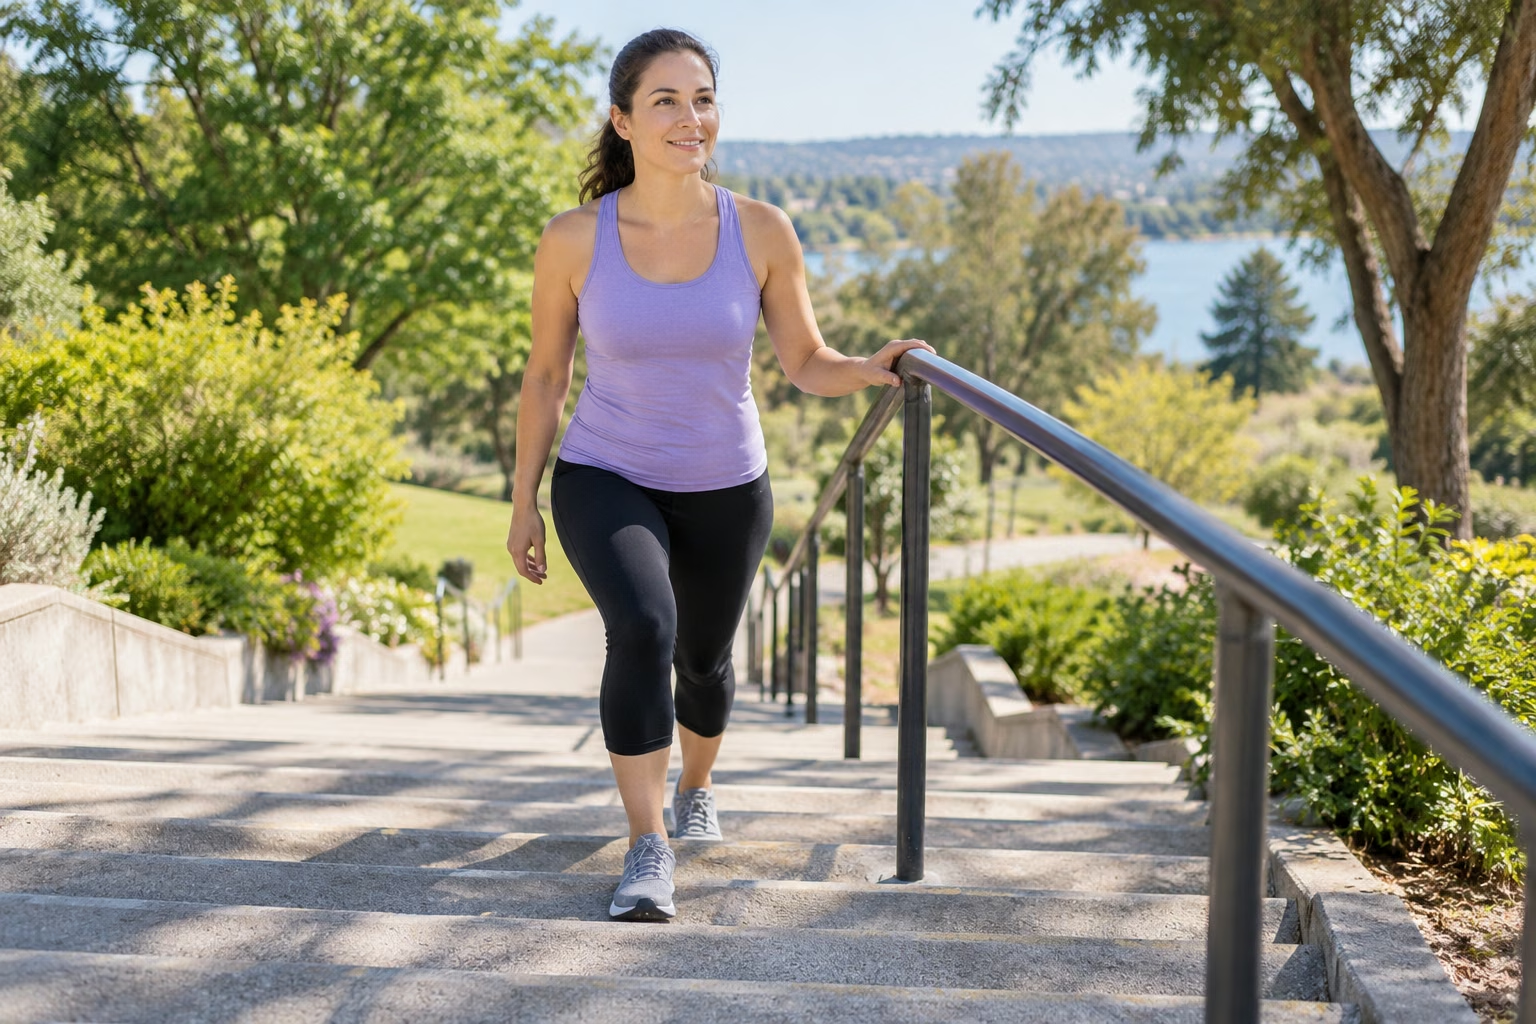
A low, solid step provides a manageable way to practice stepping upward. Place the whole working foot on it, use nearby fixed support if needed and stand up without a hard push from the trailing foot. Return to the floor slowly. Start with a height that lets you keep the movement smooth. A regular stair bottom step may be sufficient when its surroundings and handrail make practice safe.
If you choose an low exercise step (paid link), check its rated use, stability and non-slip surface before starting. A higher platform is not automatically better hiking preparation. One set of five controlled repetitions on each side can be an introductory example; add recovery and stop before control fades. Reduce the height or choose chair stands if the movement is uncomfortable. Step-ups are practice, not a test that must be passed through pain.
Add basic leg and hip strength
Chair stands, a comfortable supported split stance and calf raises can complement hill walking. A first routine might use one set of six chair stands and six supported calf raises, with a pause before repeating anything. Exhale naturally during effort and keep the range comfortable. The appropriate starting amount depends on current activity and any personal restrictions, not on how steep the eventual destination looks in a photograph.
Once an unweighted movement is familiar, manageable adjustable dumbbells (paid link) may provide an optional progression. Do not add load while also learning a new step height or trying your first longer hill session. Keep weights secure and place them down before moving around the room. The home leg training guide explains how to combine simple movements without making every session a demanding circuit or interfering with walking recovery.
Use poles as equipment you must learn
Some hikers prefer trekking poles (paid link) for an additional point of contact on suitable terrain. Check the adjustment locks, grip comfort and manufacturer instructions, and practice on easy ground first. Coordinate the placement with natural walking rather than reaching far ahead. Poles do not make a slippery slope safe, replace balance training or mean you should attempt a route beyond your ability. Local land managers may have rules about use and tips.
Keep enough space from other walkers, especially when stopping or changing direction. If managing poles makes you look down constantly or disrupts your stride, simplify the practice route and seek instruction where helpful. Put equipment away safely when the terrain or task requires free hands. The purchase is optional; a short hill with secure footing and a manageable pace can be a useful starting session without extra equipment.
Progress one climbing demand at a time
After several comfortable repeat sessions, choose one adjustment. You might add one short repeat, extend one uphill portion slightly or use a somewhat longer gentle slope. Keep the other variables familiar. There is no requirement to add a fixed percentage every week. Weather, sleep, ordinary activity and later muscle response can all justify repeating the same session. A plan works better when it leaves room for those changes.
Do not simultaneously increase gradient, speed, pack weight and total climbing. Even if each change seems small, their combined demand may be substantial. Record the approximate slope location and actual walking time so you can compare sessions sensibly. When a climb feels easier, first look for smoother pacing and less rushed breathing. Those changes may be useful progress before the route becomes longer or steeper.
Fit uphill work into a normal week
For a beginner already walking comfortably, one short hill session alongside two familiar level walks may be enough new demand. Place strength practice where it does not leave the legs unusually tired for the climbing day. A weekend hike counts as training; it should usually replace the planned longer walk rather than sit on top of the full schedule. Account for active jobs and long commutes on foot too.
If stairs are the only accessible climbing option, use the beginner stair routine with its own recovery and descent limits. Indoor climbing and outdoor hills share some effort demands but differ in footing and environment. The goal is a manageable week that prepares you for hiking, not the largest possible collection of workouts. Make the next session easier when ordinary walking has become awkward afterward.
Adjust for heat, altitude and trail conditions
A hill practiced comfortably in cool local weather may feel very different during heat or at higher elevation. Fitness does not remove those demands. Check official destination guidance, choose a conservative route and follow local closure or weather advice. Allow appropriate adjustment time where recommended. If the conditions exceed what you prepared for, shortening or postponing the outing can be the right training decision.
Carry the essentials recommended for the actual route and know how to navigate independently of a workout app. Practice walks close to home should not be used as proof that a remote climb will be easy. Leave energy for the descent and any return climb, and agree on turning points with companions. A scenic summit is optional; returning within your ability is part of a well-chosen hiking day.
Review the response before choosing the next climb
After a session, distinguish normal effort from a problem that needs attention. Notice whether your stride remains normal, stairs at home are manageable and fatigue settles with ordinary recovery. Persistent joint pain, new swelling or repeated instability should change the plan and may need assessment. Do not use another hard hill session to test whether a symptom will disappear once you are warm.
For the next outing, choose a hill whose duration and terrain resemble successful practice. Begin below your fastest training pace and adjust with breathing and footing. The four-week hiking framework can help place climbing inside a wider routine. Better uphill preparation means you understand your effort and limits more clearly, including when a shorter climb or a quieter recovery day will serve the goal better.
Practical Options at a Glance
| Situation | Practical option | What to consider |
|---|---|---|
| Opening | Easy level walking | Let breathing settle |
| Climbing practice | Three short gentle uphill portions | Fewer repeats are valid |
| Recovery | Unhurried descent or level walking | Count downhill leg demand |
Frequently Asked Questions
Three short gentle uphill portions are one example, not a minimum. Fewer or shorter repeats may be appropriate, and recovery can be longer. Begin with a manageable slope and review the later response before adding another portion. The downhill return also counts toward the session.
No. A slower pace can keep breathing and foot placement manageable while you learn the demand. Progress may mean smoother effort or a little more comfortable climbing time. Do not increase speed to preserve a flat-ground average when the gradient changes the task.
Stairs can provide a controlled climbing task, but their uniform surface and handrail differ from trails. Include suitable outdoor walking when conditions allow. Treat stair descents as additional leg demand and choose a trail based on actual preparation, rather than a flight count alone.
Safety and Personal Needs
Stop activity and seek appropriate help for chest pain, faintness, severe unexpected breathlessness or a significant injury. Persistent pain, new swelling, numbness, weakness, dizziness or recurrent instability needs assessment before progression. Follow individual guidance for medical conditions, pregnancy, recent surgery or injury. These adjustable examples are general education, not rehabilitation, medical clearance or guarantees against injury. Check current destination advice, weather, terrain and the whole return route; fitness does not replace hiking skills, navigation or appropriate essentials. Follow the actual equipment instructions and use secure support when needed.
This is general educational information. Individual needs vary with health, medications, fitness and training experience.
Sources and Further Reading
- National Park Service: Hiking Safety
- CDC: Measuring Physical Activity Intensity
- NHS: Strength Exercises