Published by Best Fitness Routine. Editorial standards · Report a correction. Educational guidance; no individual clinical review is claimed unless a qualified reviewer is named.
Prepare for lowering as well as climbing
Strength exercises for downhill hiking focus on controlling repeated lowering rather than simply reaching the top of a step. Descending may feel easier for breathing while still demanding attention from the legs. That difference can tempt a beginner to walk too quickly after a tiring climb. Practice should therefore include comfortable lowering movements and a route plan that leaves enough energy for the return.
This guide offers general exercise examples for adults who can perform the movements comfortably. It is not a treatment plan for knee pain or an assessment of an unstable joint. If ordinary stairs already produce pain, giving way or unusual swelling, seek individual advice before adding downhill training. Your starting point may be a smaller movement on level ground, and choosing a less demanding trail can remain the appropriate outdoor adjustment.
Choose a stable practice environment
Use a firm floor, good light and fixed support within easy reach. Remove loose rugs, pets and objects from the stepping area. A countertop or solid handrail is more dependable than a chair that can slide. Wear familiar footwear appropriate for the surface. Begin with a few minutes of easy walking so that your first controlled lowering movement is not the first activity after hours of sitting.
An low exercise step (paid link) can make the setup consistent if it is low, stable and intended for the task. Check the product instructions and place it where it cannot rock. Do not stack cushions, books or unstable household items to create a higher obstacle. The correct height is the one that allows control now. Using the floor for supported shallow squats may be more suitable than a platform for a new exerciser.
Learn a small supported step-down
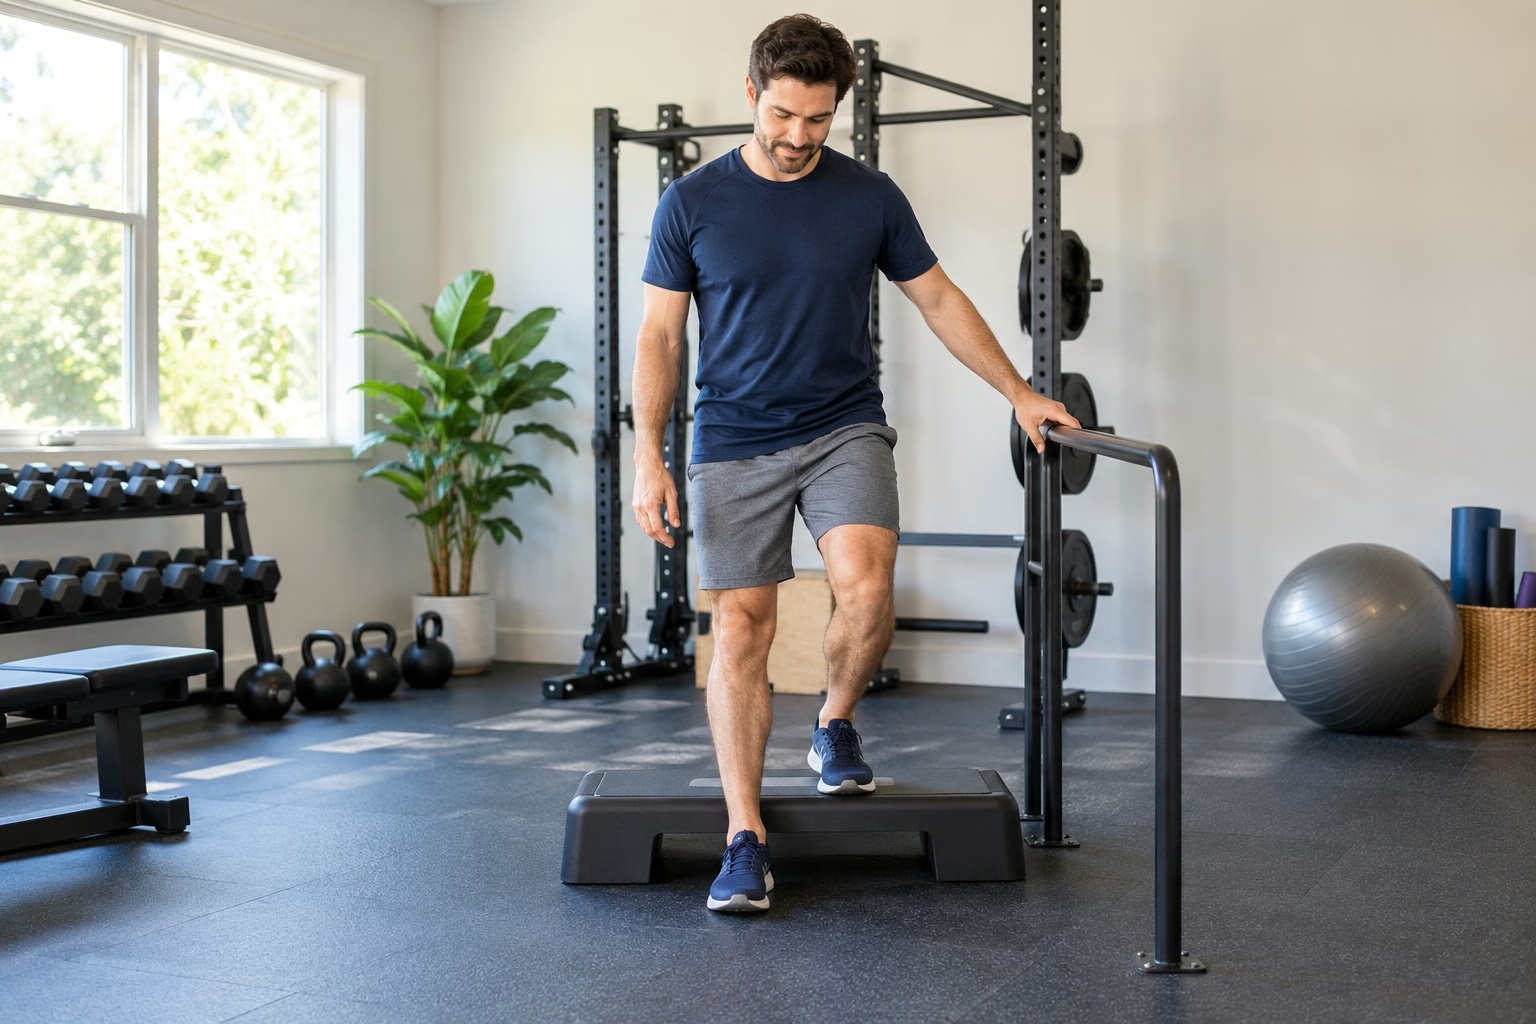
Stand on the low step with a hand on fixed support. Slowly bend the standing leg enough to lower the opposite heel toward the floor in front. Touch lightly, then return without dropping your body onto the lower foot. Keep the working knee moving in a comfortable direction with the foot, and keep the pelvis reasonably level. Use a shallow range and take time to find a stable position.
Begin with three to five controlled repetitions per side and rest. The example is deliberately small because unfamiliar lowering can leave the legs sore. Stop if the knee hurts or the movement becomes a sudden drop. Reduce the height, increase support or choose a different exercise. A phone video can help you describe a concern to a qualified professional, but an image alone cannot diagnose the reason for pain or movement differences.
Use chair squats to practice a quiet descent
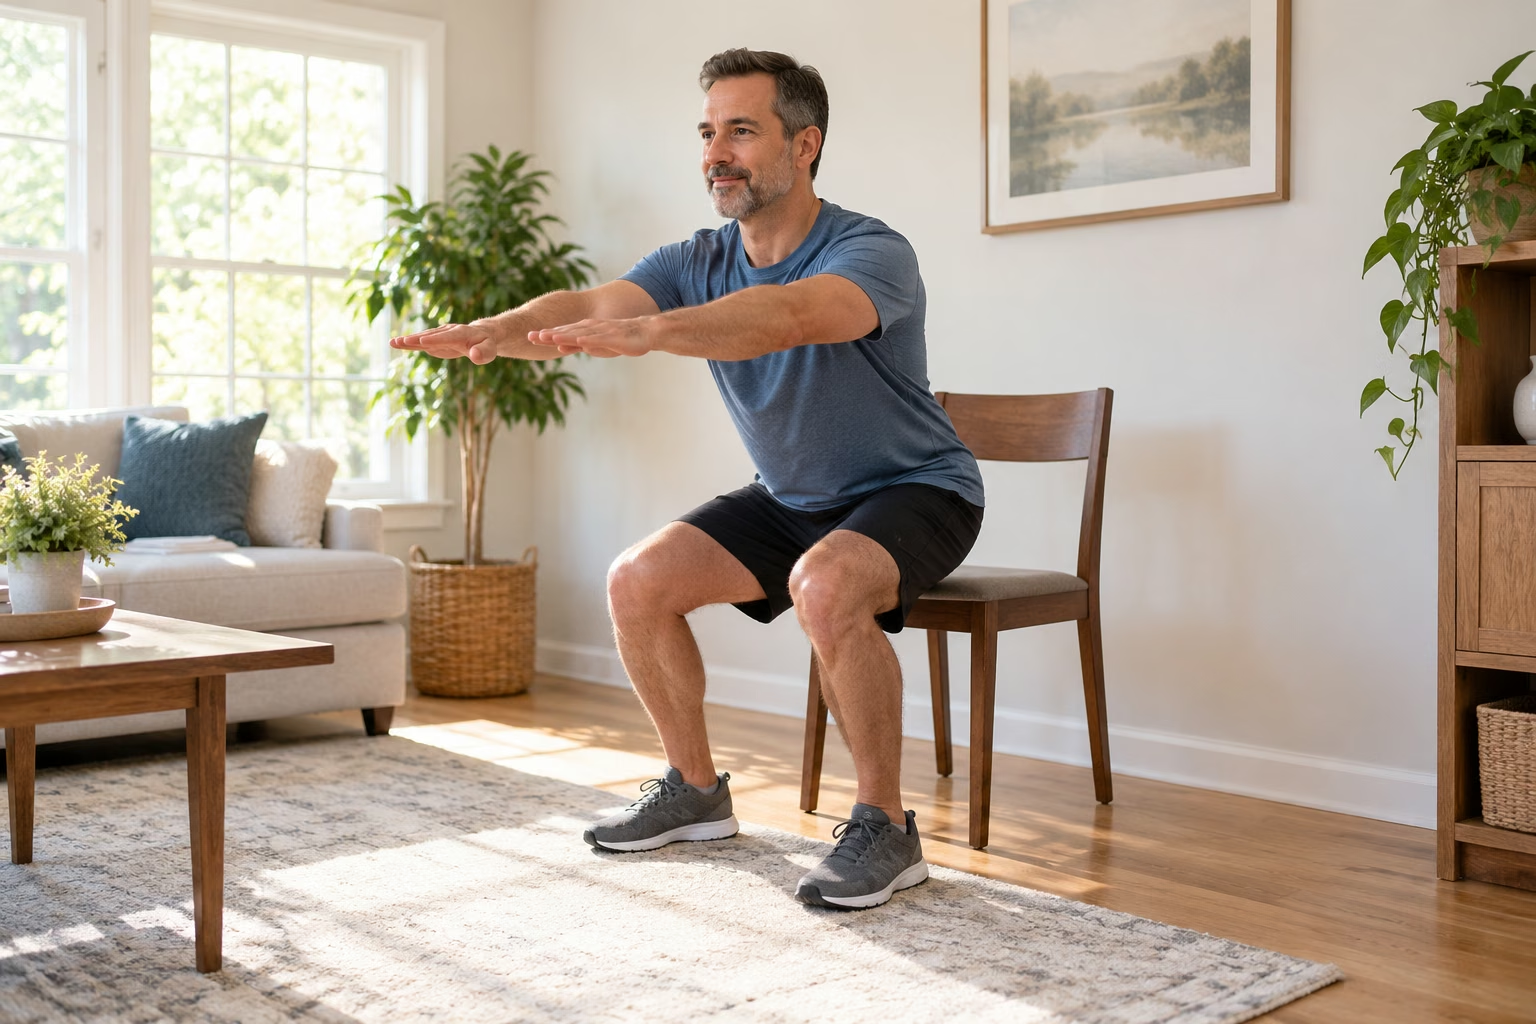
Place a sturdy chair against a wall and stand in front of it with comfortable foot spacing. Send your hips back as you bend your knees and lower toward the seat. Sit gently rather than dropping through the final inches, then stand using an amount of assistance appropriate for you. Keep breathing naturally. A higher seat or hand support can make the task more manageable.
Once the pattern is familiar, a light resistance band (paid link) may be useful for other controlled strength exercises in the same routine, following its intended use. It is not needed around your knees to make a chair squat valid. Start with the simple version and add resistance only when it serves a clear purpose. The home leg routine provides additional options that can be placed around walking days without requiring a gym.
Add calf control on level ground
For a supported calf raise, stand on a flat floor with fingertips on a secure surface. Rise through a comfortable range, pause briefly and lower the heels quietly. Keep weight distributed in a way that feels stable rather than rolling toward the outside edges of the feet. Start with both feet working together. A small set of six repetitions can provide a useful introduction without forcing a large stretch.
Do not begin by hanging the heels off a stair edge or loading a heavy backpack. Those changes increase demand and may not suit the person or setting. If later progression is appropriate, manageable adjustable dumbbells (paid link) can add load to a familiar standing exercise, but only when balance and technique remain reliable. Keep external support available. The objective is controlled repeatable movement that complements hiking, not a painful burning sensation or an impressive weight.
Organize a brief downhill strength session
One starting example is a few minutes of easy walking, one small set of supported step-downs on each side, six chair stands and six supported calf raises. Rest between movements and finish with comfortable walking. Depending on capacity, you may do less or repeat a manageable set. Place the session away from the day immediately before an unfamiliar descent so you can learn how your legs respond.
A workout timer (paid link) can help keep rest periods unhurried, though you can rest longer than the display suggests. Avoid turning the exercises into a race against a countdown. The quality of the final repetition matters more than completing every planned one. If fatigue changes your balance, finish the set. On the first few occasions, leave enough room in the rest of the day for ordinary tasks and review the later response before progressing.
Take controlled movement onto an easy slope
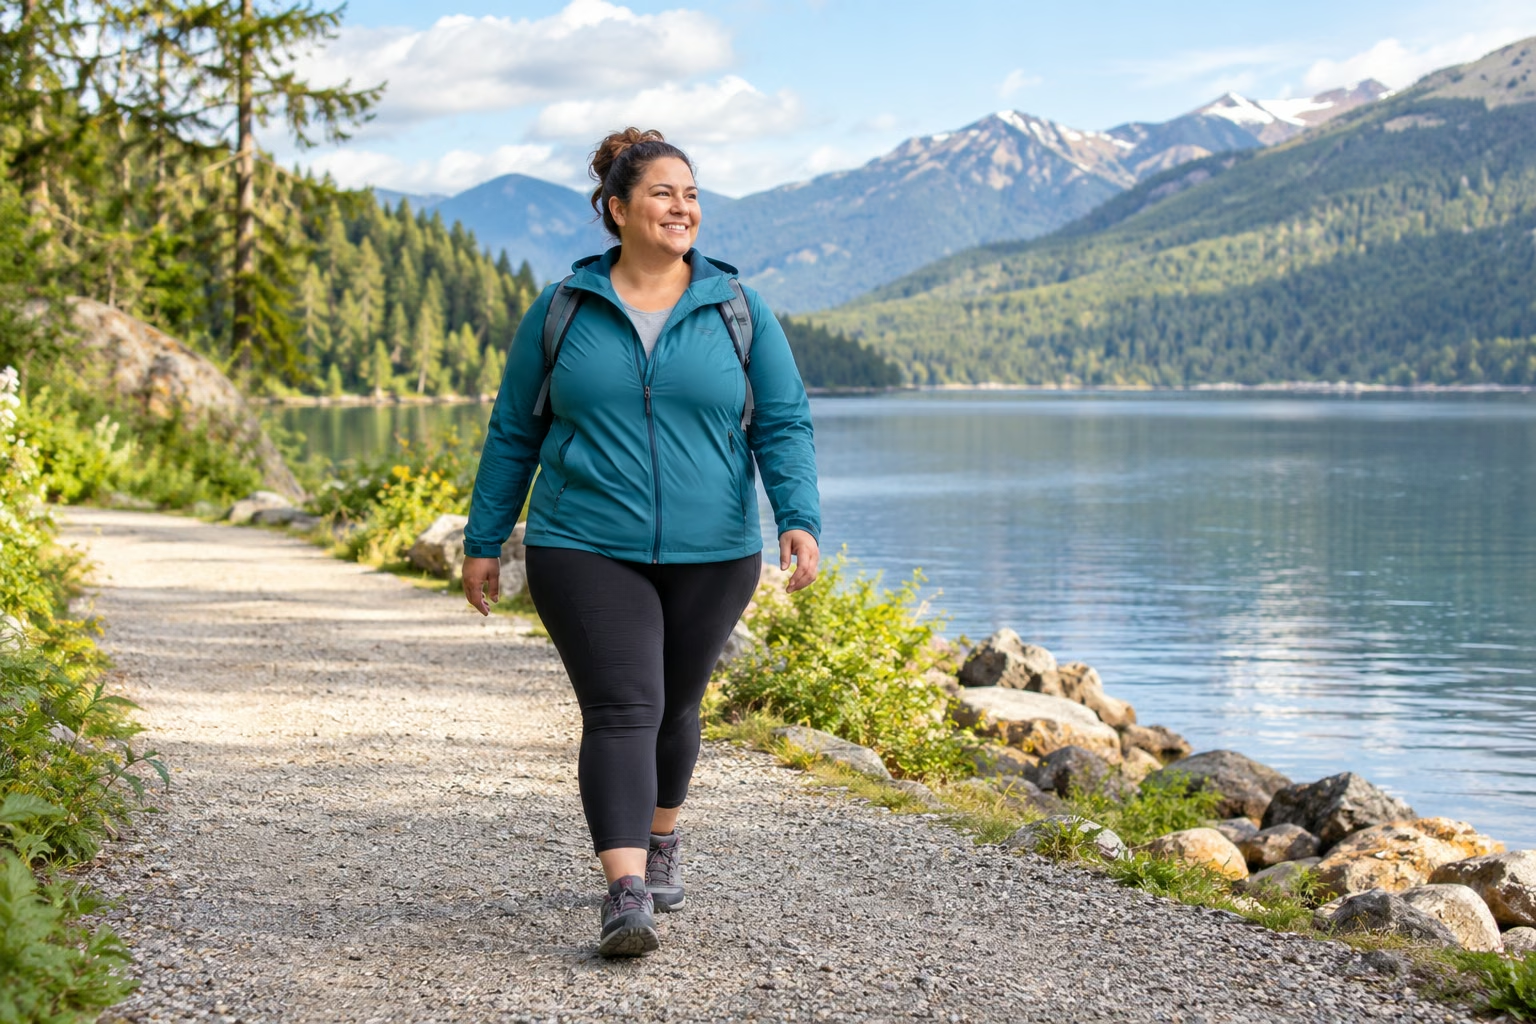
Choose a short dry path with a gentle descent, broad footing and a straightforward way back. Walk at a pace that lets you place your feet deliberately. Shorten steps when the gradient or surface calls for it. Avoid stiffening the legs and rushing downward to maintain a target speed. Keep enough space from companions that a pause does not force everyone into an awkward stop.
If you use trekking poles (paid link), practice the adjustment locks and placement on easy ground before relying on them on a trail. They are optional contact points, not a guarantee against a fall or a reason to choose a steeper route. Follow local rules and keep tips away from other walkers. If using them increases distraction, return to an easier setting. Training should reduce the complexity of the first descent rather than add unfamiliar tasks halfway down.
Increase the dose with recovery in mind
Repeat the same small exercise session until it feels controlled and the later response is manageable. A sensible next change might be one or two extra repetitions, a slightly larger comfortable range or an additional set. Choose one adjustment. Increasing step height, external weight and total sets together makes it difficult to judge which demand caused an uncomfortable reaction. No calendar requires that all three become harder.
Downhill practice itself also counts as training volume. If you have increased the length of an outdoor descent, keep the home exercises familiar that week. Mild muscle soreness after a new activity can occur, but persistent pain, swelling or altered walking should not be treated as a target. Reduce the demand and get advice when appropriate. Do not use pain medication simply to force completion of a planned harder session.
Plan the hike to avoid a tired final descent
Look at both the amount and location of elevation change. A route that climbs first and descends late may place the most demanding foot placement after the legs are already fatigued. Leave time for slower walking and safe pauses. If the trail drops first and climbs on the return, the effort problem changes again. Mileage alone cannot describe either outing accurately.
Keep the daypack to appropriate essentials and use familiar footwear. Pack weight is not a required progression for a beginner preparing for ordinary day hikes. Check current route conditions; wet leaves, loose gravel, ice or exposed sections can make a familiar distance unsuitable. The trail balance guide offers separate supported practice, but no home exercise routine establishes that a technical descent is appropriate for you.
Use the next-day response to refine the plan
After your first controlled descent, review everyday movements before choosing another demanding session. Notice getting up from a chair, walking around the home and using normal stairs. If these tasks are unusually difficult, allow recovery and reduce the next dose. Do not assume that the steepest route produced the best preparation. A repeatable modest descent can teach pacing and control more clearly.
Write down which part of the outing felt rushed, whether the shoes rubbed and where fatigue first changed your stride. Use those observations to shorten a route, add rest or return to a lower step height. If symptoms recur despite a reduced demand, seek assessment rather than continuing a trial-and-error escalation. Better downhill fitness includes choosing a route and pace that leave you able to walk comfortably afterward.
Practical Options at a Glance
| Situation | Practical option | What to consider |
|---|---|---|
| Supported step-down | Three to five repetitions each side | Use a low stable height |
| Chair stand | Small comfortable set | Lower quietly to a secured chair |
| Calf raise | Both feet on level floor | Use fixed support |
Frequently Asked Questions
No routine guarantees freedom from pain or injury. These are adjustable examples for comfortable controlled practice, not treatment for an existing knee problem. Persistent pain, swelling or giving way needs appropriate assessment. Reducing the route demand may be more important than adding exercise.
A low stable step can be more appropriate when you are learning control. Height should allow a smooth movement and comfortable return, with support available. Do not raise the platform simply to resemble a steep trail or make the final repetitions harder.
Breathing may ease, but repeated lowering still demands leg control. Include the descent in the overall workload and allow a slower pace. Leave enough energy for secure foot placement and choose a shorter route if fatigue makes the return unreliable.
Safety and Personal Needs
Stop activity and seek appropriate help for chest pain, faintness, severe unexpected breathlessness or a significant injury. Persistent pain, new swelling, numbness, weakness, dizziness or recurrent instability needs assessment before progression. Follow individual guidance for medical conditions, pregnancy, recent surgery or injury. These adjustable examples are general education, not rehabilitation, medical clearance or guarantees against injury. Check current destination advice, weather, terrain and the whole return route; fitness does not replace hiking skills, navigation or appropriate essentials. Follow the actual equipment instructions and use secure support when needed.
This is general educational information. Individual needs vary with health, medications, fitness and training experience.