Published by Best Fitness Routine. Editorial standards · Report a correction. Educational guidance; no individual clinical review is claimed unless a qualified reviewer is named.
Connect home strength to ordinary trail movements
Leg exercises for hiking at home should prepare useful movements without turning the living room into an obstacle course. Hiking involves standing from low positions, stepping upward, lowering under control and repeating comfortable strides. A few simple strength movements can complement walking when the amount fits your current ability. They do not replace outdoor practice, appropriate route selection or the skills needed for difficult terrain.
Choose a small routine you can perform with attention to each repetition. You do not need to copy the fatigue of a long hike indoors. If pain, recent surgery, medical restrictions or instability affects these movements, get individual guidance first. The exercise examples below are adjustable general education, not rehabilitation instructions. A supported version or a smaller range can be an appropriate starting point rather than a temporary failure to do the real exercise.
Prepare a stable space and an easy start
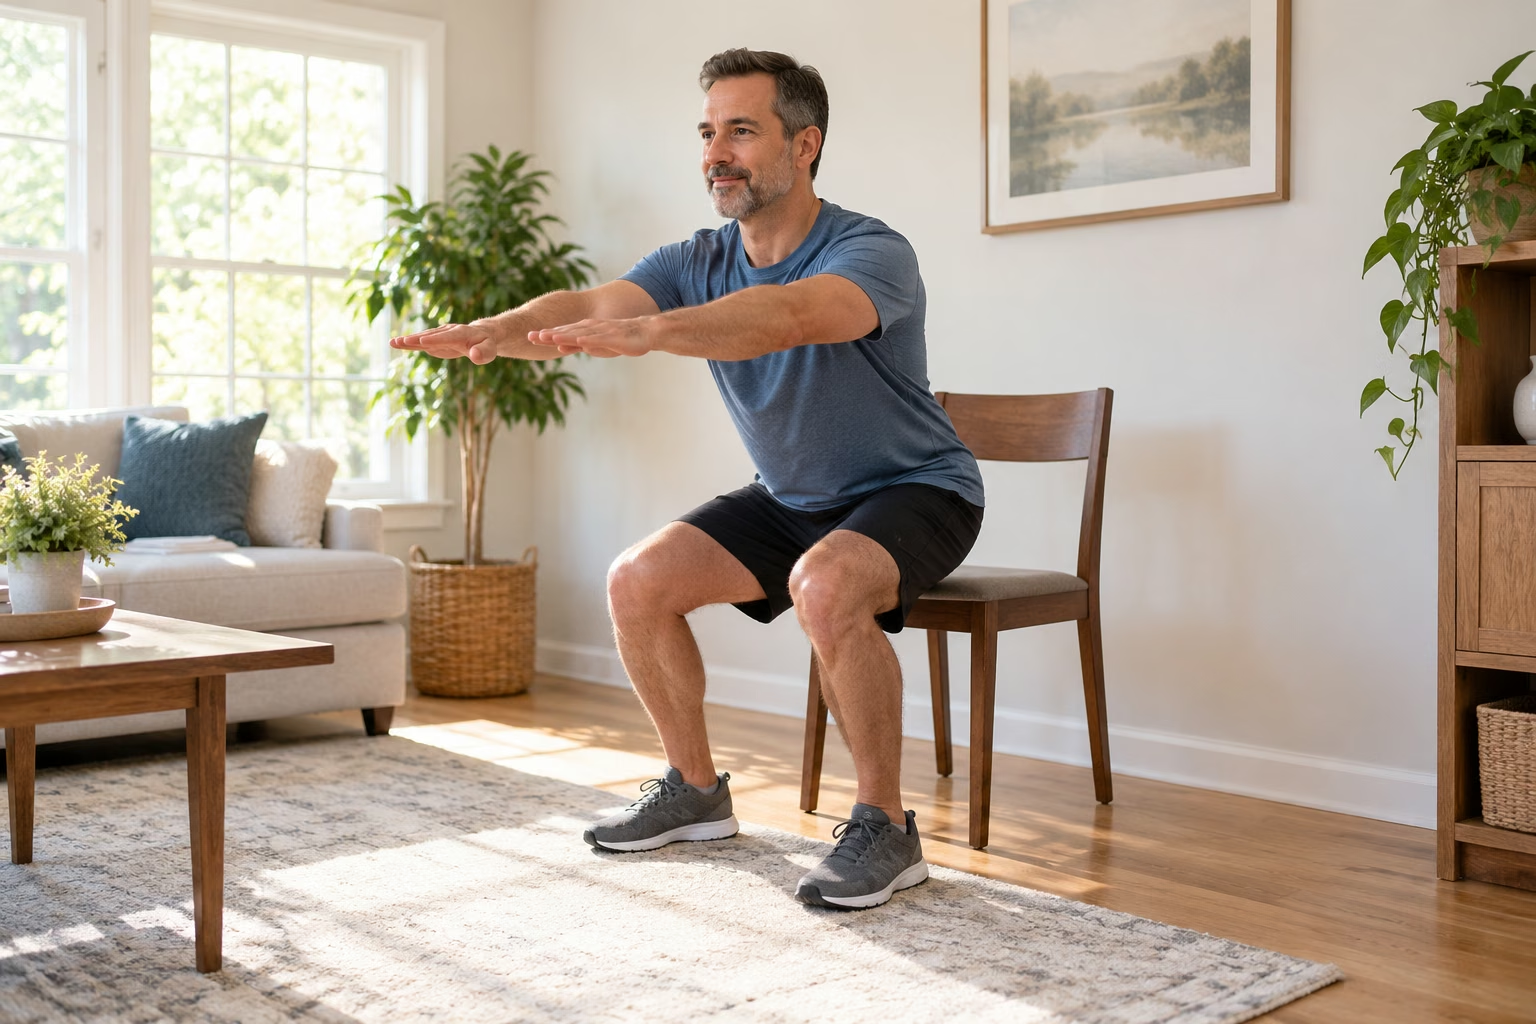
Clear loose rugs, cords and objects from a firm floor. Place a sturdy chair against a wall so it cannot slide during practice, and identify a secure countertop for standing support. Wear appropriate footwear and allow enough room to move without bumping furniture. Begin with several minutes of easy walking around a clear area, then try each movement without external load to check comfort.
An exercise mat (paid link) can provide cushioning for any comfortable floor-based alternatives, but it should not wobble under standing exercises or create a raised edge in your stepping route. You can complete the basic routine without going to the floor. Choose equipment around the movement you can manage, not the other way around. If getting down and up is difficult, keep the session standing and seated with suitable support instead.
Practice a chair squat with a controlled finish
Stand in front of the secured chair with feet at a comfortable width. Bend through hips and knees as you move toward the seat, keeping the whole feet in contact with the floor. Sit gently, pause if needed, then stand with an amount of hand assistance appropriate for you. Avoid dropping through the final part of the descent. Keep breathing naturally instead of holding a long breath through the effort.
Try one set of five or six comfortable repetitions and rest. Use a higher suitable seat or a smaller range if necessary. When the movement is familiar, manageable adjustable dumbbells (paid link) may add resistance, but they are optional and should not change the task into a strained lift. Learn secure handling before adding them. Do not increase weight while also removing support, lowering the seat and adding a second set in the same session.
Add supported split-stance work
Stand beside fixed support with one foot a comfortable distance ahead of the other. Bend both knees slightly as you lower a small amount, then return smoothly. Keep the front foot planted and use the support to maintain a secure position. The stance does not need to be long or the rear knee close to the floor. Choose a range that lets you control the movement without joint pain.
Begin with three to five repetitions on each side. Differences in comfort or coordination may mean the same range is not appropriate for both legs. Do not force symmetry through pain. If the exercise feels confusing or unstable, return to chair stands and seek instruction before progressing. A deep lunge is not a condition for starting hiking. The useful goal is a manageable supported movement that can fit alongside regular walking.
Use a low step for upward practice
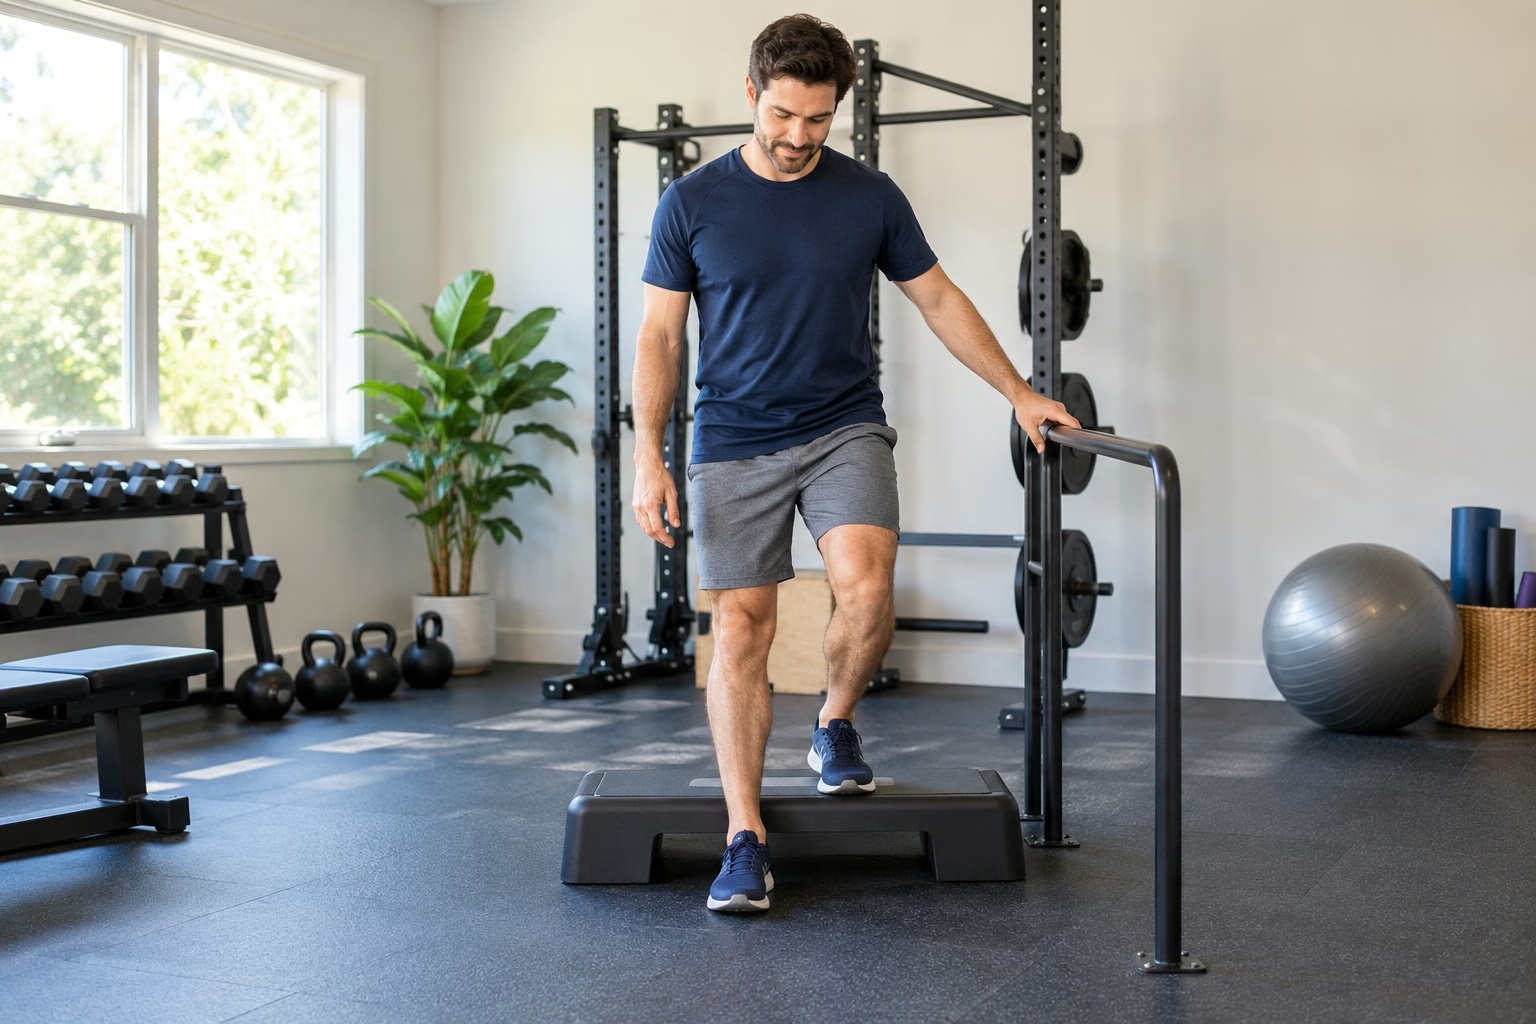
Stepping onto a low stable surface can connect home practice to a trail climb. Place the working foot securely on the step and stand up in a controlled way, using nearby fixed support as needed. Lower slowly to the floor. Avoid jumping from the trailing foot or choosing a height that forces you to twist. A small amount of careful practice is enough when this movement is new.
If using an low exercise step (paid link), check the rated use, locking arrangement and non-slip surface. Do not build a platform from loose books or cushions. Start with three to five repetitions per side and stop if lowering becomes a sudden drop. For a more specific controlled-lowering task, see strength exercises for downhill hiking. The step-up and step-down are related skills, but adding a large dose of both at once can create unnecessary soreness.
Train the calves without using a stair edge
Stand on level ground with fingertips on a countertop. Lift the heels through a comfortable range, pause briefly and lower with control. Keep the body upright without bouncing. Begin with both feet working together and let the support help you balance. Six smooth repetitions may be enough for a first set. The movement should remain comfortable rather than becoming a test of how high you can rise.
A resistance band (paid link) can be an optional tool for other familiar lower-body movements, but you do not need one to make these calf raises useful. Follow its intended use and inspect for tears. Avoid adding a band arrangement that interferes with your feet or support. Start by making the simple unweighted movement repeatable. Standing with heels hanging off an edge introduces a larger range and is unnecessary for this introductory home routine.
Organize a short session around control
A first session could include one set each of chair stands, supported split-stance bends, low step-ups and calf raises, with comfortable rests. Choose fewer movements or repetitions if needed. Finish with easy walking and check that your stride feels normal. Do not shorten rest simply to make the session feel like cardio. Hiking already offers many opportunities for sustained effort; home strength practice can focus on controlled repetitions.
Use a training journal (paid link) to record the movement version, repetitions, support and later response. An entry such as 'five chair stands using hands, comfortable next morning' is more informative than 'leg day complete.' Keep the first few sessions similar so you can learn how they fit beside walks. If a particular movement repeatedly causes discomfort, remove it and get appropriate advice instead of treating it as a required part of every hiking workout.
Place strength beside walks and recovery
Choose one or two suitable strength days based on your starting capacity and the rest of the week. Allow recovery between demanding leg sessions. A short routine after an easy walk may work for some people, while others prefer separate days. Avoid trying a new high-volume routine immediately before a longer hike or an unfamiliar descent. Your trail day should begin with enough control for careful foot placement.
The four-week beginner hiking plan provides one way to arrange walking and simple strength practice. Adapt the calendar when work or daily activity already taxes the legs. Carrying heavy items at a job still affects recovery, even when it does not appear in a fitness app. The aim is a workable total load, not a perfect-looking schedule that ignores how the rest of your life contributes to fatigue.
Progress a single feature at a time
Once the same session is comfortable on repeated occasions, choose one change. You could add one or two repetitions to a movement, use a slightly larger comfortable range or add a second small set. Keep the remaining exercises familiar. External weight is another possible progression, but it is not required. Better control and more consistent practice are useful outcomes even when the numbers do not change.
Avoid increasing the step height, squat depth, resistance and hiking distance during the same week. If the later response becomes uncomfortable, too many simultaneous changes make it harder to identify the cause. Mild muscle fatigue is different from persistent joint pain or new instability. Use symptoms and ordinary daily movement to guide the next session, and seek assessment where appropriate rather than repeatedly testing a concern with heavier work.
Bring the practice back to a realistic hike
Before a trail outing, choose a route that matches successful walking practice, not just the strength routine. Home exercises cannot show how you will respond to altitude, heat, loose surfaces or a long return climb. Use current destination guidance and take the appropriate essentials. Keep the pack suitable for the actual outing rather than adding weight to prove that training has worked.
After the hike, review which movements felt demanding and whether your walking remained comfortable afterward. If descending was the limiting factor, adjust that practice rather than making every exercise harder. If breathing was the issue, use manageable walking progression. Home strength is most useful when it answers a practical hiking need and remains small enough to support the regular outdoor activity you want to keep doing.
Practical Options at a Glance
| Situation | Practical option | What to consider |
|---|---|---|
| Chair stand | Five or six comfortable repetitions | Hand support is appropriate |
| Split stance and step-up | Three to five each side | Keep range small and supported |
| Calf raise | Small set on level ground | No stair-edge stretch needed |
Frequently Asked Questions
Yes, appropriate unweighted movements can provide a useful starting strength task alongside walking. Choose controlled versions that fit current ability. Extra resistance is optional and should be introduced only when the movement is familiar and the wider workload remains manageable.
Avoid an unfamiliar demanding leg session immediately before a longer trail day. Learn the later response on an ordinary week first. A brief familiar warm-up is different from a full strength workout, and the hike itself also contributes to total leg demand.
Use a smaller supported range or choose another suitable movement, such as an assisted chair stand. Do not force a painful version to complete the list. If symptoms or uncertainty persist, get qualified guidance rather than repeatedly experimenting with a harder variation.
Safety and Personal Needs
Stop activity and seek appropriate help for chest pain, faintness, severe unexpected breathlessness or a significant injury. Persistent pain, new swelling, numbness, weakness, dizziness or recurrent instability needs assessment before progression. Follow individual guidance for medical conditions, pregnancy, recent surgery or injury. These adjustable examples are general education, not rehabilitation, medical clearance or guarantees against injury. Check current destination advice, weather, terrain and the whole return route; fitness does not replace hiking skills, navigation or appropriate essentials. Follow the actual equipment instructions and use secure support when needed.
This is general educational information. Individual needs vary with health, medications, fitness and training experience.