Published by Best Fitness Routine. Editorial standards · Report a correction. Educational guidance; no individual clinical review is claimed unless a qualified reviewer is named.
Make stairs a modest part of hiking preparation
Stair training for hiking beginners offers a convenient way to experience repeated upward steps without finding a long hill. A short flight can raise effort quickly, so a useful first routine may be much smaller than a social-media challenge. The descent also counts. Treat stairs as a specific training task within a wider walking routine rather than a complete replacement for trail practice.
This example is for people who can use the chosen stairs comfortably and safely. Pain, giving way, dizziness or a history of falls can require individual advice and a different starting activity. There is no benefit in forcing a stair routine because a hiking date is approaching. A gentler route or more preparation time may be the appropriate adjustment when current capacity does not match the planned outing.
Choose stairs with a reliable handrail
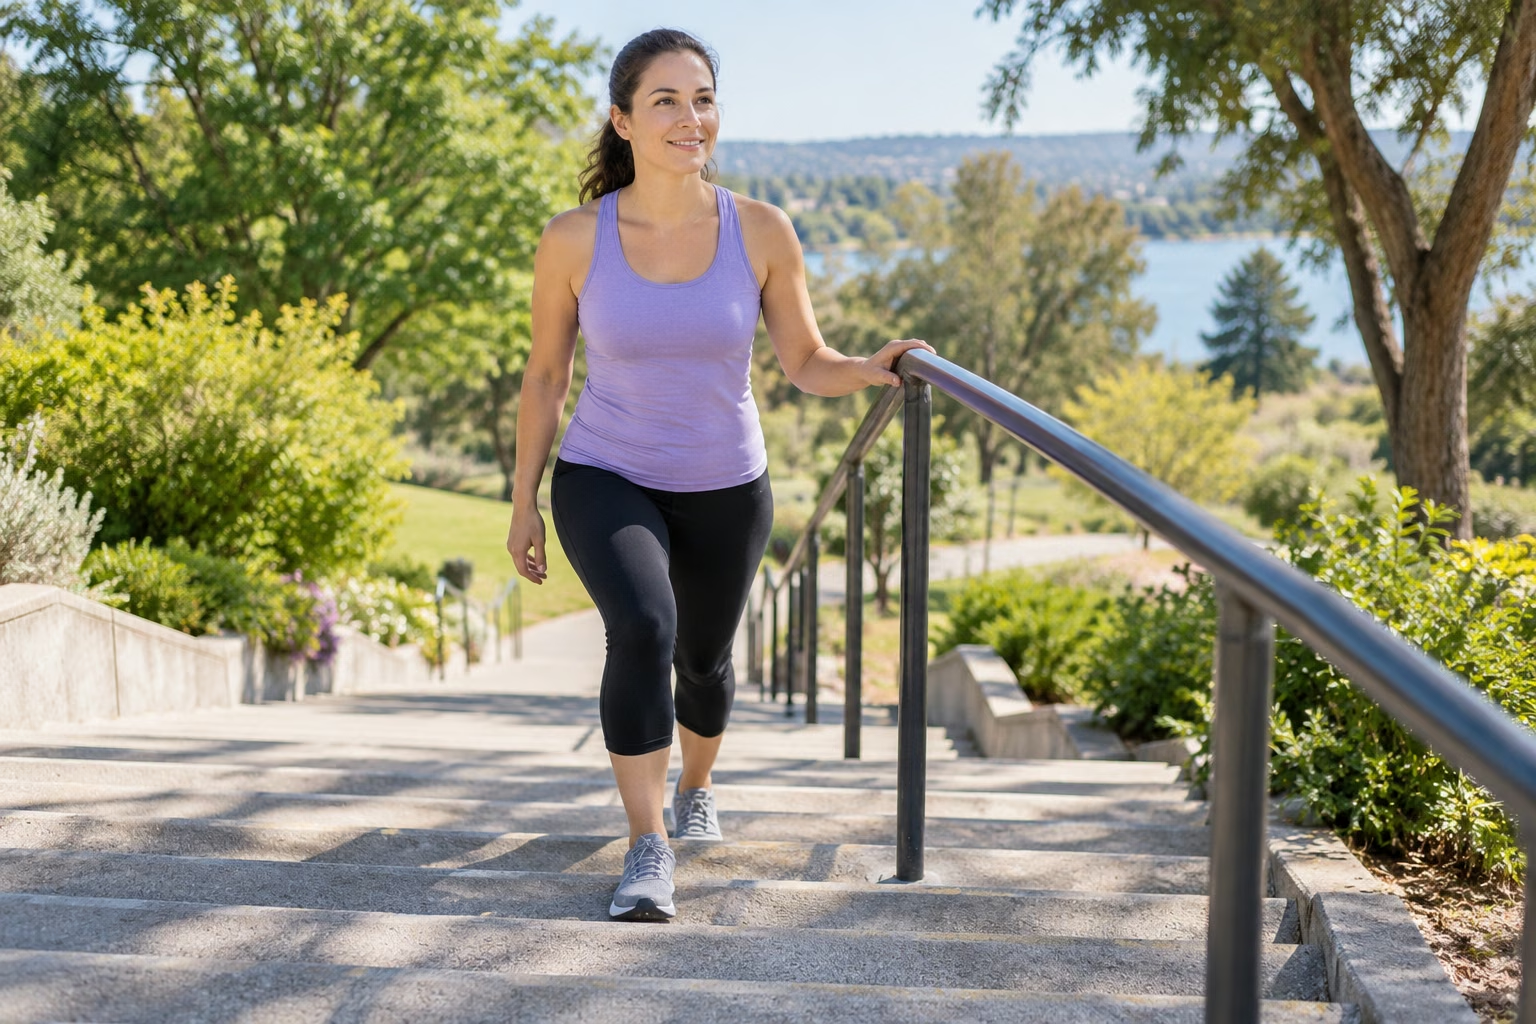
Use a well-lit flight with uniform steps, clear landings and a secure rail. Avoid wet, icy, crowded or poorly maintained stairs. Indoor public access may have rules about exercise use, so check them and leave room for others. Do not block an emergency route. Keep the area free from bags, loose clothing and objects that could catch a foot during a turn.
Wear familiar hiking shoes (paid link) or suitable exercise footwear with secure laces and enough contact with the step. New stiff boots may make a first stair session less comfortable rather than more realistic. Check tread and fit before extending practice. If the steps are too shallow for secure foot placement, choose another location. A convenient staircase is not automatically an appropriate exercise environment simply because it is close to home.
Warm up away from the flight
Begin with several minutes of easy level walking in a clear nearby area. Allow breathing and movement to settle before approaching the steps. A few gentle supported calf raises can be included if already familiar and comfortable. You do not need a long stretching sequence or a heavy pack. The first ascent should still feel like practice, not the first repetition of a race.
Use a workout timer (paid link) to organize a brief session if that helps you avoid doing too much. Set it before you start, and check it only while stopped on a safe landing. A small total duration can be enough when stairs are new. Preserving a gradual start and recovery matters more than completing the most possible flights within a fixed time. If the warm-up feels unusually difficult, choose easy walking instead.
Try a short first ascent
Walk up one short flight at an unhurried pace, using the handrail as needed. Place the foot securely rather than balancing only on the front edge, and keep your body facing forward. Do not skip steps or bound upward. Pause on the landing where you are not blocking traffic and allow breathing to settle. The pause is a planned part of the routine, not a sign that you chose the wrong activity.
If a full flight is too much, practice a few steps and return carefully, or use a suitable lower-step exercise with guidance. An low exercise step (paid link) can offer a consistent lower height in a clear room, provided it is stable and intended for the movement. It does not reproduce an entire staircase. Use the option that gives you controlled stepping today rather than selecting the height that looks most like a demanding future trail.
Count the descent as its own demand
Walk down slowly with the handrail, placing each foot deliberately. Do not rush because breathing has eased after the climb. Repeated lowering can fatigue the legs even when it does not feel like hard cardio. If descent is uncomfortable or unstable, stop the routine and choose another form of preparation. Do not continue adding ascents while assuming the return down is just a free recovery period.
The downhill strength guide offers low supported movements for separate practice. It cannot diagnose pain or make an unsuitable staircase safe. Avoid walking backward down stairs, closing your eyes or adding distractions to make balance harder. Those changes are unnecessary for this beginner task. A quiet controlled descent with support is a more useful starting point than trying to simulate every unpredictable feature of an outdoor trail.
Organize the work and recovery
An adjustable introductory routine is five minutes of easy level walking, one short ascent and descent, then a comfortable level recovery. Repeat the stair portion once or twice only if the first round felt controlled. Finish with easier walking. The total may be around ten to fifteen minutes, but fewer rounds or a shorter session may be appropriate. Choose the amount by ability and response rather than the calendar.
Keep a water bottle (paid link) on a safe stationary surface outside the stairway if you need one; do not carry it in a hand needed for the rail. Stop somewhere clear to drink. Follow normal needs, conditions and any individual fluid advice. Carrying multiple objects while climbing adds an avoidable task. The first goal is to learn an orderly pattern of climbing, recovering and descending without rushed turns or equipment management on the steps.
Keep the technique simple
Look ahead enough to understand the next steps while checking foot placement as needed. Use the rail without pulling yourself rapidly through a workload that is too hard. Allow the pace to slow when your breathing rises. There is no required cadence, and different step heights change the demand. A smooth short ascent on one staircase cannot be compared directly with the same number of flights in another building.
Avoid carrying a weighted pack, ankle weights or dumbbells during this beginner routine. A hiking label does not make extra stair load necessary. If you need realistic carrying practice, separate it from stairs initially and start with an appropriate light daypack on easy ground. The daypack preparation guide can help organize that task while keeping the stair session focused on comfortable repeated stepping.
Add strength without crowding the week
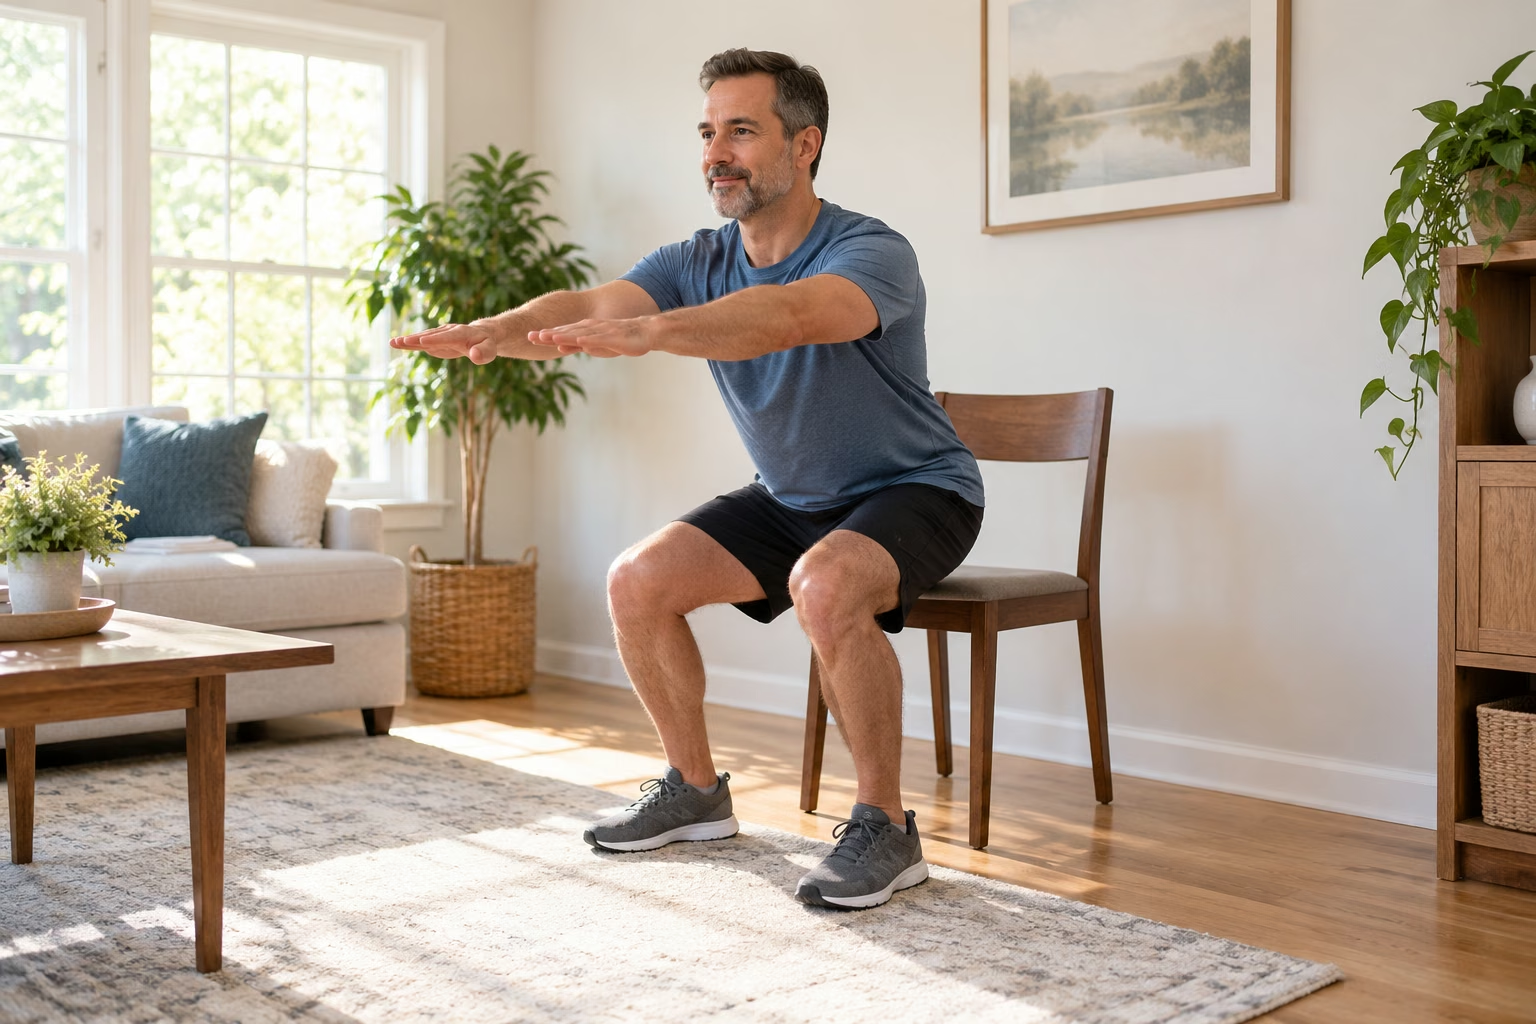
Chair stands, supported calf raises and comfortable hip movements can complement stair practice on suitable days. Begin with small familiar amounts, especially when repeated descents are new. If you later use a resistance band (paid link), follow its intended use and inspect it before each session. Do not anchor it to a rail in a public stairway or create a trip hazard where others need to pass.
Place the strength routine far enough from a new stair session that fatigue does not make foot placement unreliable. A weekend hike is another leg-demanding activity and should count toward the plan. You may need to reduce or replace stair practice that week. Combining every available exercise is not the objective. The schedule should leave you able to walk normally, use ordinary stairs and repeat suitable practice without persistent discomfort.
Progress only after the routine is repeatable
Record the location, number of short rounds, recovery and later response. Repeat the same routine until it feels manageable on more than one occasion. A modest next change might be one extra short round or a slightly longer easy recovery walk. Keep speed, step-taking pattern and external load unchanged. There is no requirement to climb continuously or reduce rest each week.
When ordinary stairs feel unusually difficult the following day, allow recovery and use a smaller dose next time. Persistent joint pain, swelling, instability or new weakness needs assessment. Do not judge success by how sore the session made you. Controlled practice that leaves daily movement comfortable gives you clearer information than an exhausting flight total and is easier to place beside the walking that remains central to hiking preparation.
Transfer the practice to a suitable trail
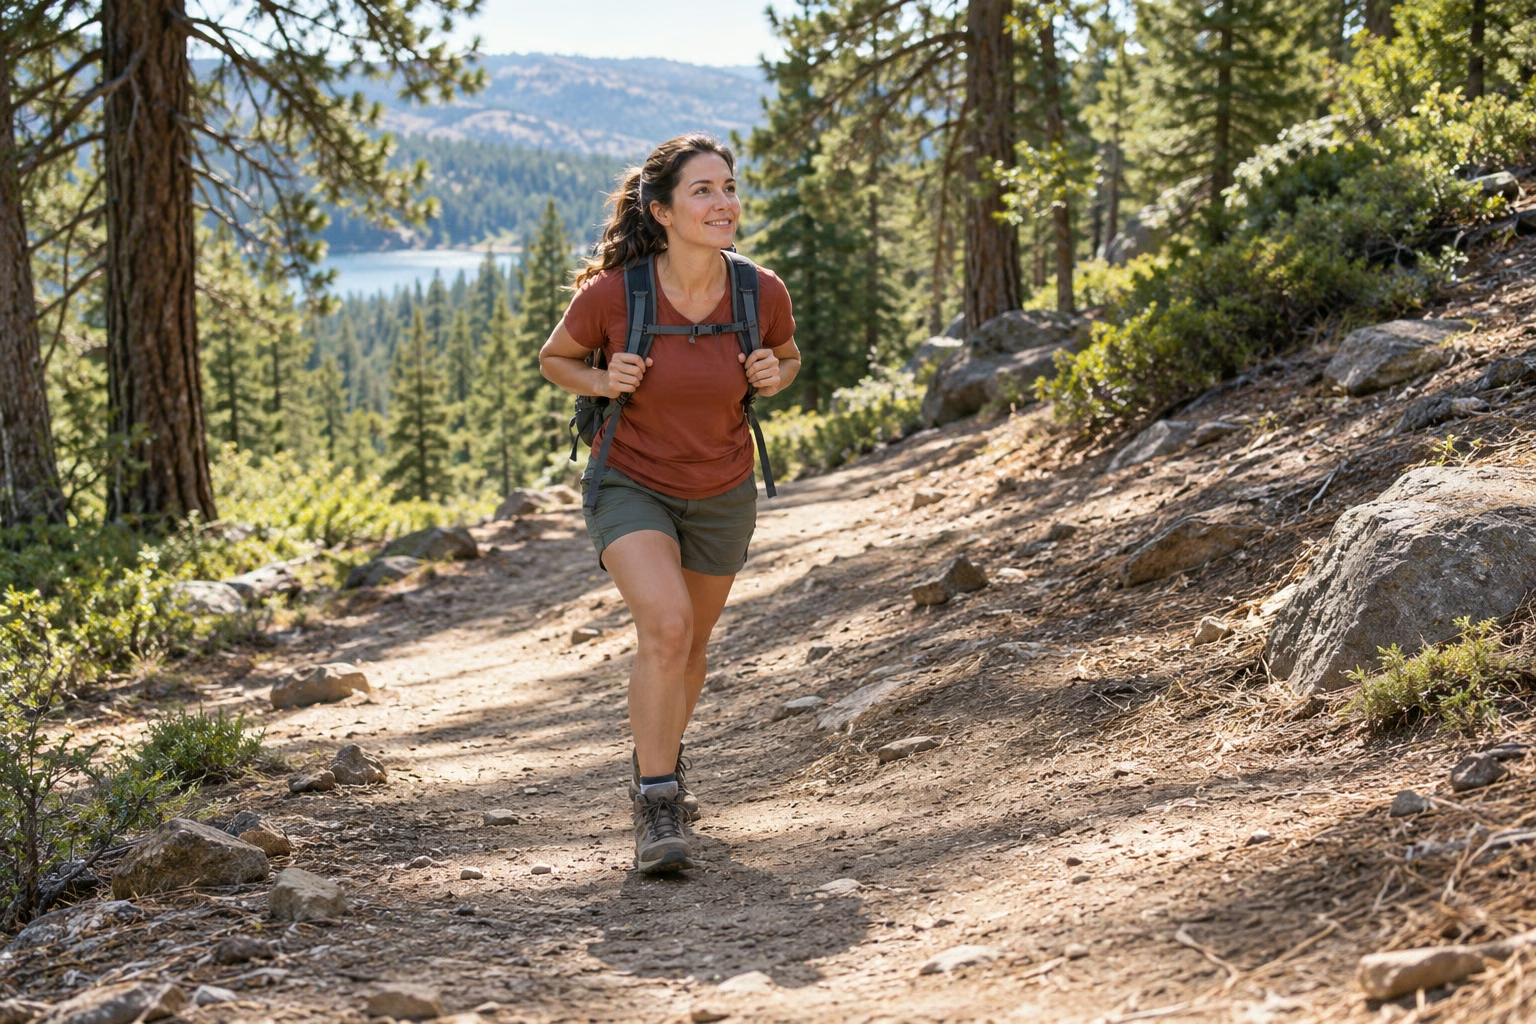
Stairs provide predictable heights and a rail, while a trail may have uneven footing and changing surfaces. Start outdoors on a broad route that matches your current walking ability, with modest climbing and a realistic return. Do not use a strong stair session as proof of readiness for loose rock, steep exposure or severe weather. Those require different planning and skills beyond this exercise routine.
Use the beginner hiking plan to combine short climbing practice with easy walks and recovery. Before an outing, check current local information, daylight and the whole elevation profile. Leave enough time and energy for the return. Stairs can be a useful preparation option when they remain a small deliberate task inside a practical plan, rather than a challenge whose score determines whether you should attempt a particular mountain.
Practical Options at a Glance
| Situation | Practical option | What to consider |
|---|---|---|
| Start | Several easy walking minutes | Check stairs and handrail |
| Practice | One short ascent and controlled descent | Recover on clear level ground |
| Optional repeat | One or two further short rounds | Only while control remains steady |
Frequently Asked Questions
No. Moving-step machines have different operating and stopping requirements, and they do not necessarily reproduce the controlled descent in this example. Learn the actual machine and follow its instructions. The routine here uses ordinary suitable stairs with a fixed handrail.
Not for this beginner example. Single controlled steps let you practice secure placement without increasing the height demand. Use the rail as needed and rest on a safe landing. Larger steps are optional future changes, not a condition for useful hiking preparation.
Stop when foot placement or controlled descent becomes unreliable, or if symptoms occur. You can finish before completing the planned amount. Review the later response before repeating and reduce the next dose if ordinary walking or stairs become unusually difficult afterward.
Safety and Personal Needs
Stop activity and seek appropriate help for chest pain, faintness, severe unexpected breathlessness or a significant injury. Persistent pain, new swelling, numbness, weakness, dizziness or recurrent instability needs assessment before progression. Follow individual guidance for medical conditions, pregnancy, recent surgery or injury. These adjustable examples are general education, not rehabilitation, medical clearance or guarantees against injury. Check current destination advice, weather, terrain and the whole return route; fitness does not replace hiking skills, navigation or appropriate essentials. Follow the actual equipment instructions and use secure support when needed.
This is general educational information. Individual needs vary with health, medications, fitness and training experience.
Sources and Further Reading
- NHS: Strength Exercises
- CDC: Measuring Physical Activity Intensity
- National Park Service: Hiking Safety