Published by Best Fitness Routine. Editorial standards · Report a correction. Educational guidance; no individual clinical review is claimed unless a qualified reviewer is named.
A Practical Starting Point
As an Amazon Associate I earn from qualifying purchases. This guide includes paid Amazon links.
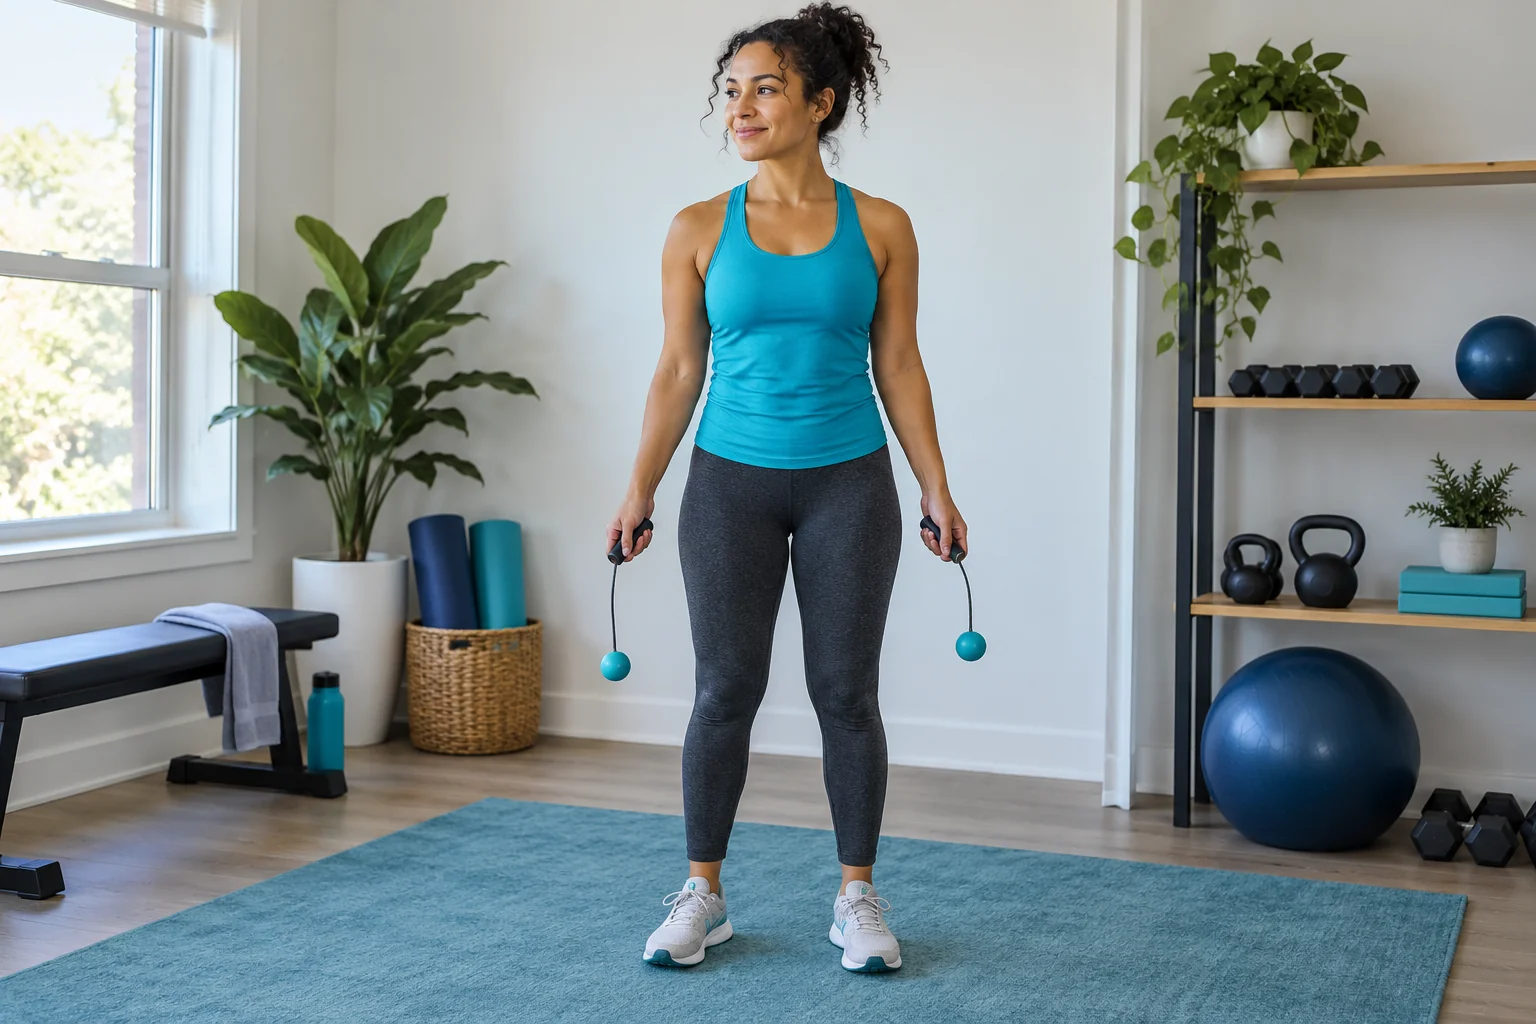
A ropeless jump rope workout for beginners uses two handles with separate short attachments rather than one long cord passing under the feet. You can practice the turning action while marching or, when appropriate, making small jumps. You still need room around the attachments and enough control to stop them.
This first-session framework focuses on learning the equipment. It is different from a traditional rope workout because there is no underfoot cord to time. The example is adjustable and does not claim equal calories, equal difficulty or automatic transfer to real-rope skills.
Know what your particular cordless equipment does
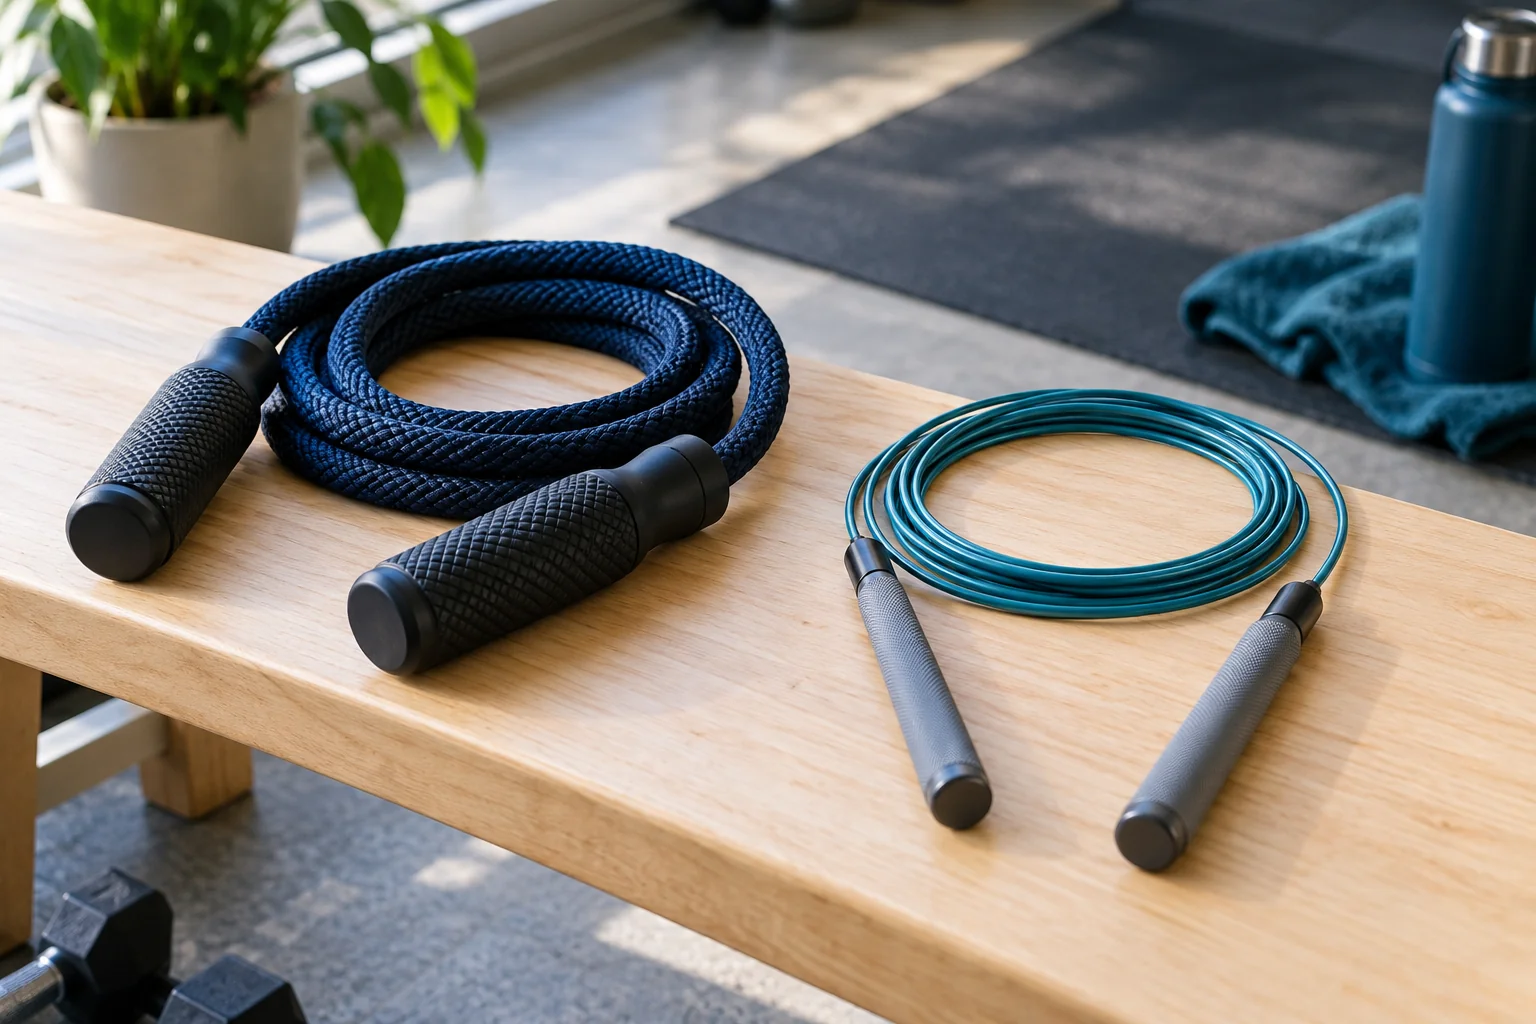
Cordless products vary in attachment length, handle design, weight and whether resistance can be changed. Read the instructions before attaching or removing parts. Check that connections are secure and that the attachments have no damage. A loose moving weight is a reason to stop using the product, not something to work around by gripping harder.
A cordless jump rope with short attachments (paid link) is one possible option, but a familiar existing set is enough. Keep the initial resistance manageable and avoid changing several settings at once. If the product offers a repetition counter, remember that handle rotations do not necessarily represent foot contacts or successful traditional rope jumps.
Review your home training space in our Choosing a Surface for Jump Rope at Home when that is the part of your session you need to work on.
Clear a real movement space despite the missing cord
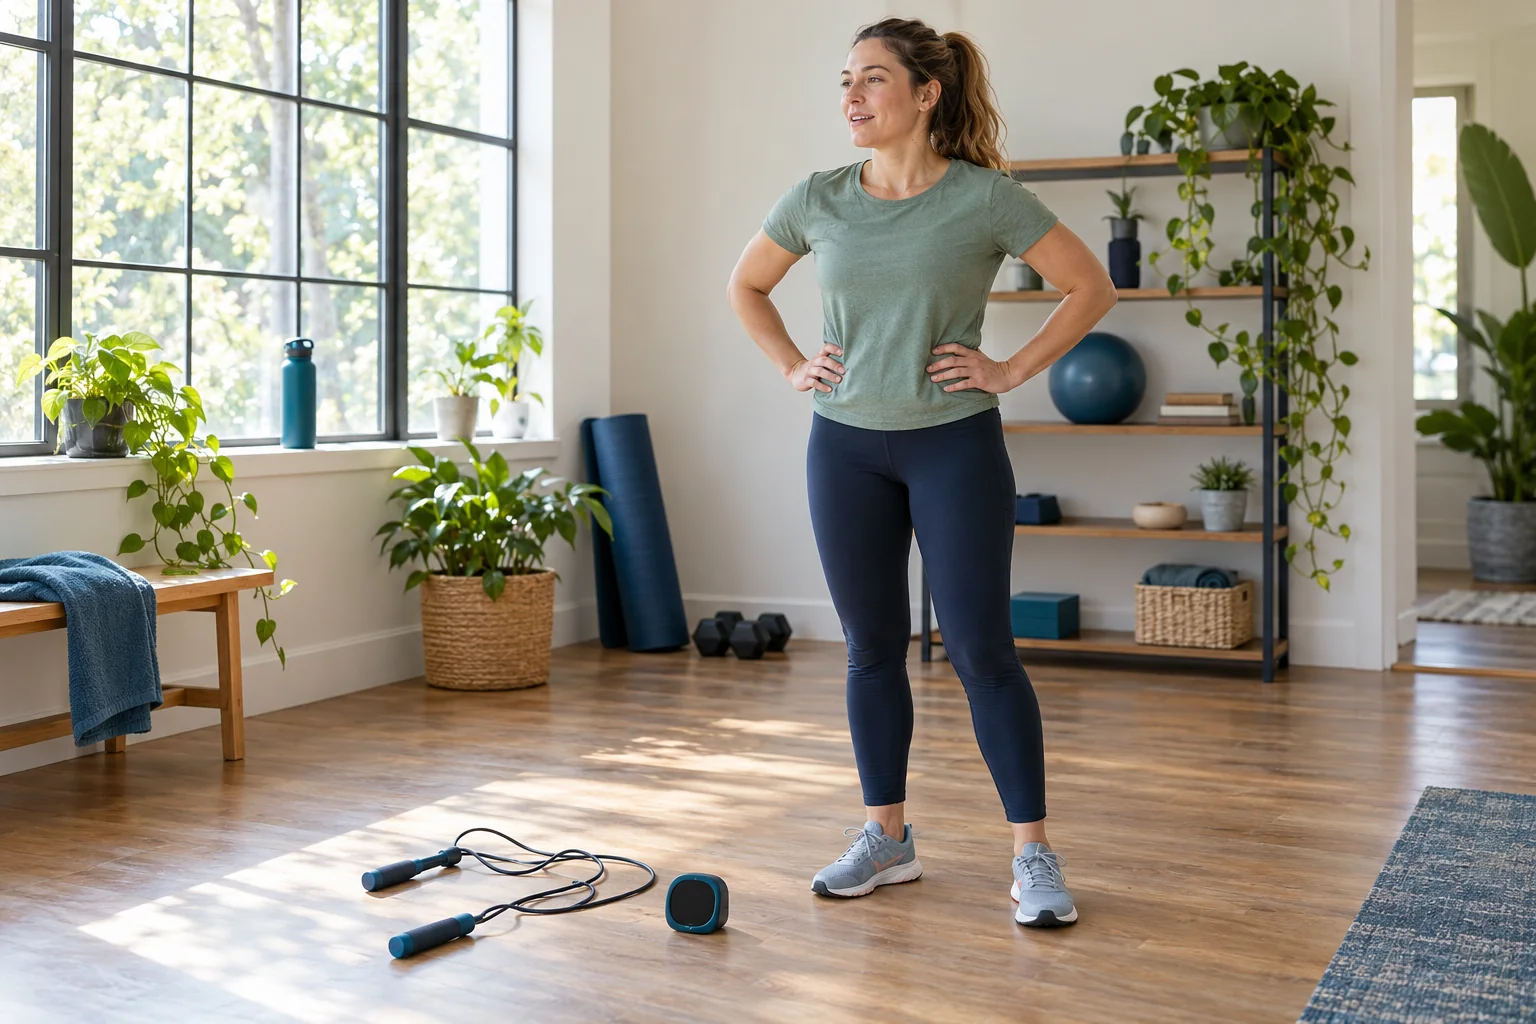
No long rope does not mean no moving arc. The attachments can strike nearby objects, your body or another person. Stand away from shelves, screens and hanging items, and keep children and pets outside the area. Practice a slow turn to check the full path before increasing the pace.
Use a level nonslip surface and footwear appropriate to your chosen movement. A stable exercise mat (paid link) may help define the practice space only if it stays flat and does not make your stance unstable. Cordless equipment does not require a jump rope mat simply because the word rope appears on the packaging. Choose the surface according to what your feet will do.
Learn the turn before coordinating the feet
With your feet still, hold the handles comfortably and make small controlled turns. Keep the attachments beside the body rather than swinging across your face or behind your neck. Start one side at a time if that makes the motion clearer, then use both. Check whether the product instructions specify a preferred grip or turning direction.
Pause after a few turns and allow the attachments to settle. You should be able to stop without stepping unexpectedly or gripping with excessive tension. If they cross or strike you, reduce the movement and review the setup. This part is equipment practice; there is no need to add a cardiovascular challenge yet.
Choose marching as the first combined movement
Begin with a comfortable march in place while the hands make the turning action. Keep the steps small enough to stay in the same area. The attachments do not need to match a literal underfoot passage, so prioritize a rhythm you can control rather than pretending there is a cord you must clear.
Small jumps are an optional later choice if jumping is appropriate and comfortable for you. They remain jumps even when the equipment is cordless. If you are avoiding impact, stay with a nonjumping movement that suits your situation. Do not assume that a product marketed as low impact is automatically suitable for an injury, pregnancy or a medical condition.
Use a few separated blocks for the first session
After gradual preparation, try a short standing-turn block, rest, then a short marching block. An example is twenty seconds of comfortable practice followed by at least forty seconds to put the equipment down and assess control. Repeat only while the movement remains easy to organize. The table gives a sequence, not a required amount for every reader.
Keep enough time for an unhurried finish and a gradual reduction in activity. Do not interpret a short session as ineffective merely because the handles stayed moving for only a few minutes. On the first day, understanding the attachments and choosing a tolerable amount are useful outcomes.
Prepare gradually before the session in our A Jump Rope Warm-Up Routine for Beginners when that is the part of your session you need to work on.
Progress the task you can actually measure
Record whether you marched or jumped, the attachment setting, the number and length of practice blocks and how recovery felt. Add only one change when the same session is comfortable to repeat. You might extend a block slightly or add another short block, without increasing weight and pace at the same time.
Product counters can help track consistent sessions with the same equipment, but they do not establish calorie expenditure or compare fairly with another design. Treat an app estimate as an estimate. If you later add a traditional rope, start with its own basic timing practice rather than assuming that cordless repetition counts prove readiness.
Adapt without turning the equipment into a treatment
Some manufacturers demonstrate seated turning. Whether that suits you depends on the equipment, your control and the reason you need an adaptation. A stable chair without wheels and clear attachment space are practical considerations, but they do not replace individual advice for a medical limitation. Avoid adding a seated version solely because standing is painful that day.
Stop for pain, loss of balance, dizziness or unusual symptoms. Review persistent discomfort before increasing the workload. Cordless practice can be a convenient way to organize movement, but it is not a rehabilitation prescription. Choose it because the task suits your goals and surroundings, rather than because a marketing claim promises benefits for every body.
Practice and Setup Checklist
- Read instructions, inspect attachments and choose a manageable setting.
- Clear the full attachment arc and warm up gradually.
- Practice brief stationary turns and controlled stops.
- Add a comfortable march if the turning action is secure.
- Rest between blocks, finish gradually and log the exact activity.
Practical Options at a Glance
| Block | Optional first-session example | Adaptation |
|---|---|---|
| Preparation | Several comfortable minutes of general movement | Extend preparation or choose a gentler activity |
| Stationary handling | 20 seconds of easy turns, then at least 40 seconds rest | Fewer turns or one side at a time |
| March plus turn | One to three short separated blocks | Shorter blocks and longer pauses |
| Finish | Reduce movement gradually and review control | Stop the equipment before walking away |
Common Mistakes and Useful Adjustments
Check the complete arc of each short attachment.
Choose manageable resistance and practice a deliberate stop.
Log the actual foot movement and equipment setting separately.
Frequently Asked Questions
No. A traditional cord adds an underfoot timing task. Cordless handles remove that requirement, and the effort depends on the attachments and the movement you choose. The activities can share some motions without being identical workouts.
Marching or stationary turning may be options with suitable equipment. Whether an adaptation is appropriate depends on your situation. If a health concern is the reason you cannot jump, get advice on a suitable activity rather than relying on the product label.
It does not reproduce two cord passages beneath your feet. It may help you explore a turning rhythm, but traditional rope timing still needs its own practice. Do not use a cordless counter as evidence that a rope skill has been mastered.
There is no universal beginner setting. Follow the product instructions and use a setting that lets you turn, march and stop comfortably. Reduce the task if grip or shoulder fatigue changes your control. Starting with the heaviest available option is unnecessary.
Safety and Personal Needs
This is general fitness education, not a personalized exercise or rehabilitation plan. Jumping is optional; choose a suitable nonjumping activity when needed. Stop for pain, dizziness, loss of balance or unusual breathlessness. Chest pain, fainting or severe unexpected breathlessness needs urgent appropriate help. Follow individual guidance for a medical condition, pregnancy, recent surgery or injury. A written guide and illustrative image cannot assess your movement; ask a qualified instructor for help with unfamiliar skills.
Sources and Further Reading
Prepared by the Best Fitness Routine Editorial Team. The example sessions are educational frameworks; they have not been individually tested for every reader. Images are AI-generated illustrations.