
What Is a Dead Hang Exercise?
A dead hang is exactly what it sounds like: you hold a secure overhead bar and let your body hang below it without performing a pull-up. The hands and forearms work hard to maintain grip while the shoulders and trunk manage your body weight.
Despite its simplicity, hanging is not automatically easy or appropriate for everyone. Comfortable shoulder mobility and control matter. A useful dead hang is one you can maintain without pain, uncontrolled shrugging or a slipping grip.
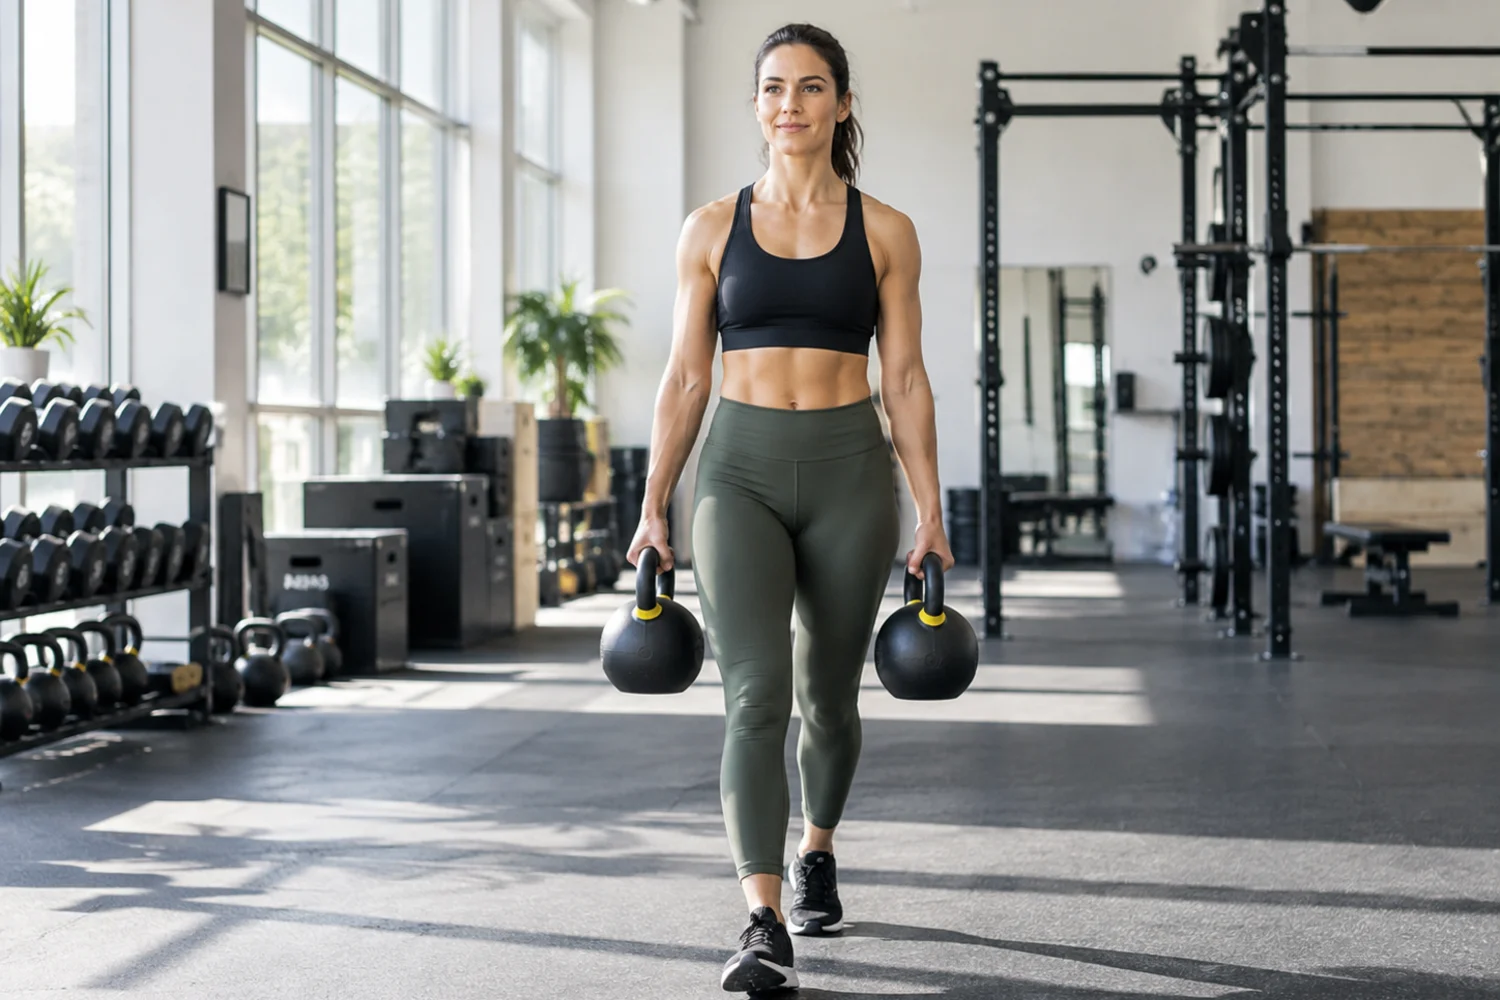
Dead hangs fit naturally beside farmer’s carries. Both build grip, but one trains hanging from body weight while the other trains carrying external load at your sides.
Dead Hang Exercise Benefits
Your fingers and forearms must maintain continuous tension on the bar. Gradual exposure helps you become more comfortable supporting body weight from the hands. The larger goal is not a perfect-looking position; it is a movement option you can use comfortably in training and daily life. Consistency usually matters more than doing a long routine once in a while.
An active, organized shoulder position can train awareness around the shoulder blades. Hanging strength is one prerequisite for progressing toward chin-ups and pull-ups. When mobility and strength improve together, the body has more choices for solving everyday movement tasks.
How to Do a Dead Hang: 6 Progressions
1. Feet-supported bar hold
Use a bar low enough that your feet can stay on the floor or a box. Grip the bar and allow only part of your body weight to transfer to the hands. This is the easiest way to practice grip and shoulder position while keeping an immediate exit.
2. Short dead hang
From a secure bar, lift the feet and hang for five to ten seconds. Keep the grip firm and body quiet. Step down before the hands are close to slipping. Repeat for several short sets instead of one maximal hold.
3. Active hang
From the hang, gently draw the shoulder blades down and slightly around the rib cage without bending the elbows. The movement is small. Alternate between a relaxed and lightly active position to learn scapular control.
4. Longer timed hang
Add time in small increments, such as five seconds, while form remains consistent. Stop the set if grip quality changes, the shoulders feel unstable or you need to swing to stay on the bar.
5. Mixed-grip exposure
Use different comfortable overhand grip widths across separate sets. Do not force an extreme wide grip. Variation can build tolerance without making any one position excessively repetitive.
6. Assisted pull-up transition
Once you can hang comfortably, add small scapular pulls or band-assisted chin-ups. Hanging is a foundation, not the entire upper-body program, so progress toward pulling strength when that matches your goal.
A Beginner Dead Hang Routine
Perform three to five sets of five to twenty seconds, resting at least a minute between sets. Keep total volume modest at first because the hands and forearms can fatigue quickly. On another day, train grip with farmer’s carries. If overhead position feels restricted, spend time on shoulder mobility exercises before trying to extend the hang duration.
Keep the first week intentionally easy. Write down the variation, repetitions and how the movement felt. If technique remains consistent and you recover well, add only a small amount the next week. This simple approach makes progress easier to judge and reduces the temptation to change several variables at once.
Common Mistakes to Avoid
Hanging to complete grip failure
A sudden slip is an unnecessary risk. Step down while you still have control.
Forcing painful shoulder traction
A stretch sensation may be fine, but pain, instability or pinching means the position is not appropriate.
Using a questionable bar
The bar must be rated and securely fixed. Doorway equipment should be installed exactly as designed.
Swinging to stay on the bar
Keep the body quiet. Momentum changes the exercise and can increase shoulder stress.
Treating hangs as a longevity test
Grip strength is associated with health outcomes, but one hanging time is not a diagnostic measure or a substitute for a complete fitness program.
Progressions and Practical Training Tips
Increase total weekly hanging time gradually rather than testing a maximum every session. Add active hangs, controlled scapular pulls and pulling exercises as tolerated. Grip can also be trained with rows, carries and holds. Our grip strength guide explains why grip is useful as one marker of physical capacity, while core stability work can help keep the body quiet during hangs and pull-up progressions.
Use the exercise as part of a complete plan rather than an isolated challenge. A balanced week can include strength, aerobic activity, mobility and recovery. The best version is the one that fits your current ability and leaves you able to practice consistently.
How to Add Dead Hangs to a Complete Program
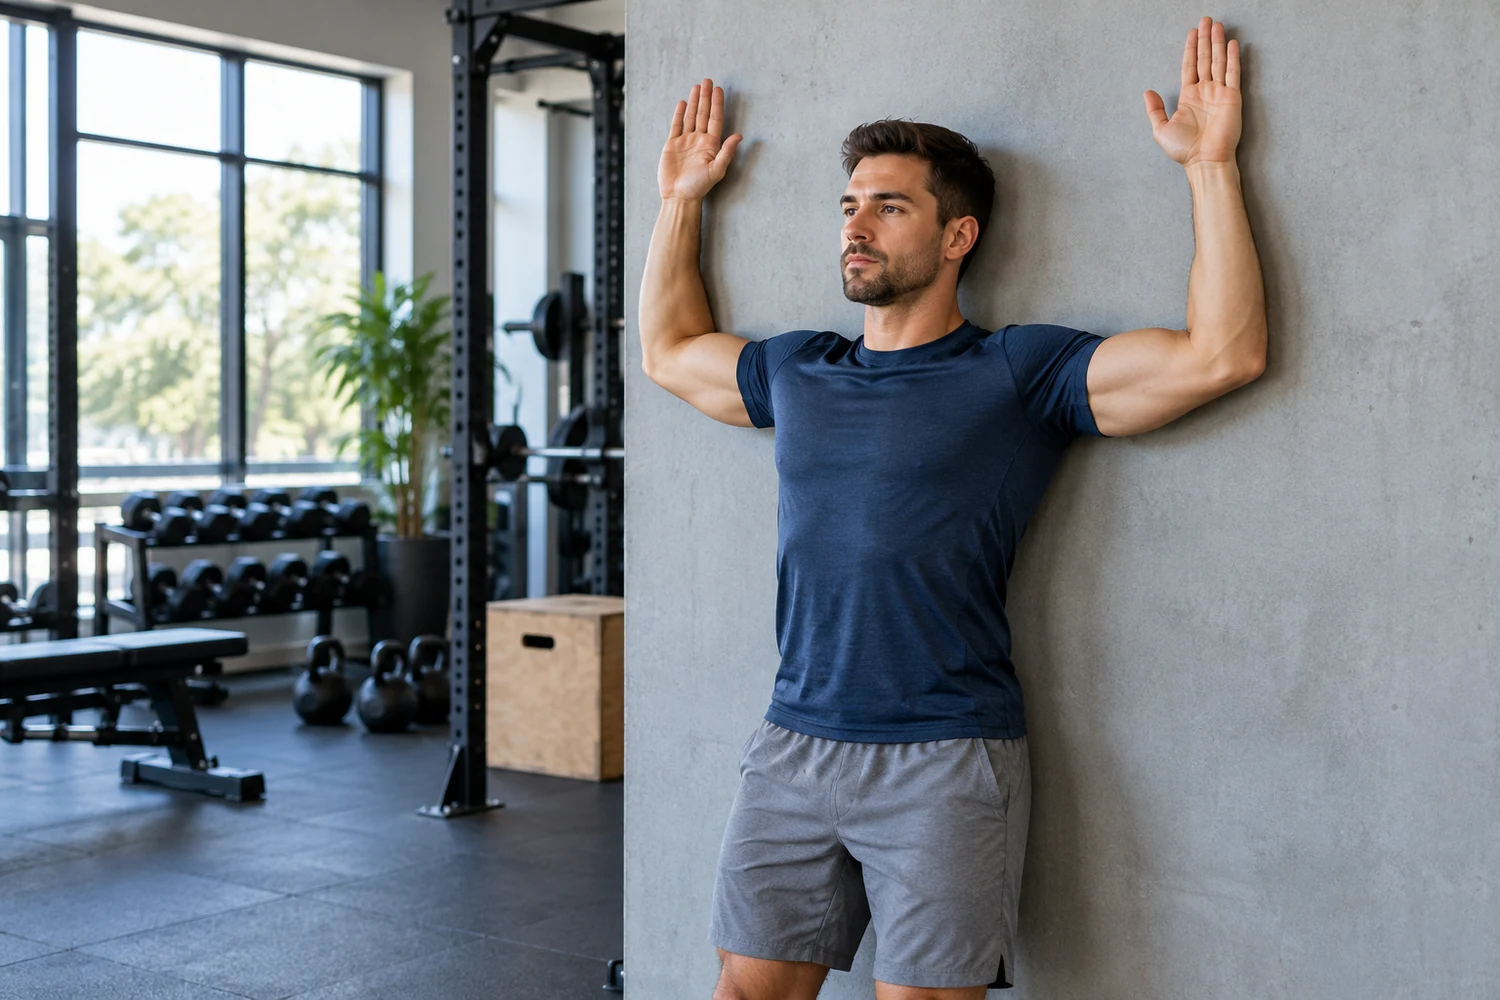
Your shoulders should also influence your choice. Someone with comfortable overhead range may tolerate a full hang, while another person may need feet-supported holds, a neutral-grip handle or different training entirely. The best progression is the one that strengthens grip without creating shoulder pain or instability.
Total weekly exposure matters more than one heroic hold. Three sets of 10 seconds done two or three times per week gives you 60 to 90 seconds of quality hanging without pushing to failure. From there, add five seconds to one or two sets, then reassess. This is usually more sustainable than repeatedly testing a maximum time.
Dead hangs are best treated as a small piece of upper-body training rather than a stand-alone test. Place them early in a workout when the grip is fresh, or at the end when you intentionally want a grip finisher. If your main goal is pull-ups, practice hangs alongside rows, assisted pull-ups and upper-back strength so the hands are not the only part getting stronger.
Because grip fatigue can change quickly, finish each set with a deliberate dismount. Place a box close enough that you can step down rather than drop. If your hands are sweaty, dry the bar and palms before the next set instead of compensating with a frantic squeeze. Small setup habits make hanging practice safer and more repeatable over time.
Safety Tips
Do not hang from equipment that is unstable or not designed to support body weight. People with a history of shoulder dislocation, recent shoulder or elbow injury, significant hand pain or nerve symptoms should get individualized guidance. Stop immediately for sharp pain, numbness, tingling, dizziness or a feeling that the shoulder is slipping. Use a box or floor contact so you can exit the hang safely.
If you are unsure whether a movement is appropriate after an injury or with a medical condition, a physical therapist or other qualified clinician can help tailor range, load and exercise selection. General fitness guidance cannot replace individual assessment.
Frequently Asked Questions
Start with five to ten seconds if needed and build gradually. Several controlled short sets are better than one hold that ends in a slipping grip.
Yes. Hanging requires sustained hand and forearm tension, and fitness organizations such as ACE include hangs among grip-strengthening options.
Avoid forcing either extreme. Many people do best with a comfortable hang and light shoulder-blade control rather than aggressively pulling down or collapsing into an unstable position.
They may provide an overhead stretch for some people, but they are not appropriate for every shoulder. Mobility limitations should be addressed with controlled drills and professional guidance when painful.
They can build grip tolerance and familiarity with the hanging position, but pull-ups also require substantial back, arm and trunk strength.
Key Takeaways
- Dead hang exercise work best when range and control progress together.
- Start with the easiest variation that lets you move without sharp pain or compensation.
- Progress one variable at a time—range, repetitions, time, support or resistance.
- Combine mobility with strength and balance so new range becomes useful in everyday movement.
- Stop and seek individualized guidance when symptoms include sharp pain, instability, numbness or persistent worsening.