Published by Best Fitness Routine. Editorial standards · Report a correction. Educational guidance; no individual clinical review is claimed unless a qualified reviewer is named.
Think of the trunk as part of a coordinated movement
Core exercises for pickleball can train your ability to control the torso while the arms and legs move. That control matters when reaching, changing position and transferring movement into a paddle stroke. It does not require forcing the waist through large twists or attempting a long abdominal endurance challenge. The feet, hips, trunk and upper body work together during play, so a core routine should fit into a balanced program rather than becoming the only preparation you do.
This guide focuses on comfortable breathing, controlled positions and manageable movement. It offers beginner variations that can be adjusted for floor access and experience. It is not a treatment plan for back pain, a diagnosis of weak core muscles or a promise of harder shots. If you have persistent pain, recent surgery, a condition affecting abdominal pressure or restrictions on exercise, ask a qualified professional which positions and loads are suitable before following the examples.
Choose a position that allows breathing and control
Begin standing, sitting or lying in a position you can manage without discomfort. Take an ordinary breath and notice how the lower ribs move. As you breathe out, gently steady your torso without squeezing as hard as possible. You should still be able to take another breath rather than holding a rigid brace. This is practice in managing tension, not an instruction to keep the abdomen clenched all day or throughout an entire match.
For floor work, use an exercise mat (paid link) on a stable surface and allow enough clear space for the arms and legs. If getting down or up is difficult, choose a standing wall variation instead. A thicker mat may improve comfort for knees, but stacking soft cushions can create an unstable base. Learn the exercise in an easy position first. The ability to breathe and stop the movement deliberately matters more than how closely your setup resembles an advanced demonstration.
Exercise one: a small heel slide
Lie on your back with knees bent and feet supported, if that position is comfortable. Let your torso settle without forcing the lower back flat. Slowly slide one heel a short distance away, then return it while keeping the pelvis reasonably steady. Alternate sides. Begin with a few controlled repetitions and rest before you have to tense the neck or hold your breath to complete the movement.
The length of the slide controls the challenge. A short range may be enough, especially while learning. If the back arches uncomfortably or the torso rolls to one side, make the slide smaller or choose another position. Do not pull your head toward your knees or turn the exercise into a fast bicycle movement. This example develops awareness during limb movement; it should not be judged by burning abdominal muscles. Persistent discomfort is a reason to stop and get advice, not proof that the correct muscle has finally been activated.
Exercise two: a modified bird dog
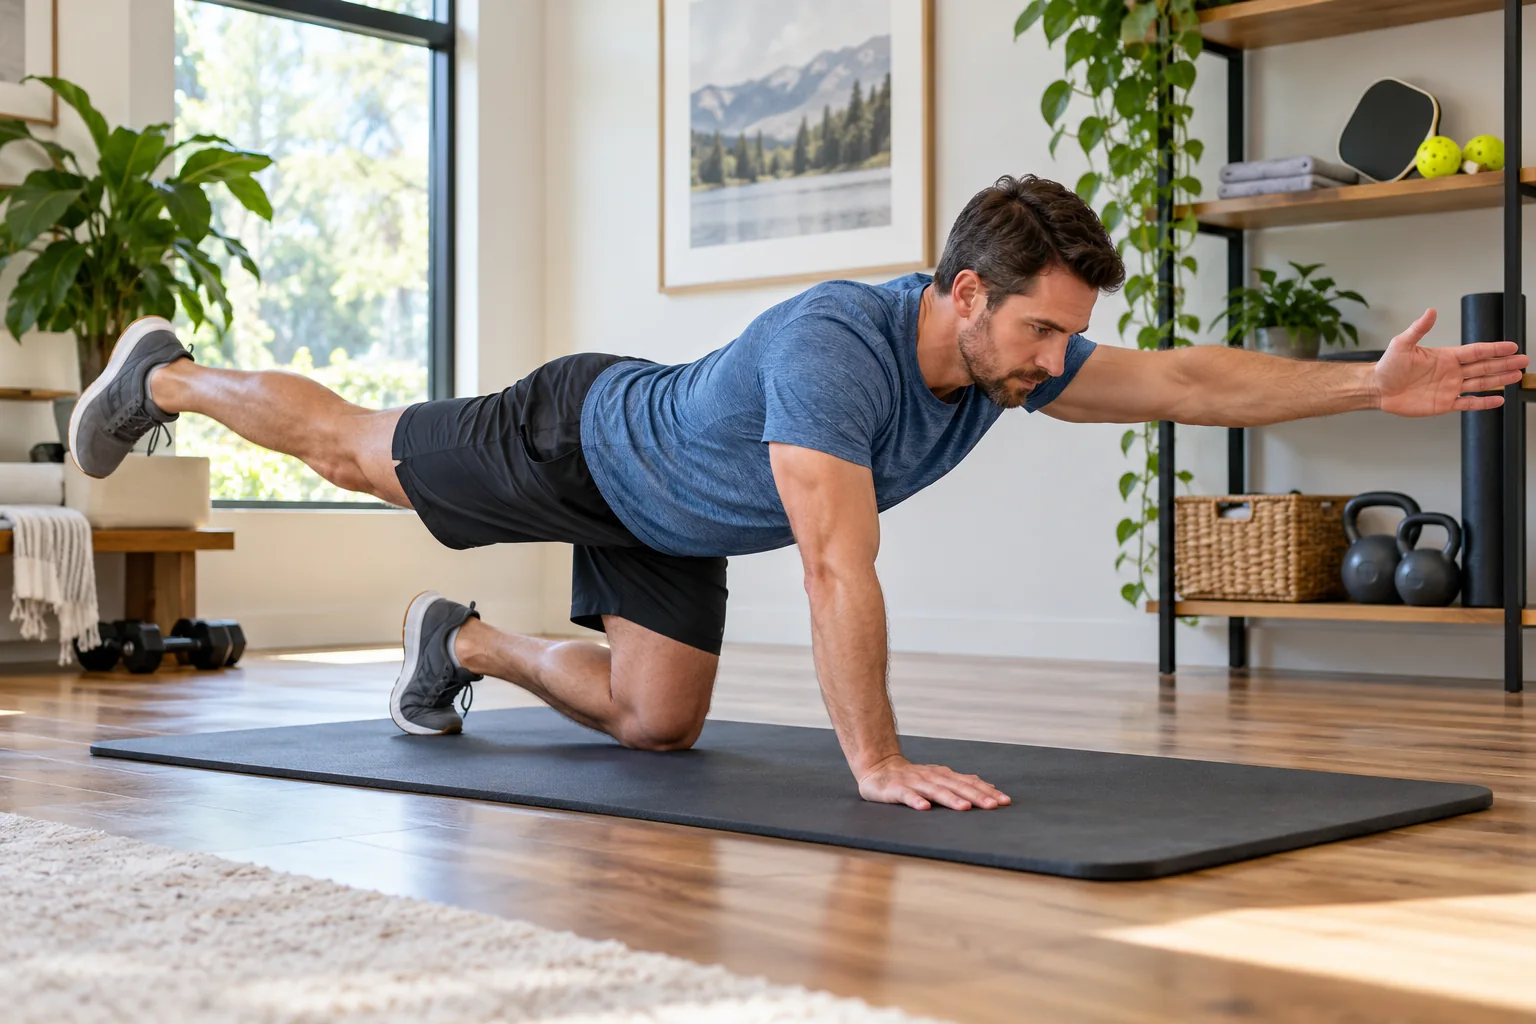
On hands and knees, place your hands under your shoulders and knees beneath your hips in a comfortable arrangement. First, slide one foot backward with the toes staying on the floor, then return. If that is easy, try briefly lifting the leg without tipping the pelvis or arching the back. You can later move an opposite arm when the simpler version is well controlled. Keep your eyes directed toward the floor without straining your neck.
Use fewer repetitions when balance or coordination is demanding. If the wrists dislike the position, discuss a standing alternative rather than repeatedly forcing weight through them. A phone tripod (paid link) can support an optional side-view recording so you can see whether movement becomes exaggerated. Place it away from the exercise path and stop recording before moving equipment. Video helps observation, but cannot determine the cause of pain or establish that a specific spinal position is medically appropriate for you.
Exercise three: a wall plank with normal breathing
Place your forearms or hands against a stable wall and step back a modest distance. Keep the torso long and comfortable, without sagging at the hips or pushing the head forward. Hold briefly while breathing normally, then step closer and relax. Adjust the foot distance to change demand. A short controlled wall hold can be a useful starting exercise even when floor planks are familiar in name but not comfortable in practice.
Use a interval timer (paid link) for a manageable hold if you prefer a clear endpoint. Ten to twenty seconds may be an example for some beginners, but your ability to breathe and keep position determines the useful duration. More time is not automatically better. Stop before shaking or breath-holding becomes the main feature. A secure counter may offer a later variation, provided it can tolerate the load and will not move. Choose progress from stable setups, not from unstable furniture or a challenge to last longer than a friend.
Exercise four: resist a gentle sideways pull
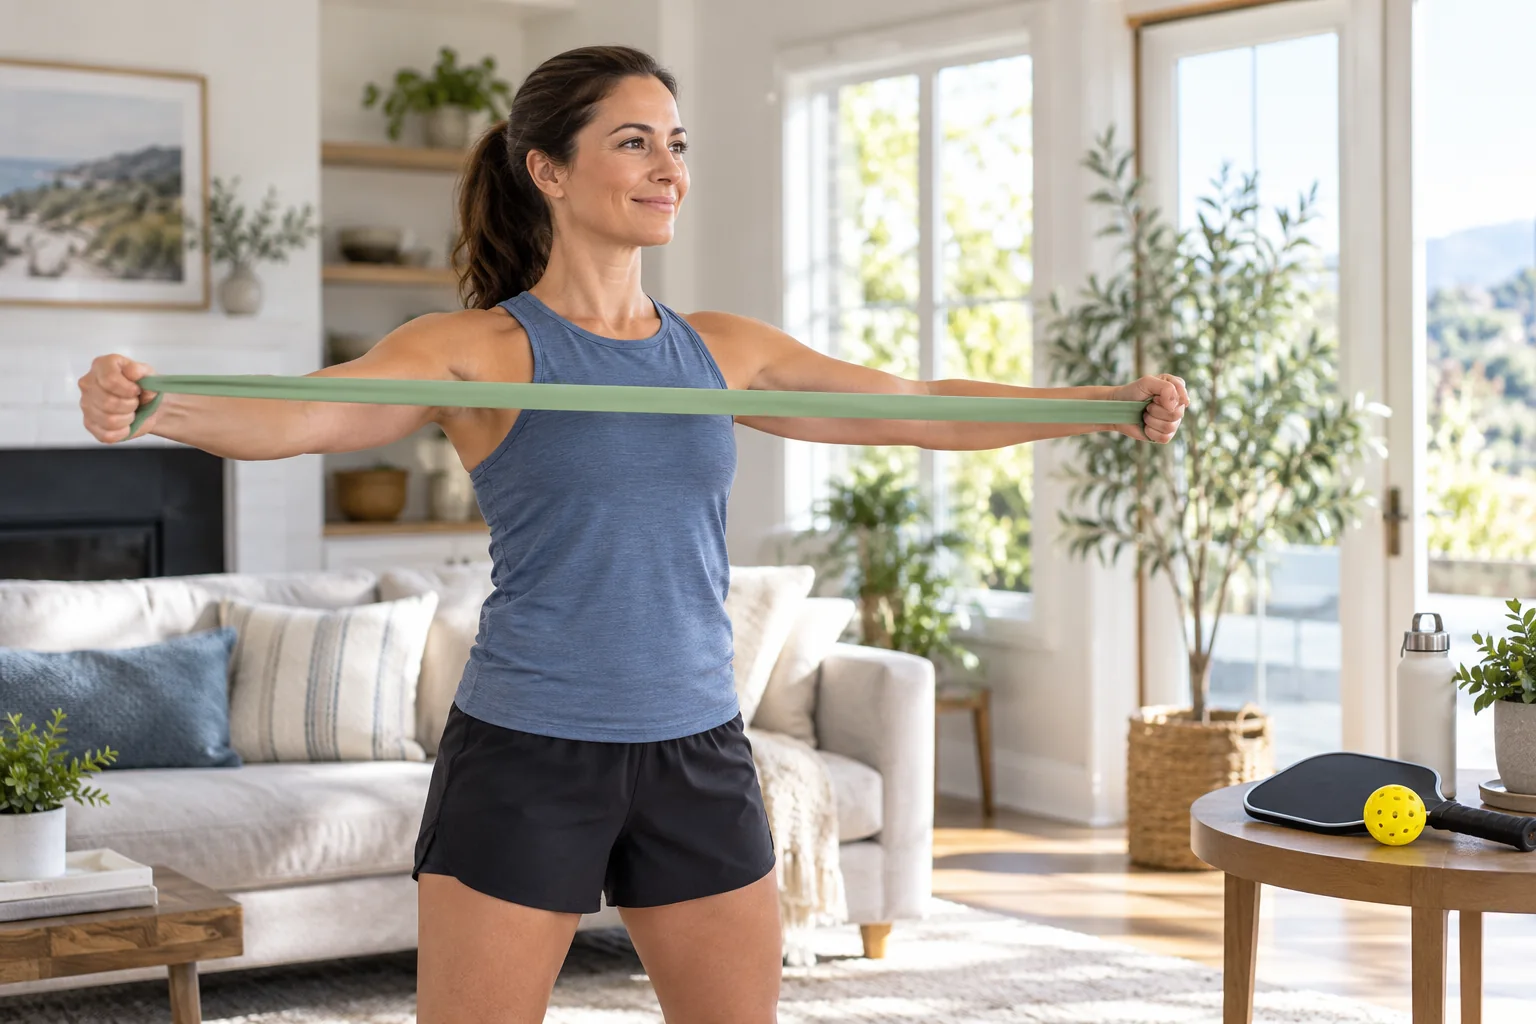
A standing resistance exercise can practice keeping the torso steady against a small sideways force. Use resistance bands (paid link) only with an anchor and arrangement specifically approved by the maker. Stand with feet comfortably apart, hold the band near the chest and slowly move the hands a short distance forward without letting the torso turn toward the anchor. Return under control. Start with very low tension and a limited range while learning.
Inspect the band and anchor before every session, and keep people clear of its recoil path. Do not fasten it to a door handle or loose object simply because the exercise appears simple. If anchoring is not secure, leave this option out and repeat a suitable unloaded exercise instead. The purpose is controlled resistance, not proving you can use the thickest band. A coach or trainer can help you set the stance and tension, especially when the sideways pull causes shoulder discomfort or a loss of balance.
Separate rotation practice from forced twisting
Pickleball shots involve coordinated movement, but adding heavy rapid twists is not the necessary next step after basic trunk exercises. First, practice a comfortable small standing turn with no load, allowing the feet and hips to contribute as appropriate. Keep the movement smooth and avoid sharply twisting over a fixed foot. A qualified coach can connect movement to shot technique so you do not try to generate every part of the swing through the lower back.
Use your familiar pickleball paddle (paid link) during slow rehearsal only when the unloaded turn is comfortable and the surrounding area is clear. Do not swing near lamps, furniture or other players. Keep grip pressure modest and pause between repetitions. Speed, ball contact and reactive movement each add demand, so introduce them separately. Our court movement guide explains the value of arriving at a stable position, while balanced strength training places trunk work alongside other movement patterns.
Fit a short routine into two familiar training days
An example routine might use one small set of heel slides, modified bird dogs and wall holds after general strength practice. A secure band exercise can replace one option when you have learned the setup. You do not need to perform every variation in the same visit. Keep the entire block short enough that movement remains attentive. For someone new to floor work, simply learning one comfortable exercise and how to get into position may be a productive session.
Allow recovery and consider your court schedule. A demanding trunk workout immediately before a long playing session may make steady positioning harder rather than prepare you better. Start with a modest amount and judge the next-day response. If you change the exercise range, keep the number of repetitions and other training similar so you can identify the effect. Do not add load, lengthen holds and increase playing time in the same week merely because each change looks small in isolation.
Assess control and symptoms rather than muscle sensation
Helpful progress includes smoother limb movement, comfortable breathing during a hold or a steadier torso with the same light resistance. You do not need soreness to confirm that the routine was useful. Feeling the lower back working also does not automatically mean it is being injured, but persistent or sharp pain should not be dismissed as ordinary effort. Stop for symptoms that change your movement and seek appropriate evaluation when they persist or worsen.
Keep expectations realistic. Core exercise cannot correct every cause of poor balance or replace lessons in paddle technique. Its role is supporting a wider fitness routine that includes legs, upper body, endurance and recovery. A repeatable simple variation is preferable to an advanced movement you can only finish by holding your breath or losing control. When you can explain why an exercise is in the plan and perform it comfortably, you have a useful basis for deciding whether a small progression is appropriate.
Practical Options at a Glance
| Situation | Practical option | What to consider |
|---|---|---|
| Floor access is difficult | Wall or standing variation | Keep setup secure and comfortable. |
| Limb movement | Small controlled range | Breathe without exaggerated bracing. |
| Rotation practice | Coordinate familiar movement | Do not force weighted twisting. |
Frequently Asked Questions
It can support trunk control, but shot performance also depends on timing, positioning, coordination and coaching. No particular exercise guarantees harder or better shots. Keep core work balanced with lower-body and upper-body training, and learn paddle mechanics separately. Forcing rapid weighted twists is not a necessary progression. Choose movements you can perform with comfortable breathing and control. A useful exercise serves a clear fitness purpose even when you cannot link it directly to the result of a specific rally.
No. A wall or suitable supported variation can provide a manageable starting option, particularly when floor access or wrist comfort is an issue. Choose a secure surface and adjust distance to control demand. Short holds with normal breathing may be more appropriate than a long maximal hold. The exercise should not depend on enduring pain or shaking through lost position. A professional can suggest alternatives when medical restrictions or persistent symptoms affect the positions you can use comfortably.
This beginner guide uses enough trunk tension to control movement while continuing to breathe. Do not intentionally turn every repetition into a prolonged breath-holding effort. If breathing becomes difficult to maintain, reduce load, range or hold duration. People with conditions affected by strain should follow individualized exercise guidance. The ability to steady the torso does not require clenching as hard as possible throughout daily life. Learn manageable tension first and ask a qualified trainer about any exercise whose breathing pattern is unclear.
Safety and Personal Needs
Stop activity and seek appropriate help for chest pain, faintness or severe unexpected breathlessness. Pain that changes movement, unexplained swelling, new weakness or recurrent instability needs assessment before progression. Follow individual guidance for health conditions, pregnancy, recent surgery or an injury. The routines are adjustable educational examples, not clinical rehabilitation plans or guarantees against injury.
This is general educational information. Individual needs vary with health, medications, fitness and training experience.