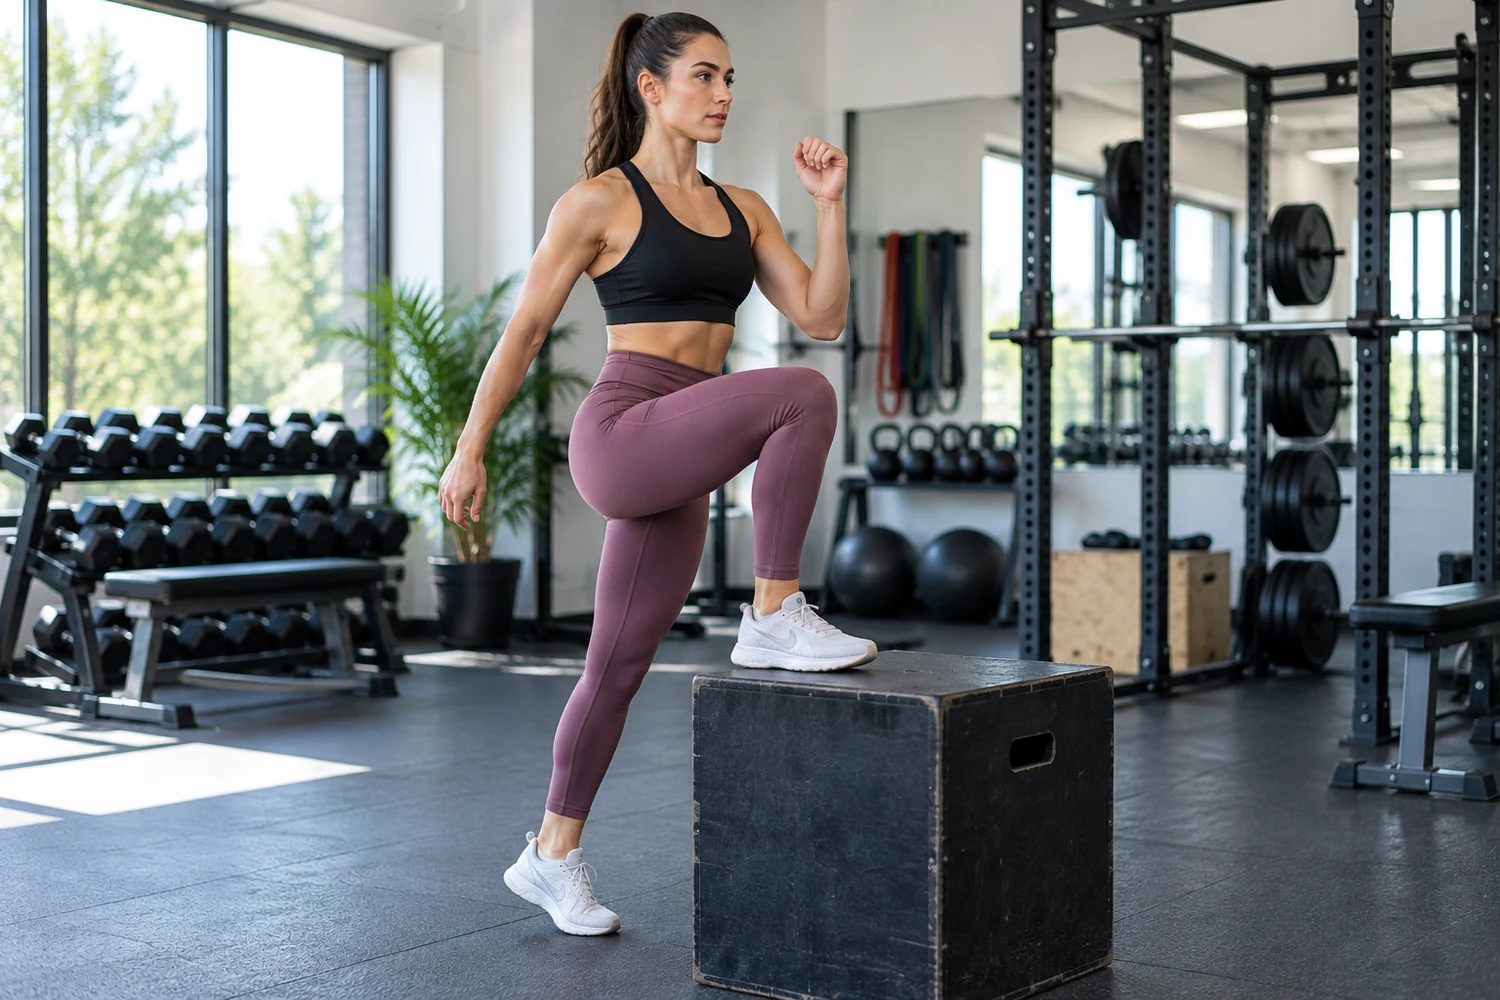
Why the Step-Up Exercise Is So Practical
The step-up exercise trains a movement you already use: lifting your body onto a higher surface with one leg. That makes it a natural choice for building strength that carries over to stairs, curbs, hiking and many daily tasks.
Step-ups challenge the quadriceps and glutes while also requiring balance and control from the ankle, knee and hip. Unlike a machine exercise, each leg has to manage its own share of the work.
If you are building lower-body function, step-ups pair well with sit-to-stand training and a broader set of knee strengthening exercises.
Step-Up Exercise Benefits
The lead leg produces most of the force needed to lift the body onto the step. The movement closely resembles climbing stairs, making it specific to a common daily task. The larger goal is not a perfect-looking position; it is a movement option you can use comfortably in training and daily life. Consistency usually matters more than doing a long routine once in a while.
Each repetition asks one leg to manage hip, knee and ankle alignment. You can change step height, hand support, load and tempo without learning a completely new exercise. When mobility and strength improve together, the body has more choices for solving everyday movement tasks.
How to Do Step-Ups: 6 Progressions
1. Supported low step-up
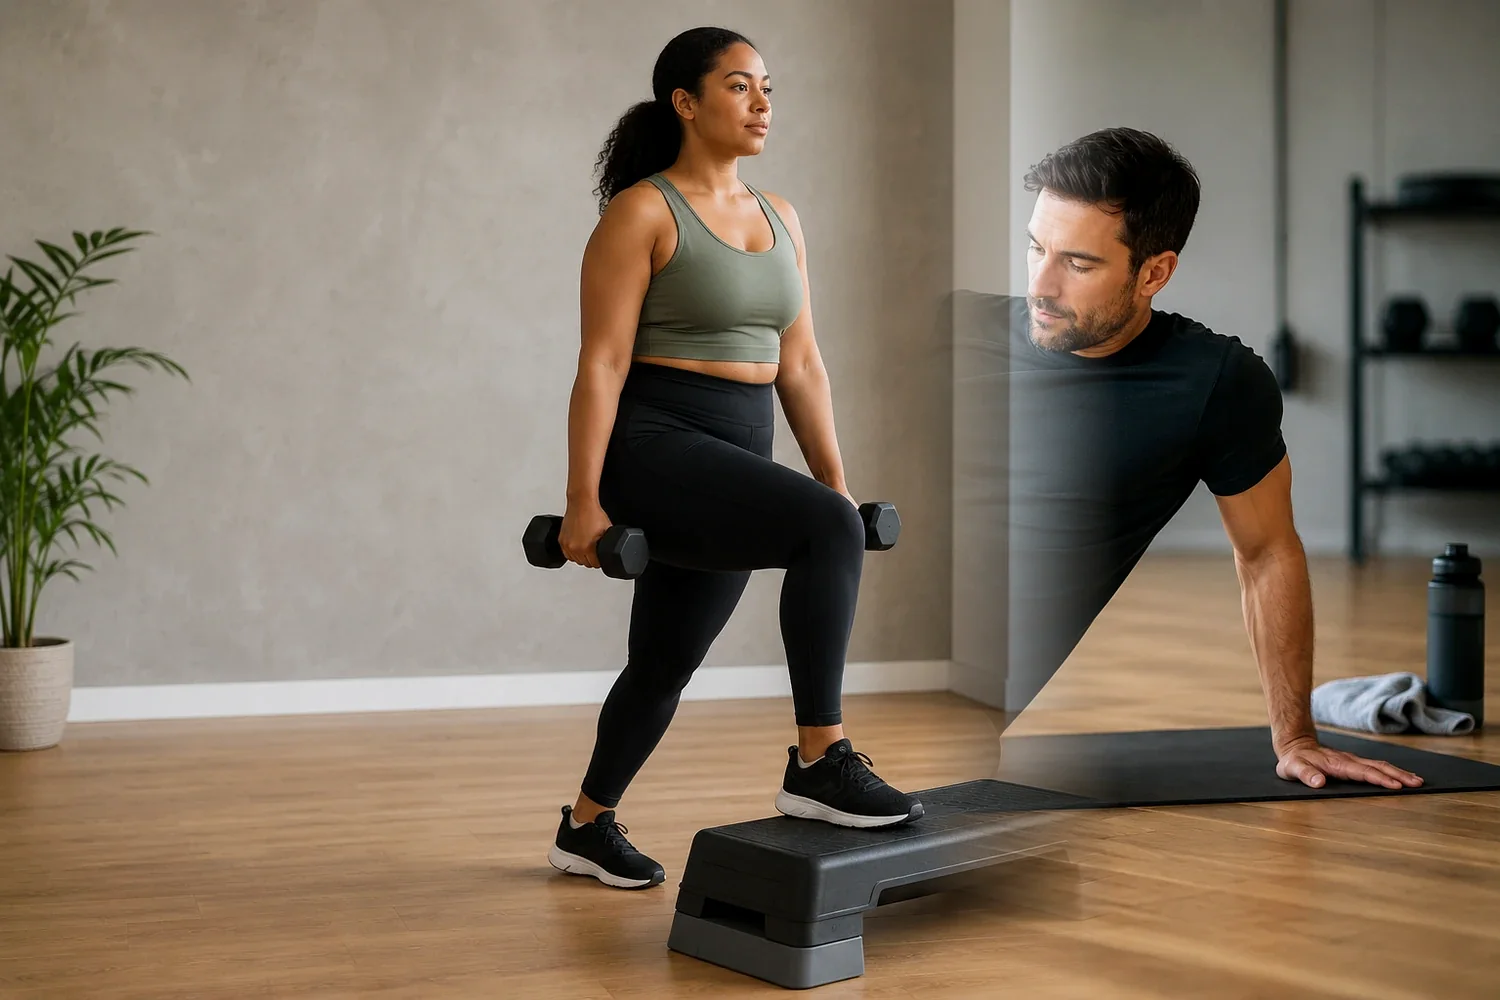
Use a low, stable step and hold a rail or wall. Place the entire lead foot on the step and push through that leg to stand. Use the support for balance, not to pull yourself up. Step down slowly.
2. Bodyweight step-up
Remove hand support once balance is reliable. Keep the torso tall with a slight natural forward lean. Avoid launching from the trailing foot. The lead leg should do most of the work.
3. Step-up with knee drive
At the top, bring the trailing knee forward to hip height and pause briefly. This adds balance and hip-flexor coordination. Use a lower step if the pause makes you wobble.
4. Slow eccentric step-up
Step up normally, then take three to four seconds to lower. The slower descent increases time under tension and teaches control that is useful for walking downstairs.
5. Dumbbell step-up
Hold light dumbbells at your sides once bodyweight reps are easy. Keep the load moderate enough that the whole foot stays planted and the knee tracks cleanly.
6. Higher step or front-rack variation
A taller step increases hip and knee demand, while front-loaded weights increase trunk challenge. Use only one progression at a time so technique stays predictable.
A Simple Step-Up Workout
Choose a step height that lets you complete eight to twelve smooth repetitions per side. Perform two or three sets with 60 to 90 seconds of rest. Alternate the lead leg each set or complete all reps on one side before switching. If your main goal is stair confidence, combine step-ups with knee strengthening and balance exercises.
Keep the first week intentionally easy. Write down the variation, repetitions and how the movement felt. If technique remains consistent and you recover well, add only a small amount the next week. This simple approach makes progress easier to judge and reduces the temptation to change several variables at once.
Common Mistakes to Avoid
Using a step that is too high
A high box can force the pelvis to twist or the back to round. Start lower and earn more range.
Pushing off the trailing foot
Try to make the lead leg do the work. Use the back foot only for balance.
Letting part of the foot hang off
Plant the whole lead foot on the step so you have a stable base.
Dropping quickly on the way down
The lowering phase is valuable. Control it instead of falling to the floor.
Adding load before balance is ready
Bodyweight technique should look steady before you carry dumbbells.
Progressions and Practical Training Tips
A practical starting step is often lower than the knee. If you can stand up smoothly without pushing off the back foot, the height is appropriate. Increase difficulty through slower lowering, more repetitions, a brief balance pause, light dumbbells or a slightly taller step. If ankle mobility limits your position, use ankle mobility drills before increasing height. For additional single-leg strength, progress later to split squats and reverse lunges.
Use the exercise as part of a complete plan rather than an isolated challenge. A balanced week can include strength, aerobic activity, mobility and recovery. The best version is the one that fits your current ability and leaves you able to practice consistently.
How Step-Ups Carry Over to Stairs and Hiking
Track progress with simple variables such as step height, repetitions per side, amount of hand support and load. Improving one of those while the movement stays smooth is a better sign of progress than rushing through a taller box.
Hikers can use step-ups to build repeated single-leg work without needing a trail. Start with bodyweight and moderate total repetitions. Later, a light backpack or dumbbells can mimic carrying equipment, but only after balance and foot placement are reliable. Keep the box lower than you think you need; fatigue can quickly turn a good repetition into a push from the trailing leg.
Step-ups are especially useful because step height can be matched to the task you care about. A low step teaches control and confidence, while a moderately higher step asks for more hip and knee strength. For stair goals, practice both the upward drive and the slow lowering phase because real stairs require you to control your body in both directions.
You can also use step-ups as a simple conditioning tool, but technique should stay the priority. Alternating legs for a timed interval raises the heart rate quickly, so keep the step low and stop the interval before balance deteriorates. For strength, slower separate sets with more rest are usually better than rushing continuously for speed.
For home training, a bottom stair can work if it is wide, dry and has a railing. Avoid unstable stools or soft furniture. Keep the same lead-foot setup you would use in the gym, and make the lowering phase quiet. A quiet landing is a useful cue that you are controlling your body rather than dropping onto the floor. When both sides feel equally confident, then consider adding light resistance.
Consistent practice matters more than using the tallest possible step.
Safety Tips
Use a step or box that cannot slide or tip. Clear the area around it and wear footwear that grips the surface. Stop for sharp knee, hip or ankle pain, dizziness or loss of balance. People recovering from surgery or a recent lower-body injury should use the height and loading recommended by their clinician. A railing or wall can make early practice safer without reducing the strength benefit.
If you are unsure whether a movement is appropriate after an injury or with a medical condition, a physical therapist or other qualified clinician can help tailor range, load and exercise selection. General fitness guidance cannot replace individual assessment.
Frequently Asked Questions
Step-ups primarily train the quadriceps and glutes, with hamstrings, calves and core muscles contributing to control and balance.
Start low enough that you can plant the whole foot and stand without twisting or pushing hard from the trailing leg.
Yes. The movement is mechanically similar to climbing stairs and can build the leg strength and control needed for that task.
Only after bodyweight reps are stable. Add light weight gradually so balance and knee alignment stay consistent.
Two or three sets of eight to twelve repetitions per side is a practical starting range for general strength.
Key Takeaways
- Step up exercise work best when range and control progress together.
- Start with the easiest variation that lets you move without sharp pain or compensation.
- Progress one variable at a time—range, repetitions, time, support or resistance.
- Combine mobility with strength and balance so new range becomes useful in everyday movement.
- Stop and seek individualized guidance when symptoms include sharp pain, instability, numbness or persistent worsening.