Published by Best Fitness Routine. Editorial standards · Report a correction. Educational guidance; no individual clinical review is claimed unless a qualified reviewer is named.
What This Pistol Squat Progression Guide Covers
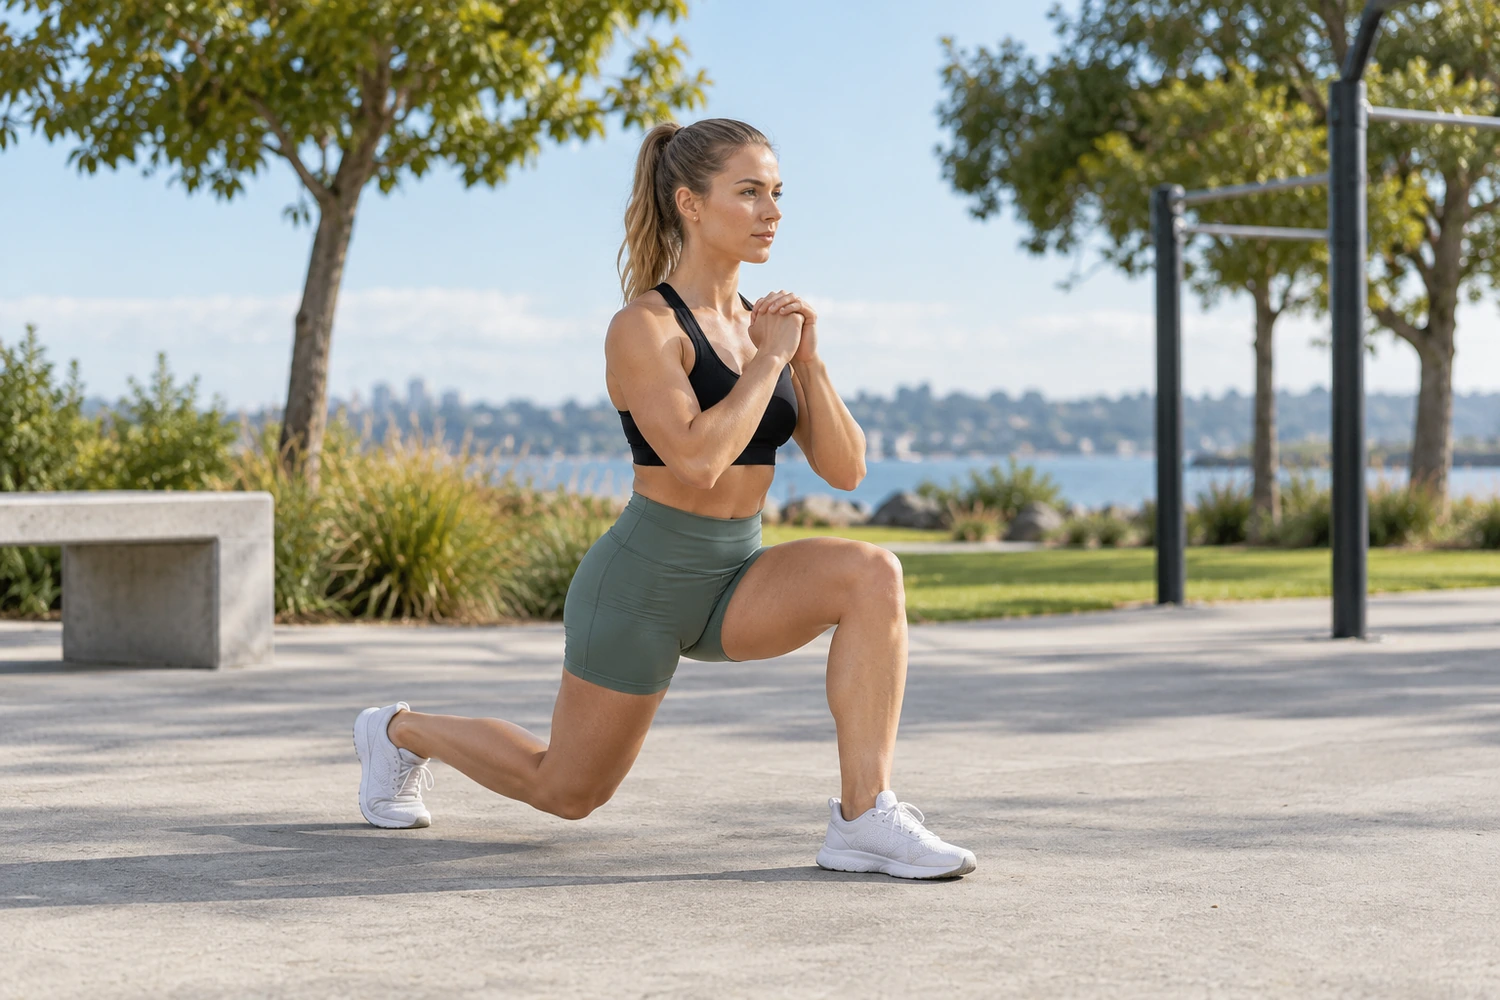
A pistol squat is a deep single-leg squat performed with the non-working leg held forward. It combines strength, ankle mobility, hip control and balance. The best pistol squat progression does not treat the movement as one all-or-nothing test. It builds the pieces separately with box squats, counterbalance work, assistance and controlled eccentrics.
The most useful way to think about pistol squat progression is as a repeatable training process. You need a variation that is challenging enough to create effort but not so difficult that every repetition looks different. That middle zone lets you accumulate useful practice, compare sessions and make small changes based on real progress rather than guesswork.
Bodyweight training is sometimes described as equipment-free, but leverage is effectively your load. Moving the hands lower in a push-up, making the body more horizontal in a row, using one leg instead of two or increasing the unsupported range can all make an exercise significantly harder. Because those changes can be large, use small steps and keep a simple training log (paid link).
If you are building a complete bodyweight program, combine this topic with calisthenics workouts, calisthenics leg workout, l sit progression and calisthenics workout for beginners. For movement quality and general strength context, the site also has a complete Functional Fitness and Mobility collection and a practical strength training for beginners guide.
Pistol Squat Progression Benefits
Develops single-leg strength and balance Challenges ankle, knee and hip control together Requires little equipment Exposes side-to-side differences clearly Provides a demanding lower-body calisthenics skill. These are training advantages rather than guarantees. Results depend on exercise selection, total weekly work, recovery, nutrition, previous training and the consistency of your progression.
Calisthenics also rewards technical improvement. A rep can become more useful even when the number on the page does not change, because better control, deeper comfortable range and less unnecessary momentum increase the quality of the work. That makes form a measurable part of progress rather than a cosmetic detail.
Step-by-Step Exercises and Progressions
1. Single-leg sit-to-stand from a high box
Sit back to a high chair or box on one leg and stand using the working leg. Use light hand support if needed. Use a controlled tempo, stop before technique changes, and choose a range that you can repeat from one session to the next.
2. Counterbalance single-leg squat
Hold a light object in front of you to make balance easier while practicing more depth. Use a controlled tempo, stop before technique changes, and choose a range that you can repeat from one session to the next.
3. Assisted pistol squat
Hold a rail, post or suspension strap and use only enough upper-body help to stay controlled. Use a controlled tempo, stop before technique changes, and choose a range that you can repeat from one session to the next.
4. Eccentric pistol to box
Lower slowly on one leg to a box, then stand with both legs. Gradually lower the target as control improves. Use a controlled tempo, stop before technique changes, and choose a range that you can repeat from one session to the next.
5. Full pistol squat
Descend under control while keeping the working foot planted and the free leg forward. Stand without bouncing out of the bottom. Use a controlled tempo, stop before technique changes, and choose a range that you can repeat from one session to the next.
6. Paused pistol squat
Pause briefly near the bottom of a controlled rep to build strength without relying on momentum. Use a controlled tempo, stop before technique changes, and choose a range that you can repeat from one session to the next.
How to Program Pistol Squat Progression
Train pistol-squat progressions one or two times per week after a general warm-up. Use 3 sets of 3 to 6 reps per side on a variation that is challenging but repeatable. Add separate ankle mobility and split-squat strength work if either is clearly limiting the skill.
Consistency also matters more than novelty. Repeat the same core variation for at least two to four weeks unless it causes discomfort or is clearly inappropriate. Track the number of clean repetitions, the range you used and how much assistance was required. If two sessions in a row are strong and the final reps still look controlled, that is a reasonable time to make the next small progression.
Recovery supports skill and strength. Hard calisthenics sets challenge muscles, tendons, joints and coordination, so more practice is not always better. Sleep, adequate food, hydration and easier days between demanding sessions help the next practice feel more productive. A program that you can repeat week after week usually beats a dramatic routine that leaves you too sore to train.
Common Mistakes to Avoid
Collapsing the knee inward while chasing depth
This mistake usually appears when the variation is too hard, fatigue is too high or the setup is inconsistent. Regress the exercise, reduce the rep target and rebuild the movement with a cleaner position before adding difficulty.
Lifting the heel and losing a stable foot
This mistake usually appears when the variation is too hard, fatigue is too high or the setup is inconsistent. Regress the exercise, reduce the rep target and rebuild the movement with a cleaner position before adding difficulty.
Dropping quickly into the bottom position
This mistake usually appears when the variation is too hard, fatigue is too high or the setup is inconsistent. Regress the exercise, reduce the rep target and rebuild the movement with a cleaner position before adding difficulty.
Forcing ankle range that is not yet available
This mistake usually appears when the variation is too hard, fatigue is too high or the setup is inconsistent. Regress the exercise, reduce the rep target and rebuild the movement with a cleaner position before adding difficulty.
Using one side much more than the other
This mistake usually appears when the variation is too hard, fatigue is too high or the setup is inconsistent. Regress the exercise, reduce the rep target and rebuild the movement with a cleaner position before adding difficulty.
Progression Strategy
Progress by lowering the box, reducing hand assistance or increasing the controlled range. Avoid testing full pistols every session if the required depth is not yet available. Strength and mobility can improve in parallel, and both need time.
A useful progression should make the target muscles and movement pattern work harder without suddenly changing the exercise into something else. If a new variation reduces range, creates joint discomfort or forces you to use momentum, return to the previous level and build more capacity there.
A Simple Four-Week Practice Plan
At the end of Week 4, do not automatically jump to the hardest possible version. Review your notes. If repetitions are cleaner, the same work feels easier and recovery is good, choose one small next step. If technique is still inconsistent, repeat the block with the same variation and aim for better execution.
How It Fits a Complete Calisthenics Program
A complete program needs more than one skill. Balance pushing and pulling, include both bilateral and single-leg lower-body work, and use a small amount of targeted core training. Add walking, cycling or other aerobic activity for general fitness and use mobility drills where they help you access the positions your exercises require.
Skill-focused work such as handstands, L-sits or pull-up practice generally fits early in a session when coordination is fresh. Higher-rep accessory work can come later. If you train three full-body days, rotate the hardest emphasis so the same joints are not pushed to the limit every session.
For a broader plan, pair this guide with Calisthenics Workout at Home: Full-Body Routine With Minimal Equipment and Push-Up Progression: From Wall Push-Ups to Strict Reps. These complementary topics help distribute training stress and reduce the temptation to repeat only your favorite movement.
Safety Tips
A pistol squat is optional, not a requirement for healthy legs. Use support and a limited depth if the movement causes knee, ankle or hip discomfort. People with recent lower-limb injuries should build basic bilateral and split-stance strength first.
Warm up with several minutes of easy movement and a few low-effort repetitions of the pattern you plan to train. Progress volume gradually, especially for wrists, elbows and shoulders because connective tissues may need more time than muscles to adapt. General exercise information cannot replace individual assessment after injury or with a medical condition.
Frequently Asked Questions
You need enough ankle and hip range for your own proportions, but you do not need extreme flexibility. Counterbalance and heel-elevated drills can help identify what is limiting you.
Limited ankle dorsiflexion, balance and body proportions can all contribute. Holding a light counterweight often makes the pattern easier to learn.
Not automatically. The knee travels through a large range, so the movement should be progressed gradually and remain comfortable.
One or two focused sessions per week is enough for many people when the rest of the lower-body program is also challenging.
Single-leg sit-to-stands, split squats, step-ups and ankle mobility drills are useful building blocks.
Key Takeaways
- Use pistol squat progression practice as part of a balanced bodyweight program, not as a daily max-effort test.
- Choose the easiest variation that lets you keep the intended body position and range of motion.
- Progress one variable at a time: leverage, range, repetitions, hold time or assistance.
- Pair pushing with pulling and combine skill work with lower-body and core training.
- Stop and seek individualized guidance if an exercise causes sharp pain, numbness, instability or persistent worsening symptoms.
Evidence-Based Resources
Related Health Articles