Published by Best Fitness Routine. Editorial standards · Report a correction. Educational guidance; no individual clinical review is claimed unless a qualified reviewer is named.
Make the stroke smooth before making it hard
Proper rowing machine form is a sequence you can learn, not a position you hold perfectly for an entire workout. The machine asks your legs, torso and arms to contribute in a coordinated order, followed by a controlled return. When that order feels comfortable, you can vary effort without turning each stroke into a rushed pull. Begin at an easy pace and concentrate on one change at a time. A strong drive cannot compensate for an uncomfortable reach or an uncontrolled return.
The guidance here describes the familiar sliding-seat indoor rower with a central handle. Some machines use separate handles or different movement patterns, so follow the instructions for your equipment. Your comfortable range also depends on mobility, proportions and health. Do not force your body into a photograph of another person's stroke. Ask a qualified rowing instructor to assess persistent difficulty, and seek appropriate medical advice for pain rather than assuming a technical cue will resolve every symptom.
Start with the seat, feet and handle
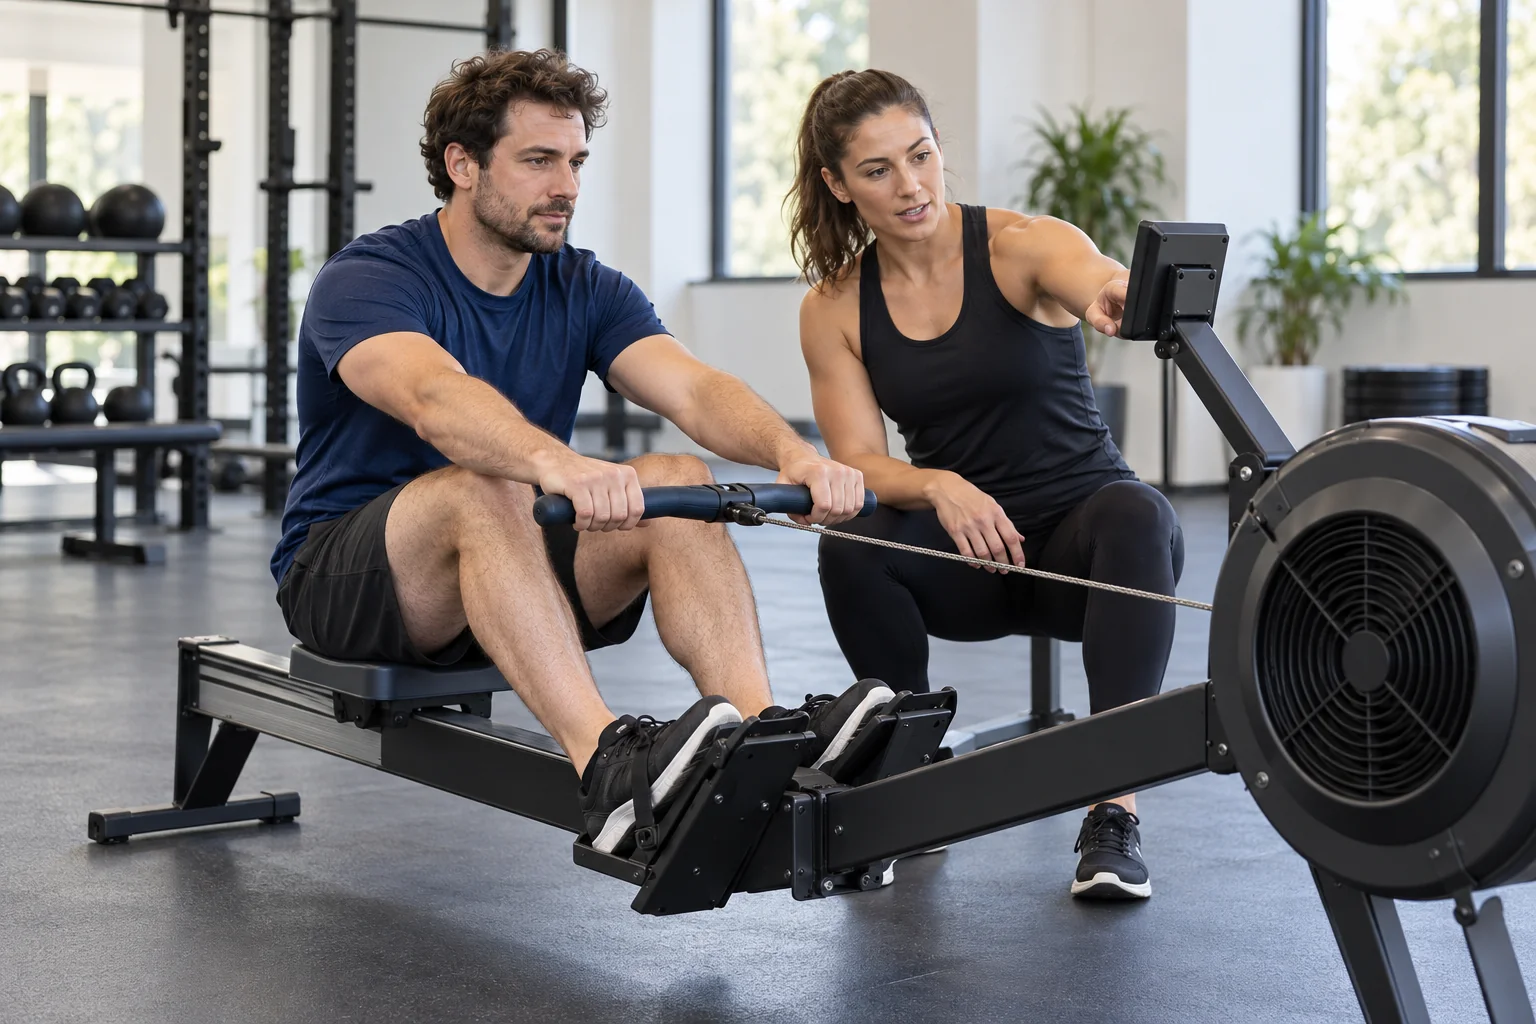
Sit securely, check that the seat runs freely and adjust the footplates according to the manual. The straps should secure the feet without uncomfortable pressure. On many common machines, placing the strap across the broad area of the foot is a useful starting point, but footplate designs vary. Check that you can loosen the straps easily afterward. Reach for the handle by moving through the hips instead of twisting sideways or rounding aggressively to grab it from its holder.
If you practice in a shared gym, note your footplate position before the next person changes it. A small training journal (paid link) can hold that setting alongside one technique cue from your instructor. Record observations such as hands first on the return, rather than long lists of body angles. Machine setup is only a starting point: a familiar setting may need adjustment on a different model. Settle into easy movement before deciding that a new rowing machine (paid link) must feel exactly like your usual one.
Find a catch position you can control
The catch is the front position just before you press into the drive. Let the arms reach forward, keep the shoulders relaxed and hinge from the hips within a comfortable range. On a conventional rower, the shins approach vertical without being driven far beyond it. Some heel lift can occur naturally. Avoid pulling the seat so far forward that your pelvis tucks sharply or your chest collapses onto your thighs. More compression does not automatically create a better stroke.
Try pausing briefly at an easy catch to notice whether you can breathe and hold the handle without tension. This is a learning check, not a demand to freeze during every stroke. If the front position feels crowded, reduce the slide length and ask whether the foot setting suits your proportions. Never force an injured knee, hip or back into a deeper position to meet a visual standard. Comfortable access to the catch matters more than copying an athlete's maximum range.
Let the legs begin the drive
Begin by pressing against the footplates while the arms remain extended. Let the torso open as the legs contribute, then bring the handle in to complete the stroke. These actions blend together; they do not need three dramatic stops. Imagine the handle moving along a relatively direct path. If it jumps upward early, you may be lifting with your shoulders or avoiding your knees. Reduce effort enough to examine the path without fighting the resistance or speeding through the mistake.
Another common problem is sending the seat backward while the handle barely moves. This can happen when the legs straighten before the torso connects to the handle. A coach may describe it as the seat running away. Work at low effort with a shorter stroke until you can feel the leg press and handle movement connect. Do not solve it by bracing as hard as possible or yanking with the arms. The goal is coordinated pressure, with ordinary breathing and a manageable grip. Our guide to rower settings explains why a heavier feel is not always helpful.
Finish without exaggerating the lean
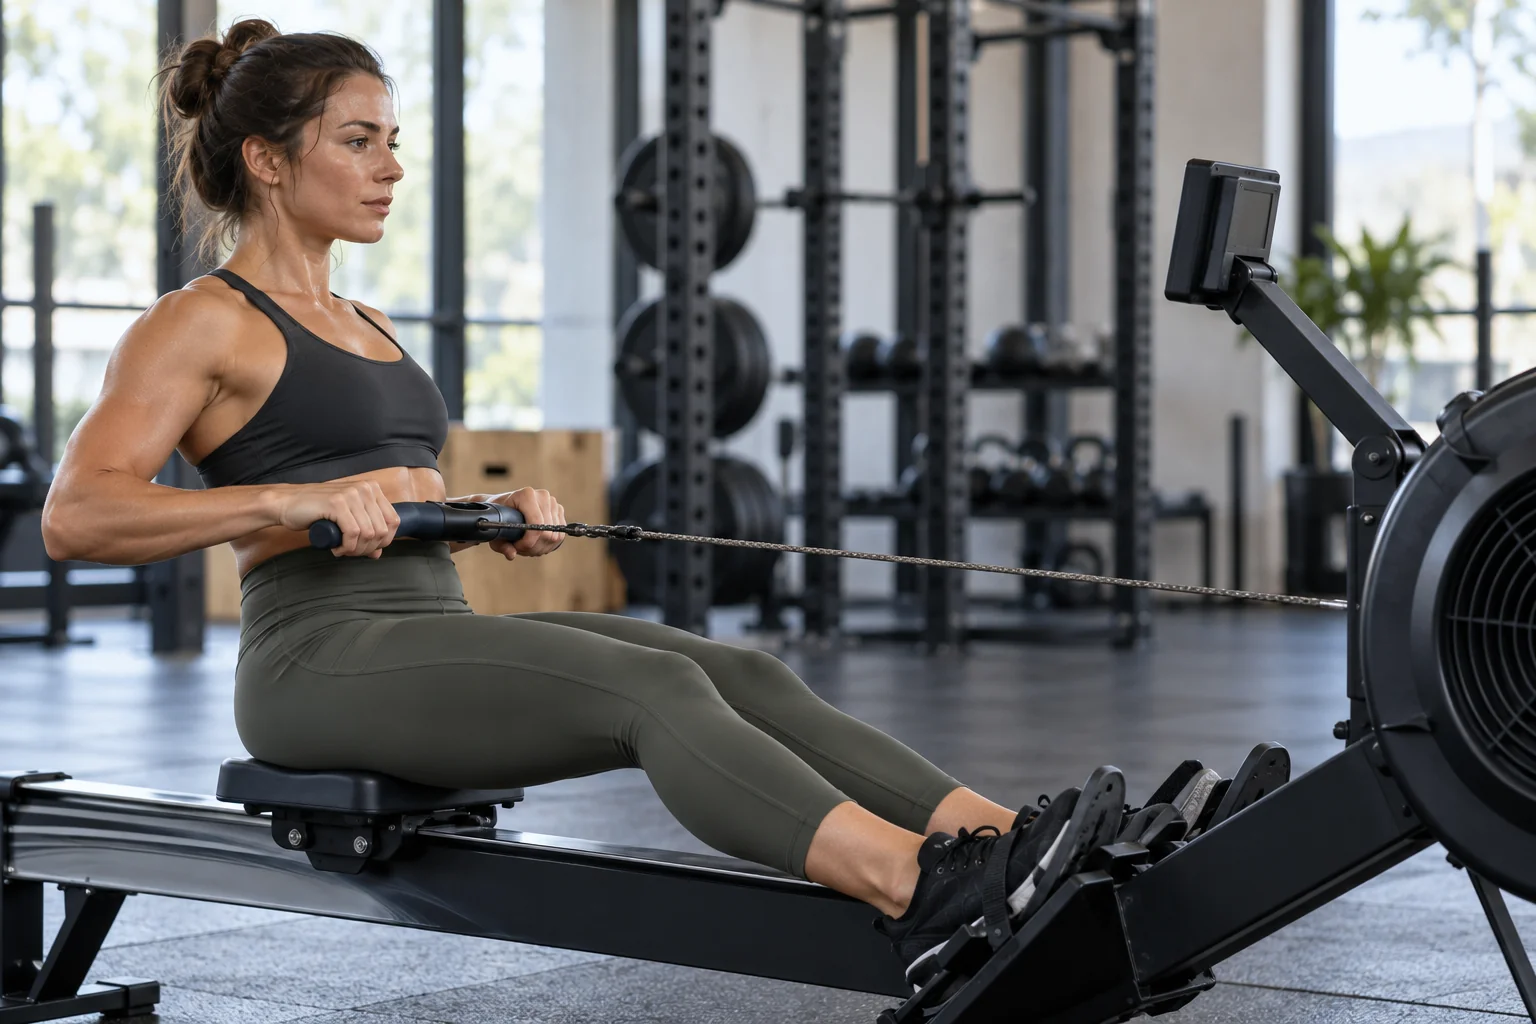
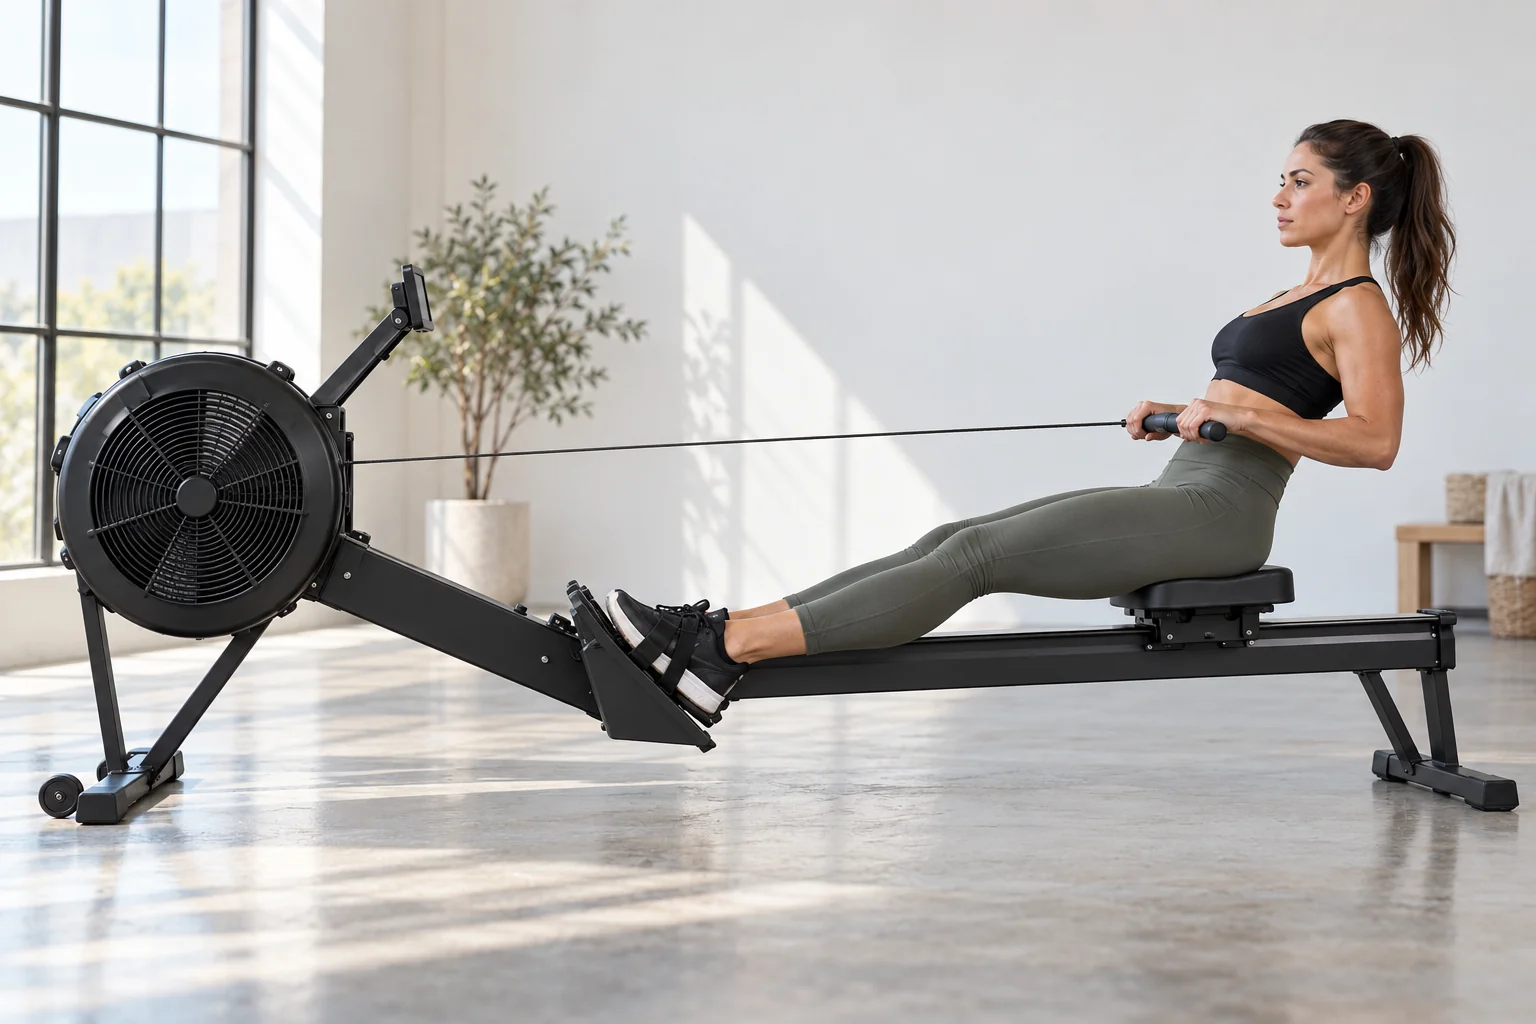
Near the finish, the legs are extended without being forced into a hard lock, the torso has a modest backward angle, and the handle comes toward the lower ribs. Keep the shoulders down and wrists comfortably aligned with the forearms. A large backward swing creates extra movement without necessarily improving the useful drive. Avoid pulling the handle up toward your face or burying it against your stomach. Both can encourage unnecessary tension and complicate the return path.
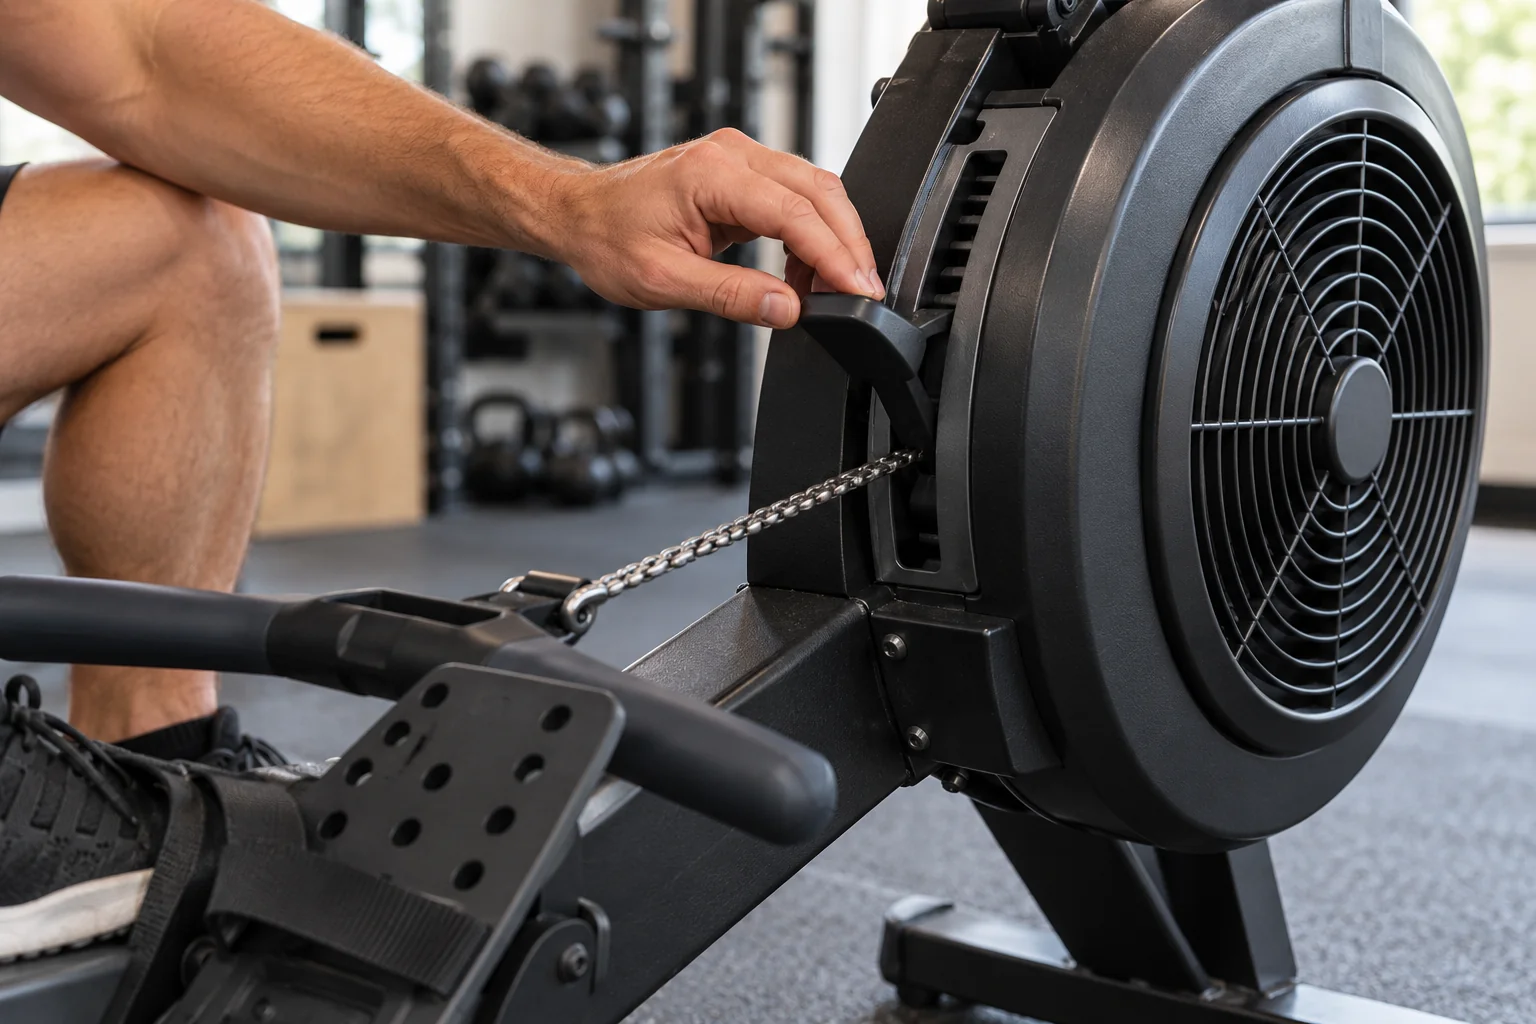
Hold the handle securely but do not squeeze it as though it might escape on every stroke. Fingertip placement and handle shape vary, so choose a comfortable instructed grip rather than a rigid universal rule. If sweaty hands make the handle difficult to control, stop and dry it with a workout towel (paid link) in line with gym hygiene guidance. Keep the towel off the seat rail and chain. More gripping force is not a reliable substitute for a clean handle, appropriate effort and relaxed shoulders.
Give the recovery enough time
The recovery returns you to the catch for the next stroke. Send the hands away first, hinge forward from the hips, and then allow the knees to bend once the handle clears them. Slide forward with control instead of crashing toward the footplates. At an easy pace, the return generally feels calmer than the drive. This creates time to reset without adding a long artificial pause. The rhythm should remain continuous enough that you can breathe and stay connected to the machine.
If the handle has to lift over the knees, practice a slower return with the legs extended until the hands have moved beyond them. Think hands, body, then slide, while remembering that the parts blend during normal rowing. If you race forward, reduce the stroke rate rather than trying to cram the same quick return into a slower drive. A crowded front position often begins with the previous recovery. Improving the approach can be more useful than correcting the catch in isolation.
Use drills as brief practice, not punishment
One option is a few easy arms-only strokes from a stable finish position, followed by arms and a small hip movement, then a partial slide and finally a full comfortable stroke. This progression helps you feel the return sequence. Keep the effort low and use instruction if the position feels unfamiliar. It is a learning exercise, not a special way to build arm strength. Spend a short period on the drill, then see whether ordinary rowing becomes clearer.
You can also pause briefly after the hands move away to check the handle's relationship to the knees. If you record a side view, use a stable phone tripod (paid link) or have a companion film from outside the moving equipment area. Do not place a phone on the rail or hold it while rowing. Compare a few easy strokes before and after one adjustment. Video is useful feedback, but it cannot diagnose an injury or establish that a movement is medically appropriate for you.
Check technique when effort changes
A stroke that feels controlled during easy rowing may become rushed during harder work. Increase pressure gradually and watch whether the return still allows the hands to clear the knees. Notice whether your shoulders rise, your grip tightens or your backward lean grows. Those changes can be early signs that the chosen demand exceeds your current control. Ease back before the last minute becomes a struggle. Improving technique at a manageable pace is more useful than completing a hard interval badly.
Fatigue does not always mean the machine setting is wrong. Sleep, earlier lifting, unfamiliar exercise and a long day can change how the stroke feels. Return to an easier setting or session where appropriate, but do not keep changing everything at once. Compare similar conditions over several practices. If one machine consistently causes a problem, ask staff to check its setup and maintenance. Technique feedback and equipment inspection address different questions, and either may be relevant to an uncomfortable session. For interpreting the display while practicing, see pace and stroke rate explained.
Turn one correction into a repeatable habit
Pick one cue that matches an observed issue: relax the shoulders, let the hands clear the knees, or reduce overreaching at the catch. Row a short easy block with that cue, then let the movement flow without continuous self-instruction. At the end, note whether the change made the stroke smoother or more awkward. A helpful correction should improve something you can observe, not simply sound technical. Replace a cue that makes you tense with a clearer explanation from an instructor.
Ask for feedback before increasing intensity if several parts of the stroke remain confusing. An instructor can watch the whole sequence and prioritize the change that matters most. Avoid collecting contradictory tips from many videos in the same session. Good technique develops through focused practice, comfortable repetition and adjustments to your own machine and body. The aim is not to look identical to a competitive rower; it is to row with a stable sequence that supports the type of training you intend to do.
Practical Options at a Glance
| Situation | Practical option | What to consider |
|---|---|---|
| Handle meets knees | Slow the return | Let hands clear before the knees bend. |
| Early arm fatigue | Review drive sequence | Let the leg press contribute before the arm pull. |
| Uncomfortable front position | Reduce overreach | Ask about range and foot setup. |
Frequently Asked Questions
Some heel movement can occur naturally on conventional indoor rowers, especially near the catch. Do not force a position that makes the front of the stroke uncomfortable. Follow the machine instructions and ask an instructor to review your setup. Footplate design, proportions and mobility all affect the useful starting position.
The knees may be bending before the hands have moved far enough away on the recovery. Slow the return and practice letting the handle clear the knees before sliding forward. Keep the movement easy while learning. An instructor can check whether foot setup or another timing issue also contributes.
A side-view recording can help you notice timing and posture, but it cannot diagnose pain or establish medical suitability. Place recording equipment securely away from the machine, or ask someone to film from a safe position. Use video for focused technique feedback alongside instruction, not as a substitute for assessment of symptoms.
Safety and Personal Needs
Stop rowing and seek appropriate care for chest pain, faintness or unusual shortness of breath. Persistent or worsening joint or back pain needs assessment before progression. Follow individual advice for health conditions, recent surgery or exercise restrictions. Lower impact does not establish that rowing is suitable for every condition.
This is general educational information. Individual needs vary with health, fitness, mobility and training experience.