Published by Best Fitness Routine. Editorial standards · Report a correction. Educational guidance; no individual clinical review is claimed unless a qualified reviewer is named.
A Practical Starting Point
As an Amazon Associate I earn from qualifying purchases. This guide includes paid Amazon links.
Learning how to use an elliptical machine correctly begins before the first stride. Find the controls, understand how the pedals move and check whether the machine fits you. An elliptical or cross-trainer guides your feet through a repeating path, but that does not make every model comfortable for every person. This guide offers a first-use sequence for ordinary healthy adults. It gives you things to observe and adjust, rather than demanding a single posture or speed regardless of equipment and body size.
Read the machine before stepping onto it
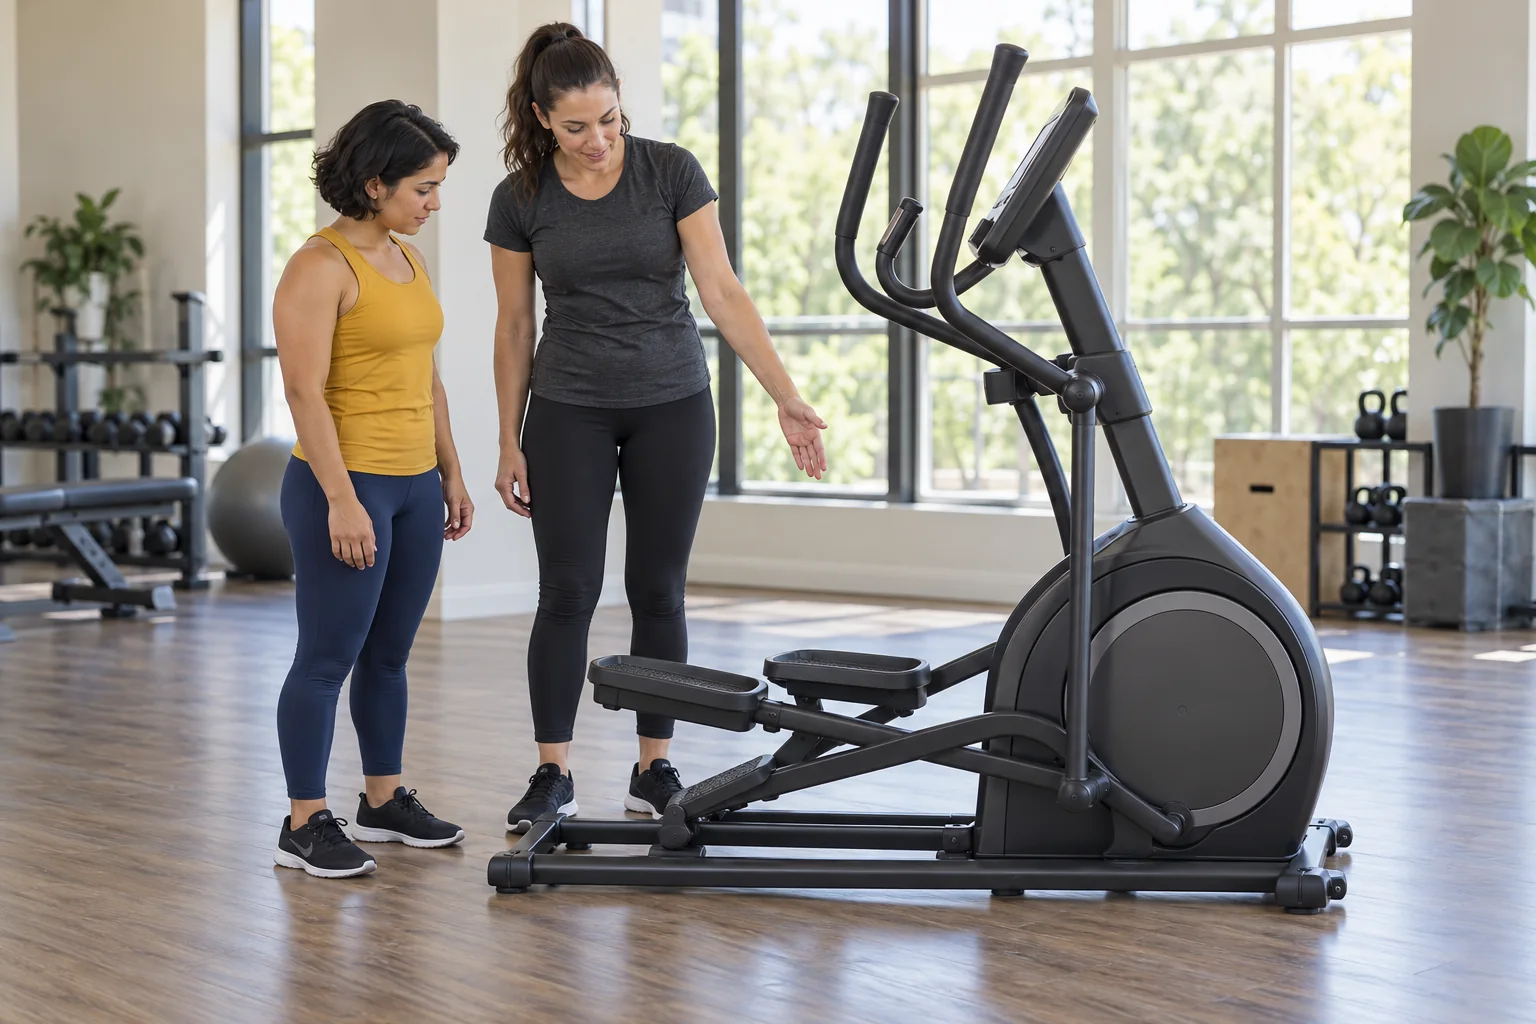
Identify the fixed rails, moving arms, resistance controls and any incline or stride adjustment. Ask staff which settings are suitable for first use and how that specific machine stops. Do not assume a prominent button is an emergency brake or that every elliptical freewheels. Leave bags, loose towels and headphone cables away from the pedals and linkages.
Inspect your footwear and secure your laces. A comfortable training shoe with a sole that sits securely on the pedal is more relevant than a product marketed as an elliptical shoe. Check that pedal surfaces are dry and unobstructed. At home, follow the owner's manual for placement, stability, electrical connections and clearance. A machine that rocks, makes an unfamiliar mechanical noise or has damaged components needs attention before use, rather than an experimental workout to see whether the problem disappears.
If you need to replace unsuitable footwear, compare comfortable training shoes (paid link) for secure fit and grip; a special elliptical shoe is not required.
Use fixed support and the manufacturer's mounting sequence
Hold the fixed rails while mounting and take your time transferring weight. The pedals can move under you. Follow the manual's instructions for pedal position and which side to use, and keep your attention on the task rather than starting the console programme at the same time. If the step-up or reach feels insecure, ask for assistance before proceeding.
For example, the official Life Fitness Atmos guide describes using stationary handles and bringing the near pedal low before mounting that machine. It also explains that its pedals cannot stop instantly. Those details demonstrate why model instructions matter; they are not a substitute for another manufacturer's manual. Do not climb onto a moving machine to save a few seconds or attempt to step over an unfamiliar moving arm.
Start forward and let comfort guide your position
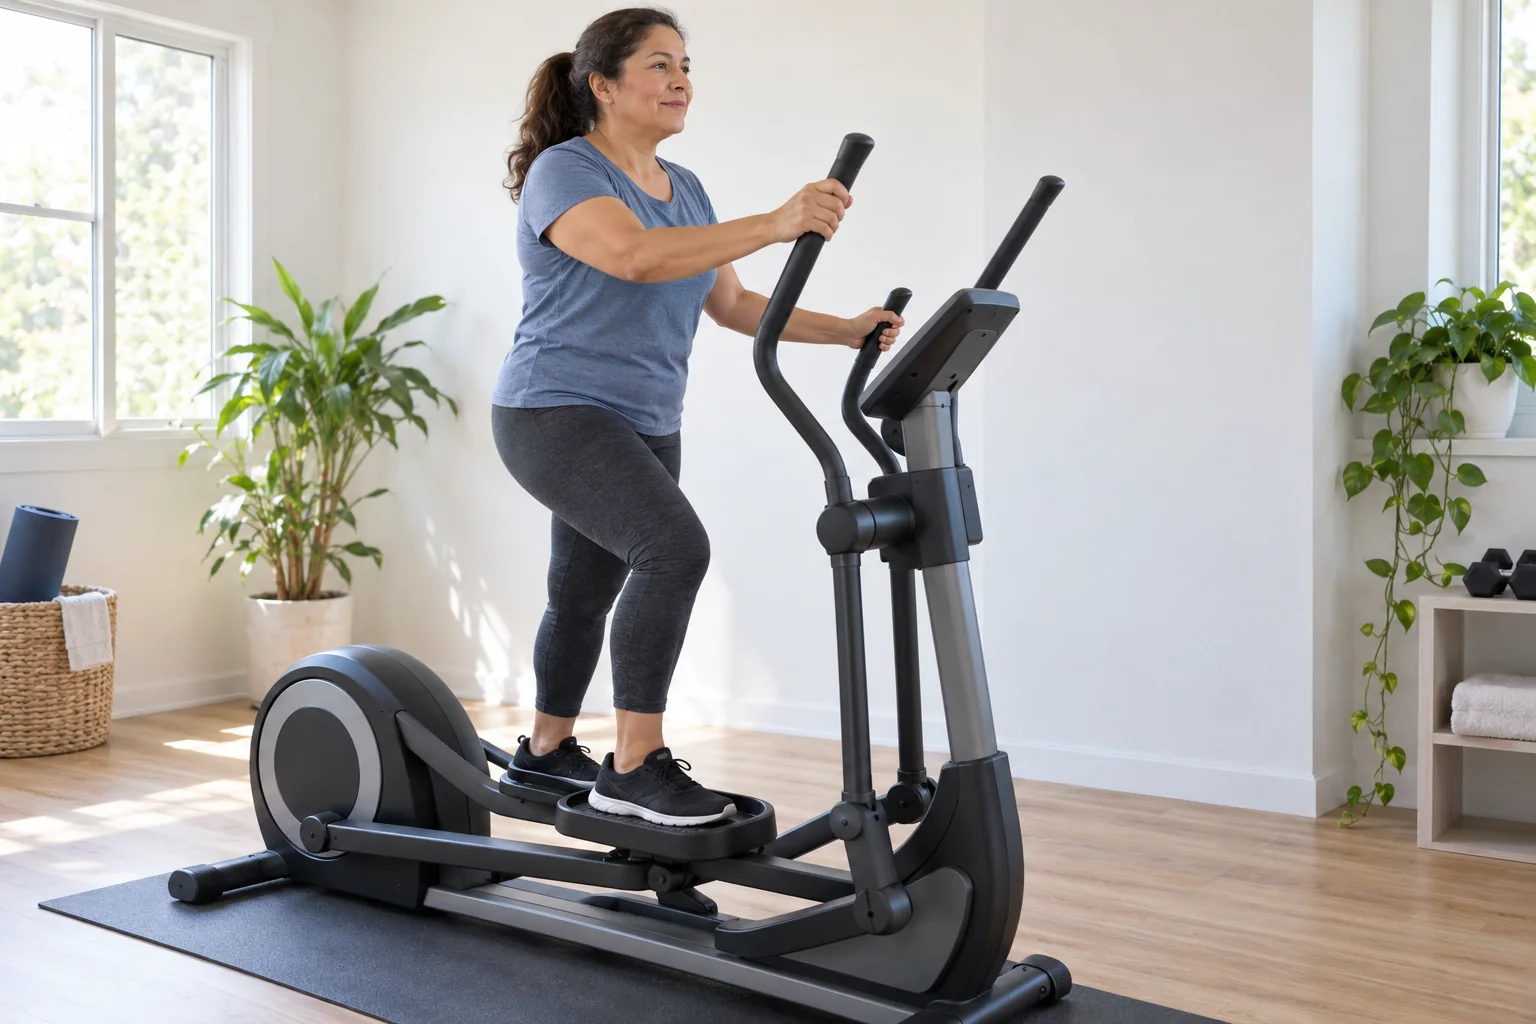
Begin with easy forward pedaling while keeping fixed rails available for balance. Aim for an upright, relaxed position with your head generally over your torso and your gaze ahead. Avoid supporting most of your weight through your arms or hunching over the console. The ACE equipment-orientation guidance recommends forward pedaling initially, neutral posture and avoiding a tight grip or heavy lean.
Do not force your heels flat throughout every part of an unfamiliar pedal path or stretch to reach the front of the footplate. Set your feet securely where the manufacturer permits and notice whether the movement feels natural. Persistent pinching, rubbing or numbness is a reason to stop and reassess fit. An adjustment should make control easier, not require you to hold your body rigidly against the machine's stride.
Learn one control at a time
Use a manual or straightforward start option if the model provides one. First establish a comfortable rhythm; then make one small resistance adjustment while maintaining stable hand support. Notice whether effort changes smoothly and whether you can lower it without hunting through menus. Leave automated hills and complicated interval programmes for another visit.
Pace, resistance and ramp or incline can all change the experience. Altering all three together makes it harder to identify why a setting feels wrong. Record the machine identifier and a comfortable starting configuration in a notebook after finishing, especially in a gym with several designs. A resistance value is only a reminder for that machine. Our beginner resistance guide explains how to choose effort without treating numbers from different consoles as equivalent.
An optional workout notebook (paid link) can record the specific machine and setup after dismounting, though a phone note is sufficient.
Add moving arms only when the basic stride is settled
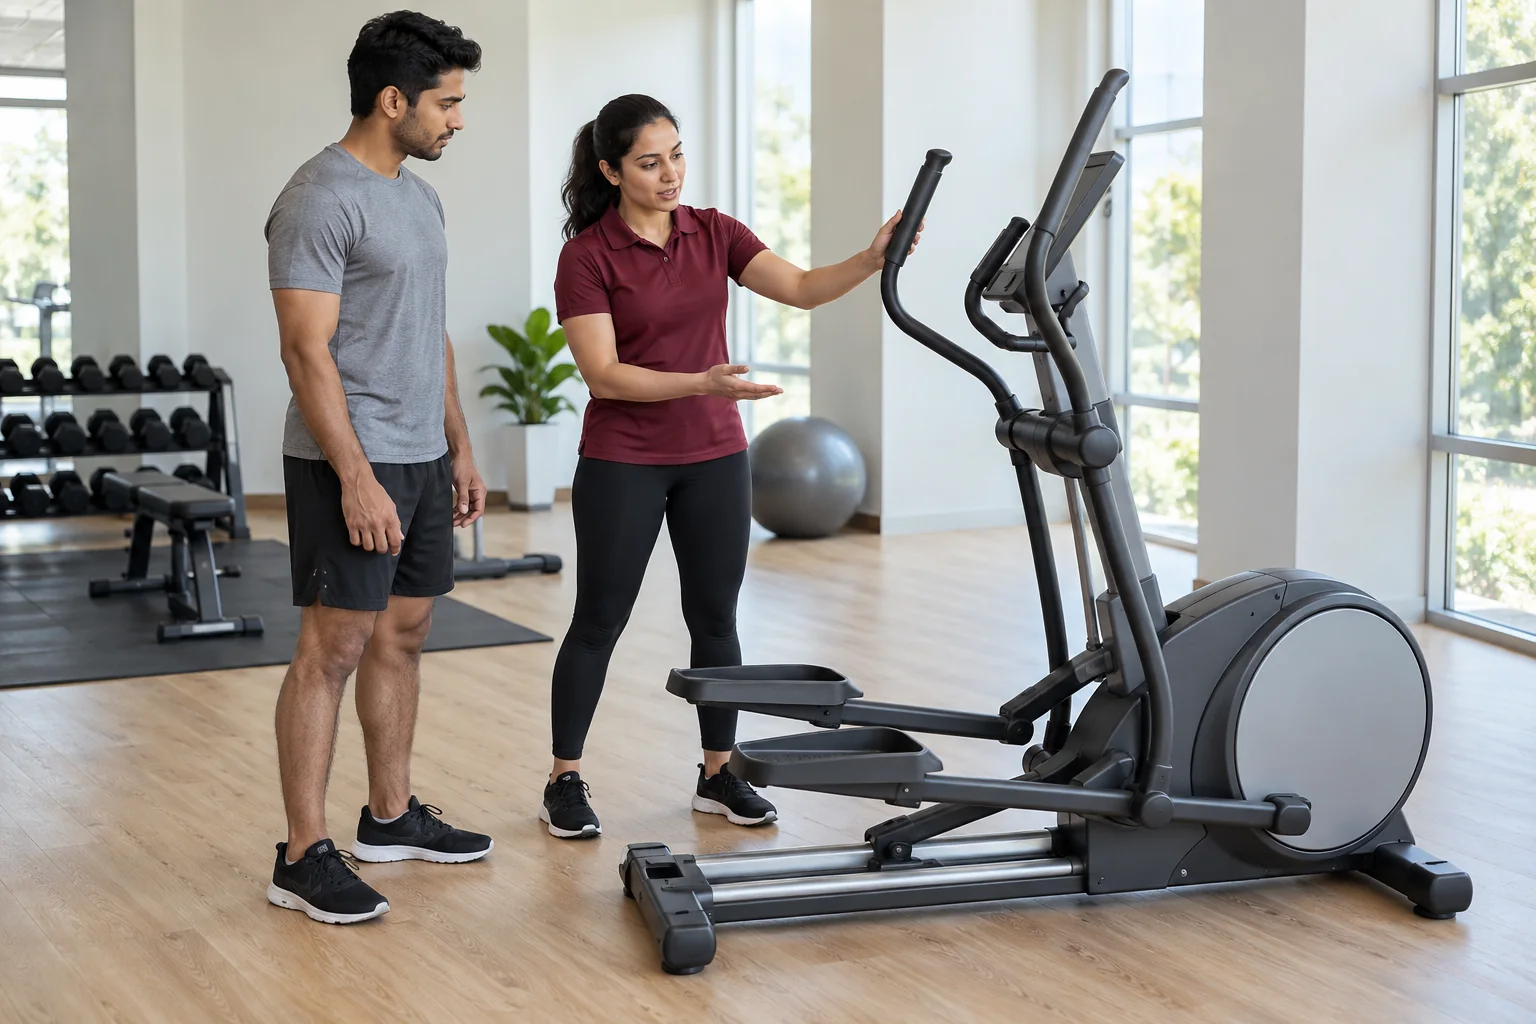
If the model has moving handles, ask staff to demonstrate the intended grip and changeover. Keep movement within a comfortable reach. Do not pull hard to compensate for resistance that is too heavy, and do not let handles drag your shoulders forward. Continue using fixed rails if that provides the control you need. There is no need to let go of support for this first-use practice.
Give attention to one observation per short stretch: are your shoulders relaxed, are your steps smooth, or can you operate the lower-effort control confidently? This is easier to manage than repeatedly correcting every joint position. If you cannot maintain comfortable movement with support, change machines or finish the practice. A guided foot path is not a guarantee that a particular cross-trainer fits your height, mobility or current comfort.
Practise finishing before attempting a longer workout
After a few easy minutes, reduce effort gradually and use the manufacturer's controlled stopping process. Wait until pedals have stopped before dismounting, holding fixed rails through the sequence described in the manual. Make sure you are steady on the floor before releasing support. Put away your bottle and clean the equipment according to facility rules.
Your first success can simply be a calm mount, several comfortable minutes and a calm dismount. When that feels repeatable, the 20-minute beginner elliptical session offers an adjustable next step. Stop exercise for pain, dizziness or abnormal breathlessness. Seek urgent medical help for severe or persistent chest discomfort, fainting during exercise or severe breathing difficulty. If symptoms or a health condition make exercise suitability unclear, obtain individual guidance; these technique notes are not a treatment plan.
Practice and Setup Checklist
- Identify fixed rails, effort controls and the model's stopping method.
- Secure clothing and laces, and clear the pedal area.
- Mount exactly as the manufacturer instructs, using fixed support.
- Practise easy forward pedaling and one small control change.
- Slow to a controlled stop and follow the supported dismount sequence.
Practical Options at a Glance
| Observation | Useful response | Avoid |
|---|---|---|
| You cannot reach controls comfortably | Pause and ask for a fit or setup check | Stretching across moving equipment |
| Pedaling becomes choppy | Reduce effort and reassess the setting | Pulling harder on the handles |
| Getting off feels uncertain | Review the manual or ask staff before starting | Stepping away while pedals move |
| The stride causes discomfort | Stop and reassess machine fit | Treating pain as a learning requirement |
Common Mistakes and Useful Adjustments
Their body, machine and goal may differ. Start with your own controls and a comfortable supported stride.
Choose a position that keeps you balanced. Check the display briefly rather than hanging your weight over the console.
Find the stopping procedure before starting; moving pedals require a deliberate exit.
Frequently Asked Questions
Use stable fixed support while learning. Add moving arms only after understanding their operation and feeling controlled.
Do not force a universal foot position. Follow pedal instructions and seek a comfortable path without pain, rubbing or numbness.
No. Displays may use different measures, and fit changes the movement. Begin with a rhythm you can control rather than copying a number.
A few easy minutes can be enough to learn the controls and exit. Increase session time only when the basic sequence feels manageable.
Safety and Personal Needs
This is general fitness education, not a personalized exercise or rehabilitation plan. Learn the actual model’s entry, controls, supports and stopping procedure with gym staff or the manufacturer’s instructions. Stop for pain, dizziness, instability or unusual breathlessness. Chest pain, fainting or severe unexpected breathlessness needs urgent appropriate help. Follow individual guidance for a medical condition, pregnancy, recent surgery or injury. A written guide and illustrative image cannot assess your movement or establish whether a machine suits you.
Sources and Further Reading
- ACE: Selection and use of exercise equipment
- Life Fitness: Atmos mounting and dismounting
- NHS: Chest pain warning signs
- NHS: Severe breathing difficulty
Prepared by the Best Fitness Routine Editorial Team. The example sessions are educational frameworks; they have not been individually tested for every reader. Images are AI-generated illustrations.